Oh my goodness, let me tell you about my obsession with roast garlic! It started back when I was trying to recreate my grandmother’s famous pasta sauce, and I accidentally left a whole head of garlic in the oven a bit too long. What could’ve been a kitchen disaster turned into pure gold – literally!
Now, I make roast garlic at least twice a week. The way it transforms from sharp and pungent to sweet and spreadable is nothing short of kitchen magic. Whether you’re spreading it on crusty bread or mixing it into mashed potatoes, properly roasted garlic adds this incredible depth that just can’t be matched. Trust me, once you master this technique, you’ll be finding excuses to roast garlic for everything!
Getting Started with Roast Garlic Basics
Picking the Perfect Garlic Head
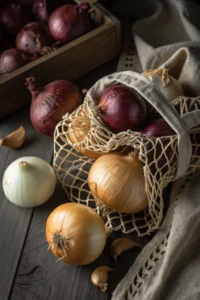
Y’all, not all garlic heads are created equal! Last week at the farmers market, I learned this lesson the hard way when I grabbed the first bulbs I saw. For the best roast garlic, look for firm, tight heads with no green sprouts peeking through. Give them a gentle squeeze – they should feel solid and heavy for their size.
Those papery outer skins? They should be intact and dry, not peeling away or showing any dark spots. I’ve found that medium to large heads work best for roasting since they’re easier to handle. And here’s a pro tip from my kitchen disasters: avoid any bulbs with soft spots or that feel hollow – those usually mean the cloves inside are past their prime.
Essential Tools and Equipment
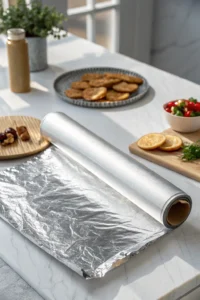
Listen up, because this might save you from the mess I made last Christmas! To roast garlic properly, you really don’t need fancy equipment – just a few basic tools you probably already have. First, grab some aluminum foil (the heavy-duty kind is worth the extra cents, trust me). You’ll want a sharp knife for trimming the tops – my ceramic paring knife is perfect for this job. A small baking dish or ramekin helps keep those garlic heads from rolling around while roasting. Oh, and don’t forget a good pair of oven mitts! I learned that lesson when I tried using a thin kitchen towel and nearly dropped my perfectly roasted garlic on the floor.
Oil Types That Make Roasted Garlic Shine
Can we talk about oils for a minute? After countless batches of roast garlic experiments (my family thinks I’m obsessed!), I’ve discovered that different oils can completely change the final flavor. Extra virgin olive oil is my go-to for that classic Mediterranean taste – just make sure it’s fresh, because old olive oil can make your roast garlic taste bitter. For a more neutral flavor that lets the garlic shine, good old grapeseed oil works beautifully. And here’s something fun I discovered by accident: using a mix of olive oil and butter creates this incredible rich, nutty flavor that’s absolutely divine. Just keep the heat moderate to prevent burning.
Step-by-Step Roasted Garlic Guide
Prepping Your Garlic Heads
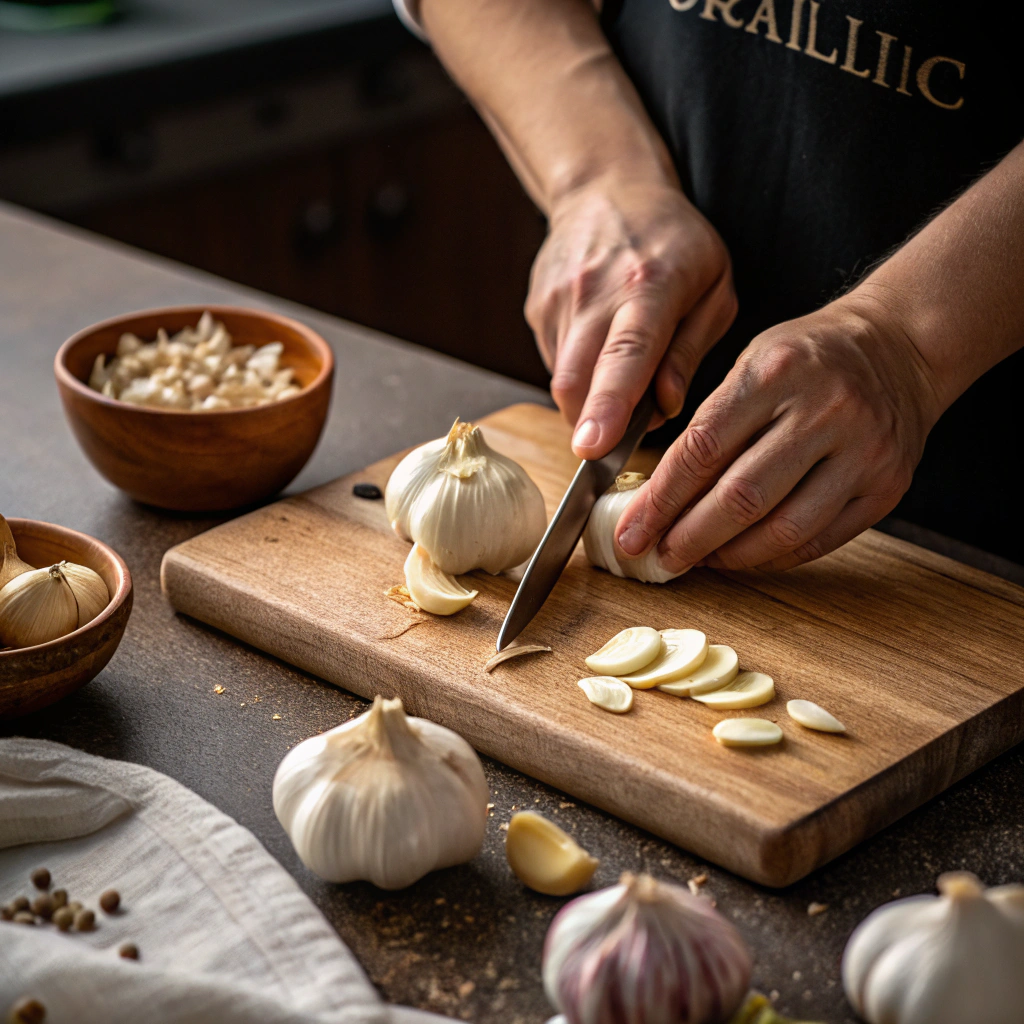
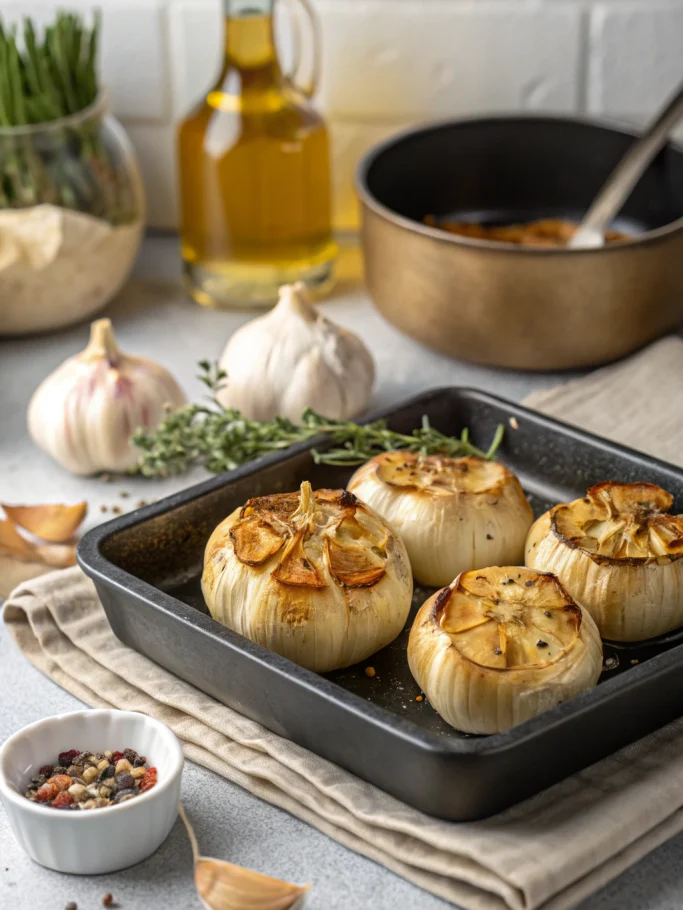
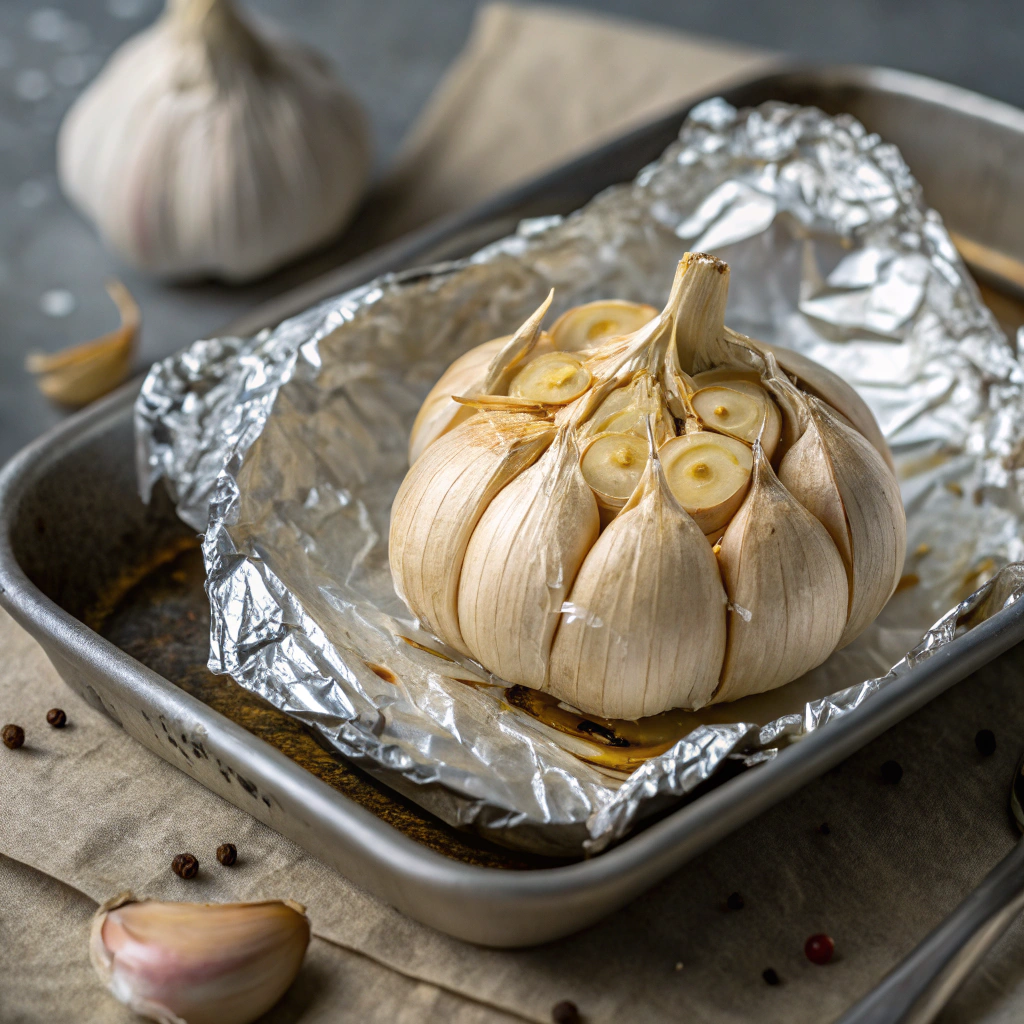
Start by selecting fresh, firm garlic heads for roasting. I always look for bulbs that feel heavy for their size and have tight, papery skin. To prep your roast garlic, begin by peeling away the loose outer layers while keeping the head intact. Using a sharp knife, cut about ¼ inch off the top to expose the cloves inside. This is where many home cooks stop, but I like to gently separate the cloves slightly – it helps them roast more evenly. Place each head on a piece of foil and drizzle generously with olive oil, letting it seep between the cloves. A sprinkle of salt really brings out the sweet, nutty flavors that develop during roasting.
Temperature and Timing Secrets
The key to perfect roast garlic lies in getting the temperature just right. I’ve found that 400°F (200°C) hits the sweet spot for developing those caramelized flavors without burning. Wrap your prepped garlic heads in foil, creating little pouches that trap steam and help cook the cloves evenly. For average-sized heads, plan on roasting for about 40-45 minutes. If you’re working with larger bulbs, you might need closer to an hour. The beautiful thing about roast garlic is its forgiving nature – a few extra minutes won’t hurt. Just keep checking after the 35-minute mark to avoid any bitter, burnt flavors.
Signs Your Roast Garlic is Done
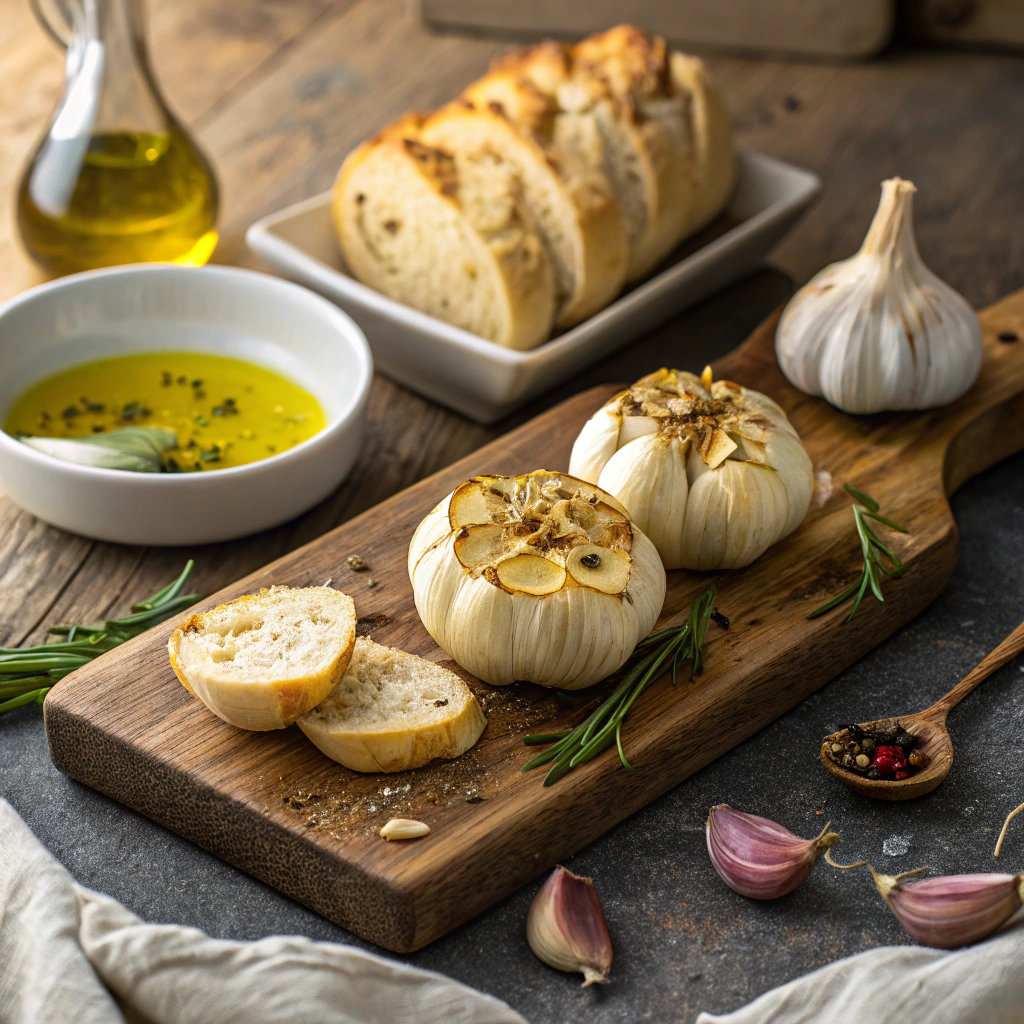
You’ll know your roast garlic is reaching perfection when your kitchen fills with that sweet, mellow aroma. The cloves should be golden brown and butter-soft when pierced with a knife. I always test by gently squeezing a bulb – properly roasted garlic should feel like squeezing a ripe avocado. Each clove should easily pop out of its papery skin when pressed. If they’re still firm, wrap them back up and give them another 5-10 minutes. Let your roasted heads cool for about 10 minutes before handling. The garlic will continue to soften slightly as it cools, making it easier to squeeze out those buttery cloves.
Creative Ways to Use Roasted Garlic
Spreads and Compound Butters
Transform your roast garlic into incredible spreads that’ll make any bread sing. My favorite is a simple roast garlic butter – just mash the soft cloves with room-temperature butter, add fresh herbs, and a pinch of salt. This golden spread is perfect on crusty bread or melted over steaks. For a healthier option, blend roasted garlic with Greek yogurt, a squeeze of lemon, and fresh dill. During summer parties, I love making a roast garlic hummus that always disappears quickly. The mellow, sweet flavor adds depth to any spread without overwhelming other ingredients.
Roasted Garlic in Sauces
Adding roast garlic to sauces brings a rich, complex flavor that raw garlic just can’t match. I love incorporating it into homemade marinara, where the sweet, caramelized notes balance perfectly with tangy tomatoes. When making cream sauces, squeeze in a few cloves of roast garlic at the beginning to let the flavors meld completely. My go-to weeknight pasta sauce starts with roasted garlic whipped into a smooth paste with olive oil and Parmesan. The possibilities are endless – from aioli to vinaigrettes, roast garlic adds depth without sharp bite.
Adding it to Main Dishes
Roast garlic can transform everyday meals into something special. I love mixing it into mashed potatoes for an instant upgrade, or stirring it into risotto right before adding the final pat of butter. When roasting vegetables, toss them with mashed roast garlic before they go into the oven. For perfectly tender results every time, check out our Perfect Grilled Chicken guide for more protein cooking tips. For an amazing chicken dish, stuff the cavity with whole roasted garlic heads before roasting. Even simple dishes like scrambled eggs become restaurant-worthy when you fold in some creamy roast garlic. The mellowed flavor works beautifully in both bold and subtle dishes.
Storage Tips for Roasted Garlic
Refrigerator Storage Methods
Once you’ve made a batch of roast garlic, proper storage is key to maintaining its sweet, mellow flavor. I love keeping roast garlic in an airtight container with a drizzle of olive oil to keep it fresh. The oil helps prevent oxidation and keeps the cloves soft and spreadable. In my experience, properly stored roast garlic stays good in the fridge for up to a week. I recommend using glass containers rather than plastic, as they won’t absorb the garlic’s aroma. Remember to label your container with the date you made your roast garlic – this simple step has saved me from questionable culinary decisions more times than I can count!
Freezing Your Roasted Garlic
Freezing is my go-to method when I’ve made a big batch of roast garlic during peak season. I’ve found that freezing individual cloves on a parchment-lined baking sheet works best – once frozen, just transfer them to a freezer bag. The frozen roast garlic maintains its flavor for up to three months, making it perfect for meal prep. Another trick I love is mashing the roast garlic with a little olive oil before freezing in ice cube trays. Each cube becomes the perfect portion for adding to soups or sauces later. Just pop out a cube whenever you need that wonderful roasted flavor!
Signs of Spoilage to Watch For
Safety first when it comes to storing roast garlic! Keep an eye out for any unusual colors – your roast garlic should maintain its golden-brown hue. If you spot any green or blue spots, it’s time to say goodbye. The aroma should be sweet and mellow; any sharp or sour smells are a red flag. I learned this the hard way once when I forgot about a container in the back of my fridge! Watch for any mold growth or slimy texture, which are clear indicators that your garlic needs to go. Trust your senses – if something seems off, it’s better to be safe than sorry.
Health Benefits of Roasted Garlic
Immune System Boosters
The magic of roast garlic goes beyond its incredible flavor – it’s packed with immune-boosting compounds that help keep you healthy. When you roast garlic, the cooking process actually enhances its beneficial properties while mellowing out the sharp taste. I started incorporating more roast garlic into my meals during cold season, and I’ve noticed a real difference. The allicin in roast garlic, which develops during the cooking process, is particularly powerful for immune support. Try adding a few cloves to your chicken soup when you’re feeling under the weather – it’s my favorite natural remedy!
Heart-Healthy Properties
Including roast garlic in your diet is like giving your heart a gentle hug. The compounds in roast garlic have been shown to help maintain healthy blood pressure levels and support cardiovascular health. I love spreading roast garlic on whole grain toast as a heart-smart alternative to butter. The natural compounds become more bioavailable through the roasting process, making it easier for your body to absorb the benefits. My grandmother swears by her daily dose of roast garlic, and at 92, she might be onto something! Remember to pair it with other heart-healthy foods for maximum benefit.
Anti-inflammatory Effects
The anti-inflammatory properties of roast garlic make it a superstar in my kitchen medicine cabinet. When garlic is roasted, its beneficial compounds become more concentrated and easier for your body to use. I’ve found that adding roast garlic to my meals helps with joint stiffness, especially during damp weather. The natural compounds work together to reduce inflammation throughout the body. Just like mastering roast garlic, learning to grill vegetables properly can elevate your cooking to restaurant quality. My yoga instructor actually recommended increasing my roast garlic intake to help with exercise recovery, and I’ve been amazed by the results. Try incorporating it into your post-workout meals for added benefits.
Start Roasting Your Own Garlic Today
Ready to transform your cooking with roast garlic? Start with just one head of garlic, some olive oil, and foil. Remember to slice off the top, drizzle with oil, wrap tightly, and roast at 400°F for 40-45 minutes. Share your results in the comments below – I’d love to see your creamy, golden cloves! Join our Tales Recipes community for more garlic-loving tips and tricks.
