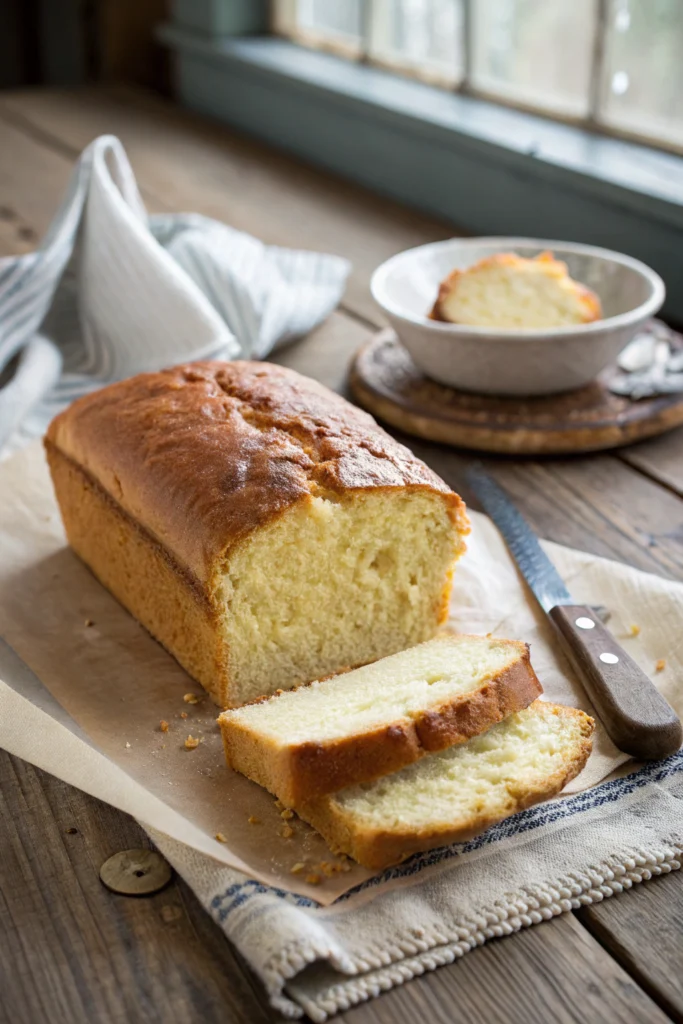
Oh my goodness, you guys – I can’t believe it took me so long to share this foolproof yogurt bread recipe! After a crazy morning last week when I realized I was out of yeast but desperately needed fresh bread for lunch sandwiches, I remembered my grandmother’s old yogurt bread trick. You know those moments when kitchen panic turns into pure gold? This was totally one of them!
This no-yeast yogurt bread has become my go-to when I need something quick and foolproof. It’s got this amazing tangy flavor that’ll remind you of sourdough bread, but without all the fuss. Plus, it makes your kitchen smell absolutely heavenly while it bakes. Trust me, your family will think you’ve turned into a professional baker overnight!
Have you tried making yogurt bread at home? It’s a game-changer for busy weeknights when you need fresh bread but don’t have time for traditional yeast breads.
Essential Ingredients for Perfect Yogurt Bread
Choosing the Right Yogurt for Bread Making
Listen up, because this is super important – not all yogurt works the same in bread! After testing this yogurt bread recipe about a million times (my husband thinks I’m obsessed), I’ve found that plain, full-fat Greek yogurt gives the best results. It’s thicker and has less water content than regular yogurt, which means better texture in your finished bread.
Stay away from flavored yogurt varieties – nobody wants surprise strawberry chunks in their sandwich bread! If you’ve only got regular yogurt on hand, here’s a trick: strain it through a coffee filter for 30 minutes before using. And please, please don’t use non-fat yogurt – your yogurt bread will thank you later!
Have you struggled with the right type of yogurt for baking yogurt bread? What yogurt varieties have worked best for you?
Flour Types and Their Effects on Texture
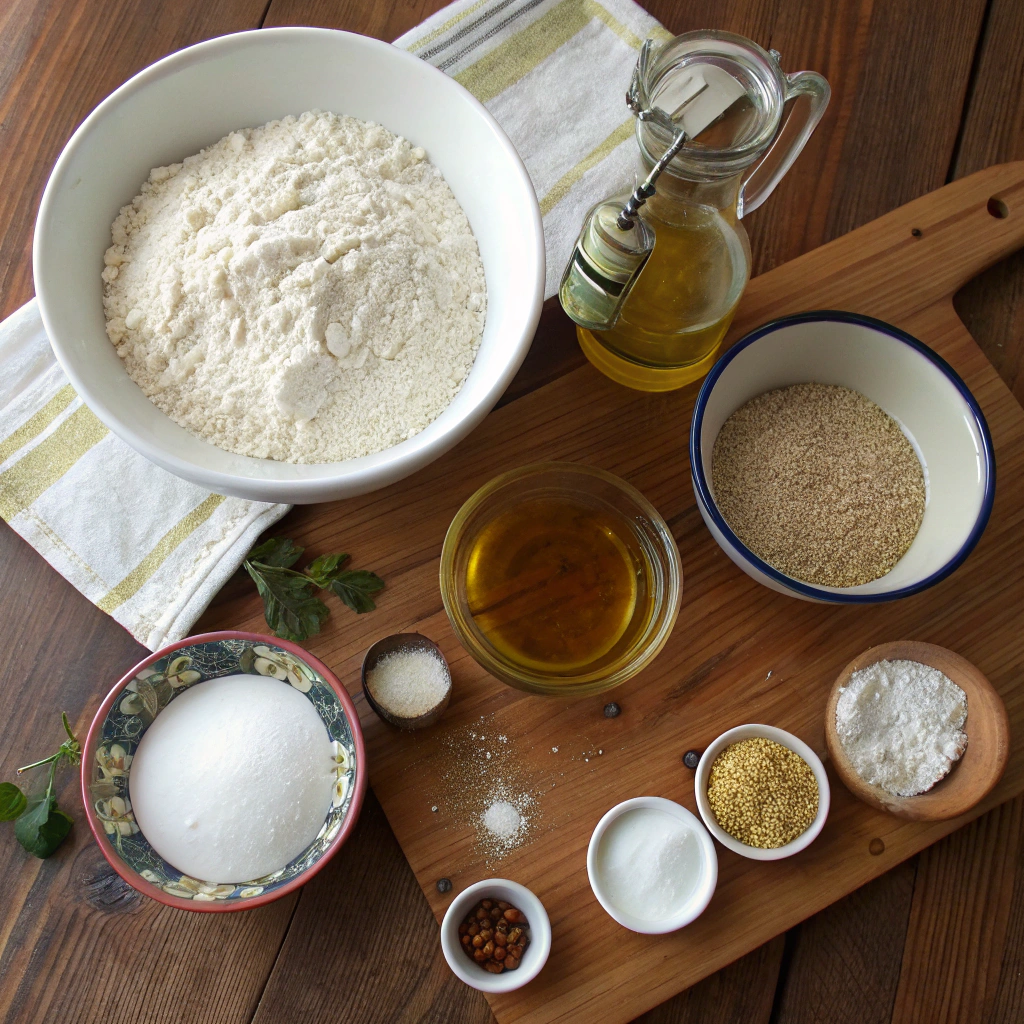
Y’all, I learned this the hard way after some seriously dense bread disasters! All-purpose flour works great for this yogurt bread recipe, but bread flour will give you that extra chewy texture that makes everything feel more professional.
Here’s the scoop: higher protein content (that’s what bread flour has) equals more gluten development, which means better structure. But don’t stress if you only have all-purpose – this yogurt bread recipe is super forgiving! Just avoid self-rising flour since we’re adding our own leavening agents.
Whole wheat flour? Sure! But start by substituting just 1/3 of the total flour amount for whole wheat, or you might end up with a brick instead of bread.
Optional Add-ins for Custom Yogurt Bread
Let’s talk about making this yogurt bread recipe your own! My kids go crazy for the cinnamon-raisin version (just fold in 1/2 cup raisins and 1 tablespoon cinnamon before the final knead). For a savory twist that’s perfect with soup, try adding 2 tablespoons of fresh rosemary and a handful of shredded Parmesan – it’s to die for!
Seeds are amazing too – sunflower and pumpkin seeds add the most satisfying crunch to yogurt bread. Just remember to stick to dry add-ins; wet ingredients can throw off the moisture balance. My personal favorite? A sprinkle of everything bagel seasoning on top right before baking. It’s seriously addictive!
What are your favorite mix-ins or toppings for customizing yogurt bread recipe? Do you prefer sweet or savory variations?
Step-by-Step Yogurt Bread Recipe Guide
Mixing Your Yogurt Bread Dough
Start by warming your yogurt to room temperature – cold yogurt can slow down the yeast’s activity in this yogurt bread recipe. In a large bowl, mix 2 cups of plain yogurt with 2 teaspoons of active dry yeast and 1 tablespoon of honey. Let this sit for about 10 minutes until it gets bubbly. I learned the hard way that rushing this step leads to flat bread!
Add 4 cups of all-purpose flour, 1 teaspoon of salt, and 2 tablespoons of olive oil. Mix with a wooden spoon until shaggy. Don’t worry if it looks messy – that’s exactly what we want! The dough might feel sticky at first, but resist adding too much flour. I keep a bowl of water nearby to wet my hands when handling the dough.
Do you have any tips for mixing yogurt bread dough perfectly? How do you handle sticky dough when kneading?
Kneading and Proofing Tips
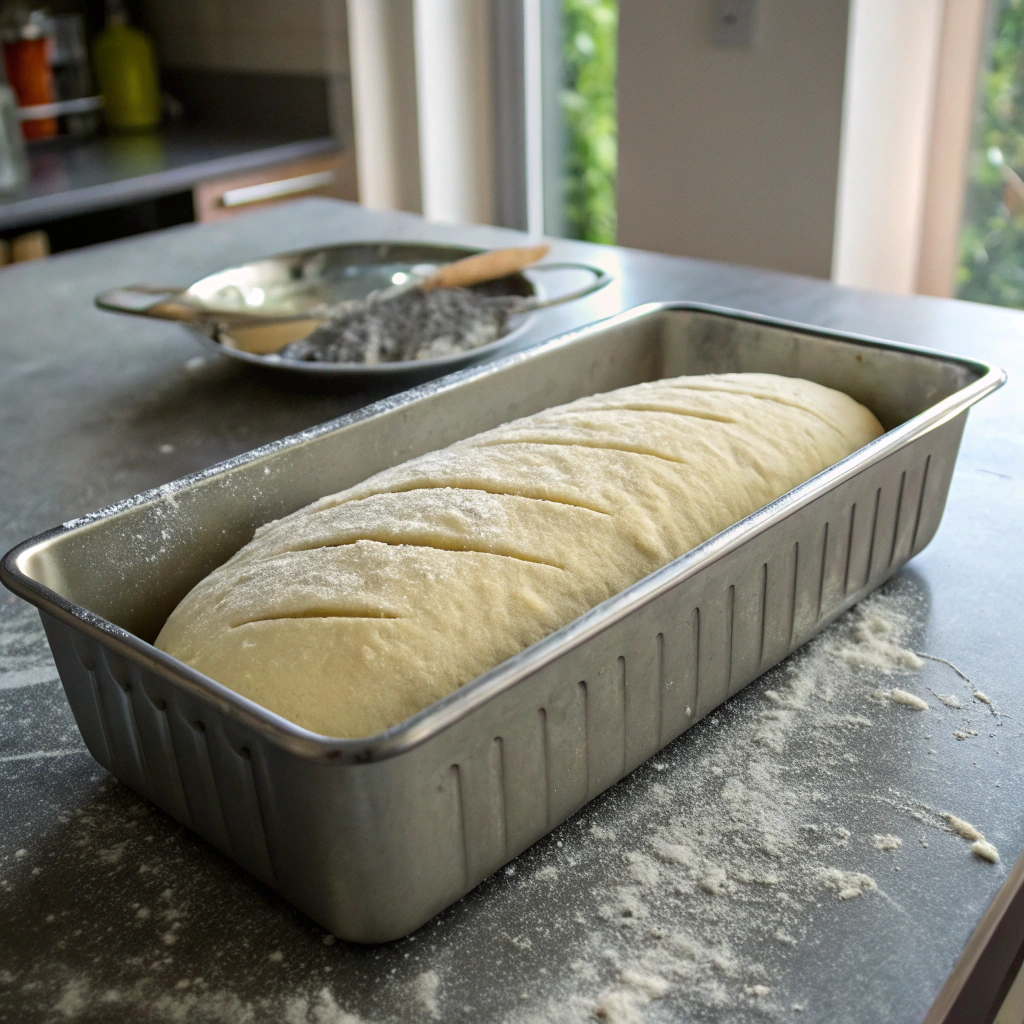
Turn your yogurt bread dough onto a lightly floured surface. Here’s my favorite trick: instead of continuous kneading, use the “stretch and fold” method. Every 5 minutes, stretch the dough out and fold it over itself four times. Do this three or four times total – it’s gentler than traditional kneading and creates amazing texture.
Between folds, cover the dough with a damp cloth. The dough is ready when it passes the windowpane test – stretch a small piece until it’s thin enough to see light through it. Place in an oiled bowl, cover, and let rise in a warm spot for about 90 minutes. My go-to spot is inside the oven with just the light on.
What kneading methods have worked best for your yogurt bread dough? Do you have any special tricks for getting the perfect rise?
Baking Your Perfect Loaf
Preheat your oven to 375°F with a dutch oven inside. This creates the perfect steamy environment for crusty yogurt bread. Once your dough has doubled, gently shape it into a round loaf without deflating it too much. I like to score the top with a sharp knife – it’s not just for looks, it helps the bread expand properly!
Carefully transfer the dough to the hot dutch oven. Bake covered for 30 minutes, then remove the lid and bake for another 15-20 minutes until golden brown. The bread should sound hollow when tapped. Let it cool completely before slicing – I know it’s tempting, but trust me on this!
Troubleshooting Your Yogurt Bread Recipe
Common Mistakes to Avoid
The biggest mistake I see is using cold ingredients. Everything should be at room temperature – especially the yogurt! Another common error is adding too much flour when kneading. The dough should be slightly sticky. Keep a bowl of water nearby to wet your hands instead of adding more flour.
Watch your yeast too – if it’s old or the liquid is too hot, it won’t activate properly. I always proof my yeast first to make sure it’s alive and kicking. Don’t rush the rising time either – a slow rise develops better flavor. And please, don’t skip the salt! I once forgot it, and the yogurt bread tasted like cardboard.
What common mistakes have you encountered when making yogurt bread at home? Share your troubleshooting tips!
Fixing Dense or Heavy Yogurt Bread
If your yogurt bread turns out dense, several things might be going wrong. First, check your yeast activity – it should foam up nicely during proofing. Knead the dough long enough to develop gluten – the windowpane test is your friend here.
Room temperature matters more than you’d think. I place my dough in a warm spot, around 75°F, for the best rise. If your kitchen is cold, try the oven-light trick I mentioned earlier. Another secret: add 1 tablespoon of vital wheat gluten to your flour for lighter, airier yogurt bread.
And remember, whole wheat flour makes denser bread – start with 25% whole wheat if you’re experimenting.
Solutions for Uneven Rising
Uneven rising usually comes down to shaping technique and proofing conditions. Start with even dough distribution – I use a kitchen scale to divide large batches. When shaping, create surface tension by pulling the dough edges underneath. This helps the loaf hold its shape during rising.
Draft-free rising spots are crucial – even minor temperature fluctuations can cause lopsided loaves. Try using a proofing basket (banneton) lined with floured cloth. It supports the dough and creates that pretty spiral pattern. If your yogurt bread spreads instead of rising up, your dough might be too wet or over-proofed. Reduce water slightly next time.
Creative Variations of Basic Yogurt Bread
Sweet Yogurt Bread Adaptations
Once you’ve mastered the basic yogurt bread recipe, it’s time to have some fun! My family loves when I add 1/2 cup of honey and a sprinkle of cinnamon for a breakfast treat. For fruit lovers, try folding in 1 cup of fresh blueberries or diced apples.
During the holidays, I mix in orange zest and cranberries for a festive twist. Don’t forget chocolate lovers – adding 1/2 cup of chocolate chips makes this yogurt bread recipe disappear in minutes at our house! Just remember to toss any fruit or add-ins in a bit of flour first to prevent them from sinking to the bottom.
Savory Mix-In Ideas
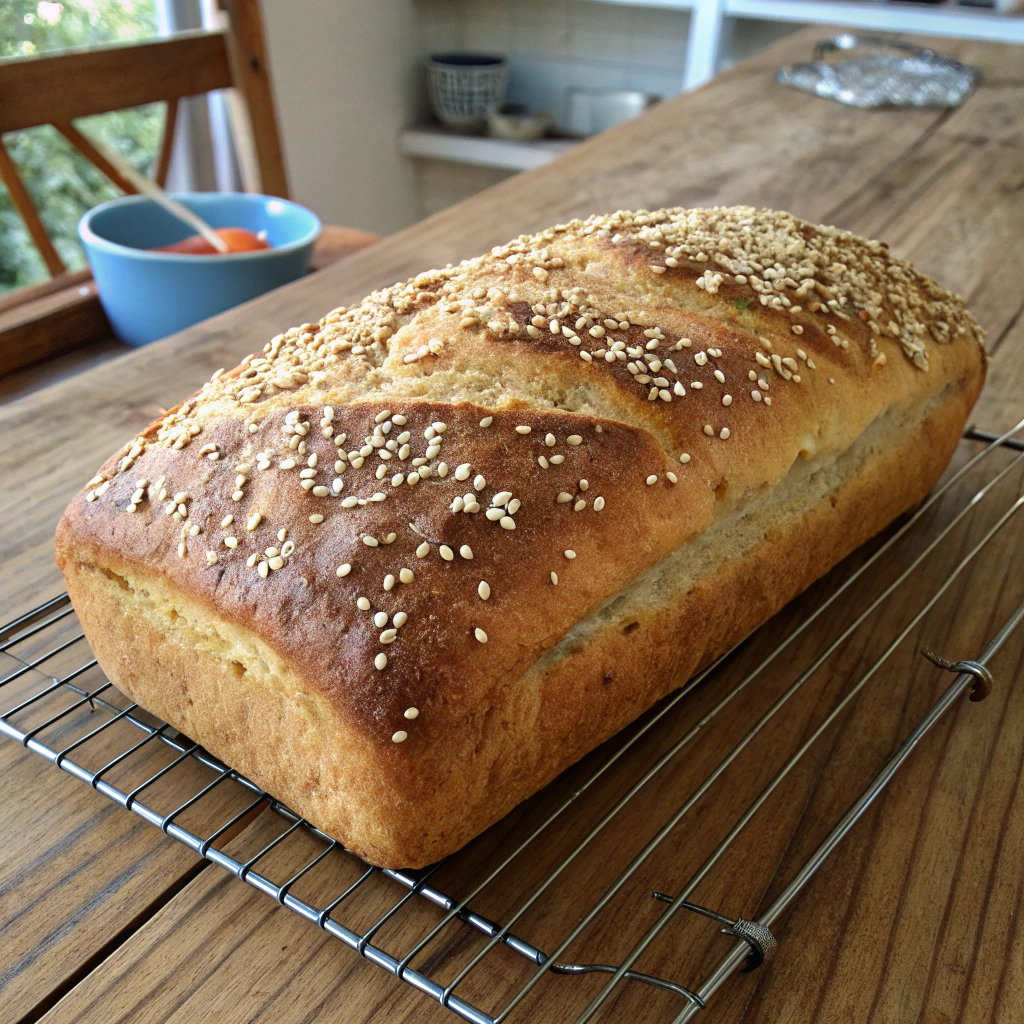
The versatility of yogurt bread really shines with savory variations. My go-to combination is rosemary and sea salt – just chop 2 tablespoons of fresh rosemary and sprinkle coarse salt on top before baking. For Italian night, I mix in 1/2 cup of sun-dried tomatoes and fresh basil. Shredded cheddar and diced jalapeños create an amazing Mexican-inspired yogurt bread loaf.
Pro tip: when adding cheese, reduce the yogurt by 2 tablespoons to maintain the right moisture balance. Garlic lovers can fold in roasted garlic cloves and herbs.
Whole Grain Bread Options
Making healthier versions is surprisingly easy! I often swap half the all-purpose flour with whole wheat flour in this yogurt bread recipe. For extra nutrition, add 1/4 cup of ground flaxseed or wheat germ. Oat lovers can replace 1 cup of flour with old-fashioned oats (just let them soak in the yogurt for 10 minutes first).
Rye flour gives a wonderful rustic taste – start with replacing 25% of the white flour with rye flour and adjust to your preference. Remember that whole grain yogurt bread versions might need an extra tablespoon or two of yogurt to stay moist.
Do you have experience baking whole grain yogurt breads? What healthy flour swaps or add-ins do you recommend?
Storing and Serving Your Yogurt Bread
Best Storage Methods for Fresh Bread
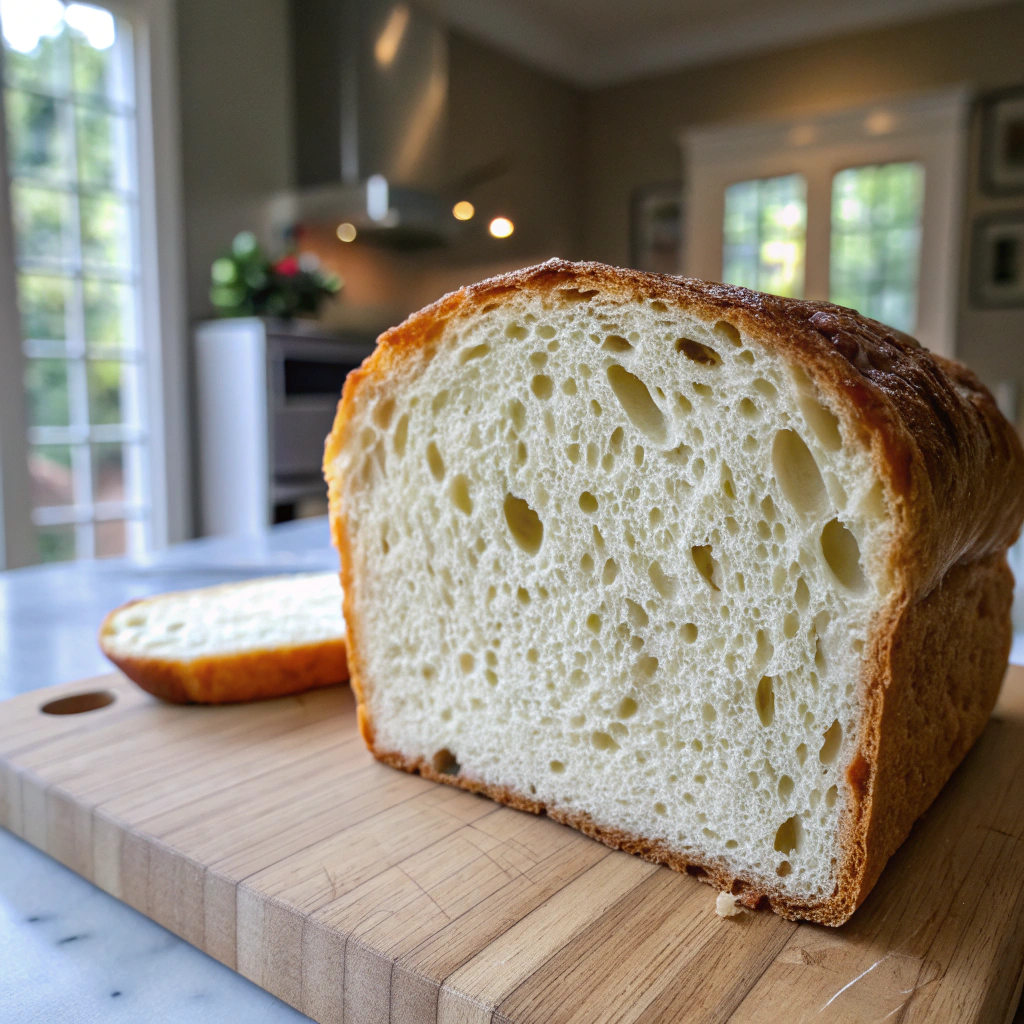
The key to keeping your yogurt bread fresh is proper storage right after it cools completely. I wrap mine in a clean cotton kitchen towel, then place it in a paper bag for the first day. This method lets the crust stay crispy while keeping the inside soft.
For longer storage, wrap the bread tightly in plastic wrap and keep it at room temperature for up to 3 days. If you’ve added fruits or cheese, store the yogurt bread in the fridge. Never store bread in the refrigerator unless it contains perishable ingredients – it’ll get stale faster!
Reheating Your Yogurt Bread
Nothing beats warm yogurt bread! To reheat a whole loaf, sprinkle it lightly with water and pop it in a 350°F oven for 5-7 minutes. For individual slices, I love using my toaster oven – it gives the perfect crispy exterior while keeping the inside soft.
If you’re in a hurry, 10-15 seconds in the microwave works too, just wrap the slice in a slightly damp paper towel first. Frozen yogurt bread slices can go straight into the toaster. My favorite weekend trick is making French toast with day-old yogurt bread.
How do you like to reheat and enjoy leftover yogurt bread? Share your favorite ways to breathe new life into day-old loaves!
Serving Suggestions and Pairings
This versatile yogurt bread works with practically everything! For breakfast, try thick slices with butter and honey, or make amazing avocado toast. Sweet yogurt bread variations pair perfectly with afternoon tea or coffee.
Savory versions shine alongside soups and stews – especially when toasted with a bit of garlic butter. For lunch, build incredible sandwiches – the bread’s texture holds up beautifully to fillings. During dinner parties, I serve it warm with herb-infused olive oil for dipping. For a delicious breakfast option, try serving this with a Sweet Potato and Egg Skillet for a complete morning meal. Kids love it toasted with pizza toppings for a quick after-school snack.
Start Baking Your Own Yogurt Bread Today
Ready to transform your kitchen into a cozy bakery? Grab your mixing bowl and let’s get started! Remember, every yogurt bread loaf gets better with practice. Try different yogurt types, experiment with whole wheat flour, or add your favorite seeds.
Share your yogurt bread creations on social media with #TalesRecipes, and don’t forget to leave a comment below with your baking adventures. Happy baking, friends!
Homemade Yogurt Bread Recipe
This foolproof yogurt bread combines the tanginess of Greek yogurt with the comfort of homemade bread. Perfect for sandwiches and toast, it requires no yeast and minimal kneading.
Ingredients
For the Bread:
Optional Topping:
Instructions
Prepare Your Ingredients
- Bring Greek yogurt to room temperature
- Mix dry ingredients in a large bowl
- Preheat oven to 375°FTip: Room temperature ingredients blend better
Mix the Dough
- Combine yogurt, honey, and olive oil in a separate bowl
- Add wet ingredients to dry ingredients
- Mix until a shaggy dough formsAdd water gradually if dough seems too dry
Shape and Rest
- Turn dough onto floured surface
- Knead gently for 2-3 minutes
- Shape into a round loaf
- Place in greased 9-inch loaf pan
- Let rest for 30 minutesDough should rise slightly
Bake the Bread
- Score top with knife (optional)
- Sprinkle with toppings if using
- Bake for 45 minutesBread is done when golden brown and sounds hollow when tapped
Cool and Store
- Remove from pan immediately
- Cool on wire rack for 1 hour
- Store in paper bag up to 3 daysSlice only when completely cooled
Nutritional values
Servings: 12 ServingCalories:185kcalTotal Fat:5gSodium:380mgTotal Carbohydrate:28gDietary Fiber: 1gSugars: 3gProtein:6g
Note
Storage:
Keep at room temperature in paper bag for 3 days, or freeze for up to 3 months.
Substitutions:
Can use regular yogurt (strain first), whole wheat flour (use 1 cup max), or maple syrup instead of honey.
Serving suggestions:
Perfect for sandwiches, toast with butter and jam, or alongside soups and stews.


