Nutritional values
Calories:125kcalTotal Fat:11gSodium:65mgTotal Carbohydrate:4gDietary Fiber: 2gSugars: 0gProtein:5g

Oh my goodness, y'all - let me tell you about my sugar free candy journey! After my doctor told me to watch my sugar intake last spring, I thought my candy-making days were over. But here's the thing - making sugar free candy at home isn't just possible, it's actually pretty amazing! Through tons of trial and error (and more than a few sticky messes in my kitchen), I've discovered some game-changing recipes that'll satisfy any sweet tooth. Trust me, once you try these homemade treats, you'll never believe they're sugar free candy. My grandkids even prefer some of these over the store-bought stuff, which is saying something!
Let me share my absolute favorite natural sweeteners for making sugar free candy at home! Monk fruit has been my go-to lately - it measures just like sugar and doesn't have that weird aftertaste some alternatives do. I learned this trick from my neighbor Sue: combine monk fruit with a tiny bit of pure allulose to get that perfect candy texture. When I'm whipping up chocolate-based sugar free candy, I love using pure maple extract with monk fruit - it adds this amazing depth that tricks your taste buds into thinking you're eating the real deal. For chocolate lovers, try our sugar free chocolate recipe that uses natural sweeteners for a guilt-free treat. Just remember to start with less sweetener than you think you need - you can always add more!
Y'all, sugar alcohols changed my whole sugar free candy game! I remember the first time I tried making gummy bears with erythritol - total fail. They were hard as rocks! But then I discovered xylitol and oh my stars, what a difference! When making chewy sugar free candy, I use a mix of xylitol and allulose. Quick tip though: start slow with sugar alcohols if you're not used to them (trust me on this one - my book club has some funny stories). I keep my xylitol locked away because it's not safe for pets, but it's perfect for making those stretchy, pull-apart candies we all love.
Making sugar free candy with stevia took me some practice, but I've finally cracked the code! The trick is using pure stevia extract - not those packets from the coffee shop. I combine it with either monk fruit or allulose to balance out the taste. Last Christmas, I made stevia-sweetened peppermint patties that disappeared faster than my regular ones! Just remember that stevia is super concentrated, so you'll need way less than you think. I keep a conversion chart taped inside my cabinet (after that one batch that was sweeter than my mother-in-law's pecan pie). For chocolate-based sugar free candy, add a pinch of salt to mellow out stevia's intensity. For a delicious treat that's sure to impress, try making chocolate mousse with your preferred sugar alternative.
Making sugar free candy at home requires some basic but important tools. A good candy thermometer is absolutely essential - I learned this the hard way after several failed batches! You'll also need heavy-bottomed saucepans that distribute heat evenly. I recommend silicone molds in various shapes for creating professional-looking treats. Don't forget measuring spoons and cups for precise portions when working with sugar alternatives. A food scale helps tremendously with accuracy, especially when measuring sugar substitutes like monk fruit or erythritol. Keep some offset spatulas handy for spreading and shaping your sugar free candy creations.
Temperature control can make or break your sugar free candy. I always keep an instant-read thermometer as backup to double-check readings. When heating sugar alternatives, use medium-low heat and stir constantly to prevent scorching. A marble slab or large baking sheet can help cool mixtures quickly and evenly. I've found that placing my thermometer in hot water before using it gives more accurate readings. Watch for visual cues too - your mixture should be smooth and glossy. Don't rush the process; proper temperature control ensures perfect texture every time.
The right storage makes a huge difference in keeping your sugar free candy fresh longer. I use airtight glass containers with moisture-absorbing packets to prevent stickiness. For chocolate-based treats, store them in a cool, dark place around 65-70°F. Layer delicate pieces between sheets of wax paper to prevent sticking. Harder candies do well in mason jars with tight-fitting lids. Label everything with dates - most sugar free candies stay fresh for 2-3 weeks when stored properly. For longer storage, many varieties can be frozen for up to three months.
Creating delicious sugar free candy doesn't get easier than this quick chocolate bark recipe. Start with sugar free chocolate chips melted in the microwave, stirring every 30 seconds. While that's melting, prepare your favorite toppings - I love using crushed nuts, unsweetened coconut, and a sprinkle of sea salt. Pour the melted chocolate onto a parchment-lined baking sheet and spread it evenly. Add your toppings and gently press them into the chocolate. Pop it in the fridge for about 10 minutes until set. Break into pieces and enjoy this guilt-free treat!
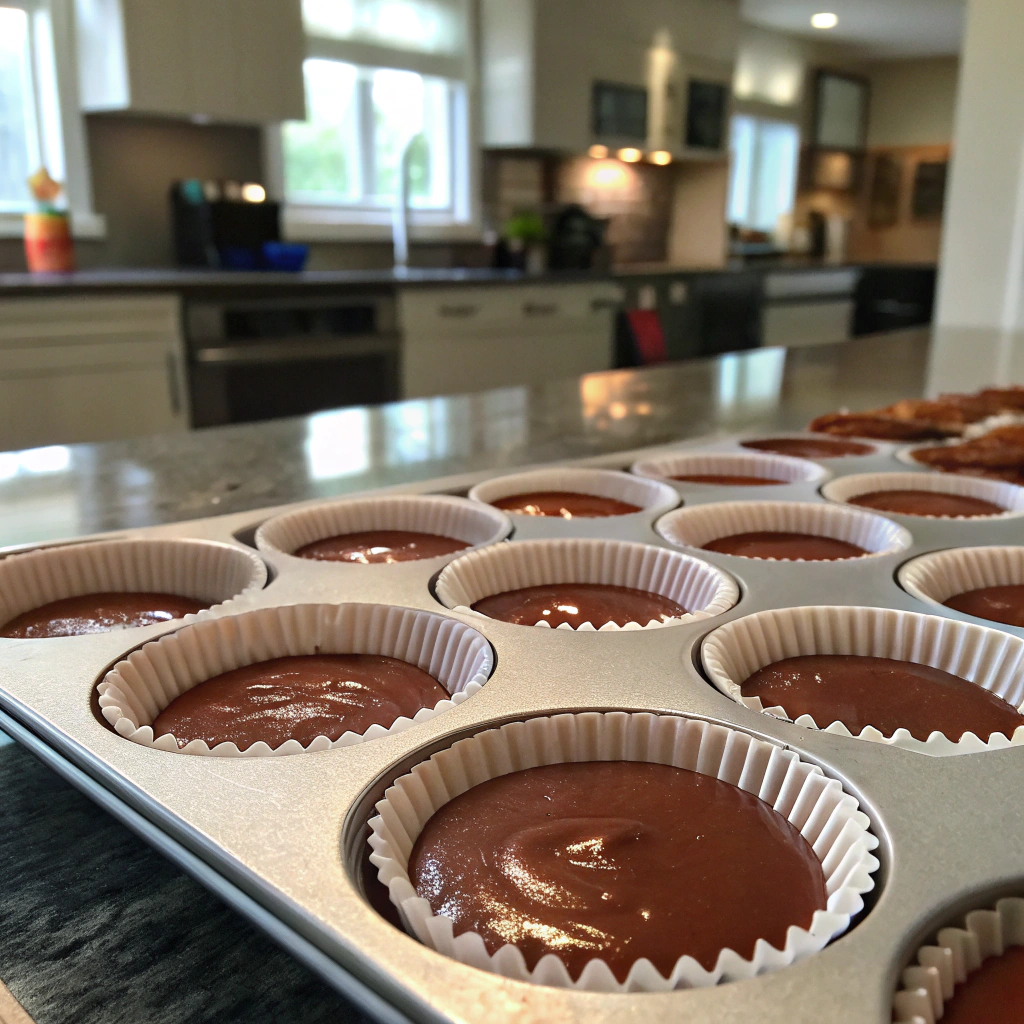
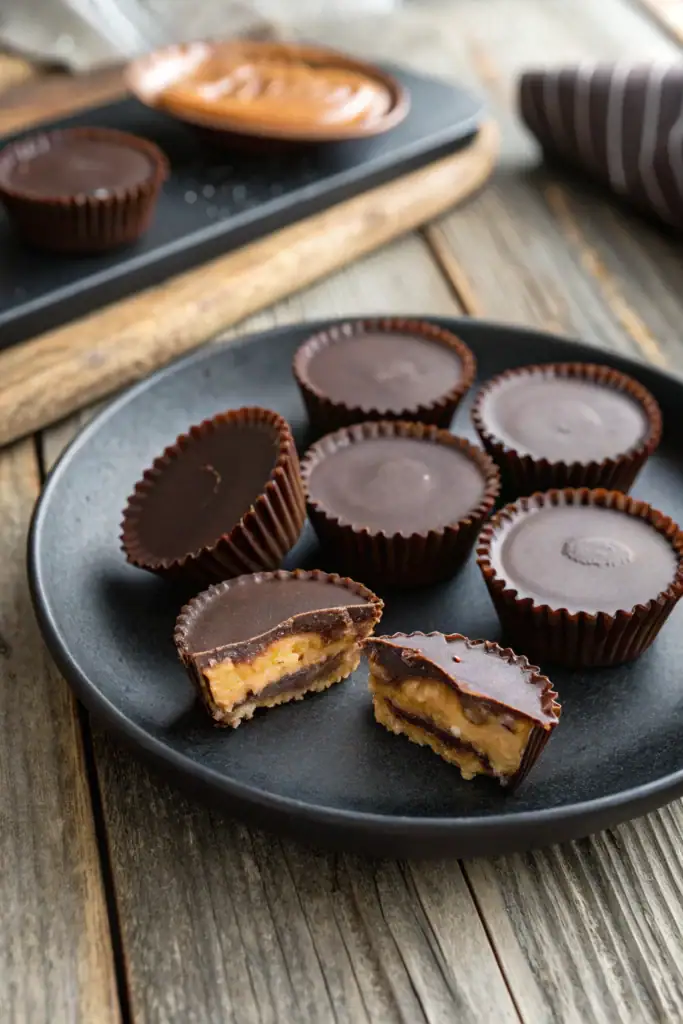
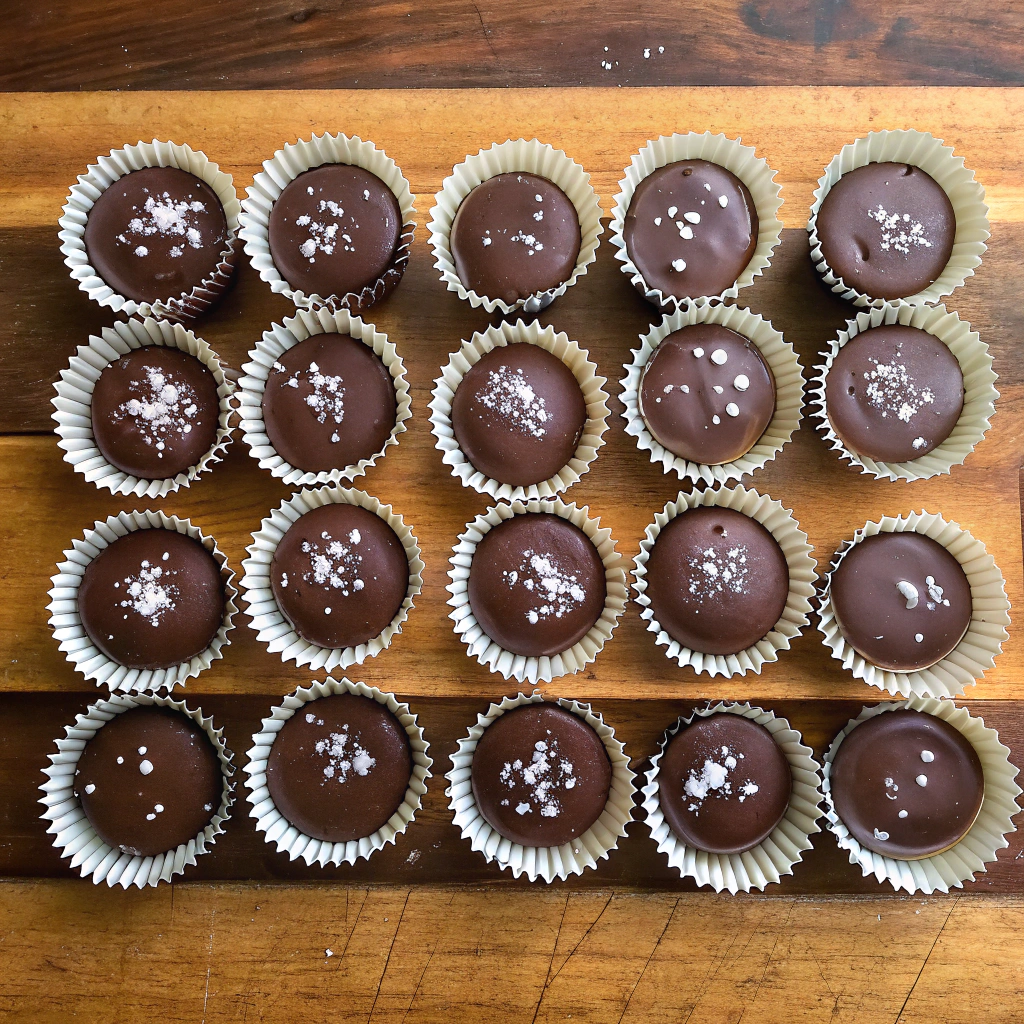
These homemade sugar free candy cups are incredibly simple to make. Mix natural peanut butter with powdered erythritol until smooth and creamy. Line a mini muffin tin with paper liners and add a layer of melted sugar free chocolate to each cup. Freeze for 5 minutes until set. Add a dollop of the peanut butter mixture, then top with more melted chocolate. These treats taste amazingly close to the original version! Let them set in the freezer for 15 minutes before enjoying.
Making sugar free hard candy might seem daunting, but this recipe makes it approachable. Combine allulose sweetener with water and sugar-free flavoring in a saucepan. Heat slowly while stirring until it reaches 300°F (hard crack stage). Carefully pour into silicone molds or onto a prepared baking sheet. Add natural food coloring if desired. Let cool completely at room temperature - don't rush this step! Once set, break into pieces or pop out of molds. Store these sugar free candy pieces in an airtight container.
Making sugar free candy can sometimes feel like a science experiment gone wrong! The texture is often the trickiest part to nail down. When working with sugar alternatives, you might notice your candies becoming too soft or grainy. To fix soft sugar free candy, try adding a bit more fiber syrup or reducing liquid ingredients slightly. If your treats turn out too hard, incorporating a touch more liquid or reducing cooking temperature can help.
I've found that different sugar-free sweeteners behave uniquely - some need more binding agents while others set up perfectly on their own. Testing small batches helps avoid wasting ingredients while you perfect your recipe. When making chewy sugar free candy, consider adding a small amount of xanthan gum to improve the texture.
The dreaded crystal formation can turn your smooth sugar free candy into a grainy mess! To prevent this, avoid stirring the mixture once it starts boiling. I learned this lesson the hard way when making my first batch of sugar-free hard candies. Keep your pot clean from any undissolved sweetener particles, as they can trigger crystallization. Using a candy thermometer is essential for maintaining the right temperature throughout the cooking process.
Adding a small amount of cream of tartar or citric acid helps prevent sugar alcohol crystallization. When making sugar free candy at home, remember to account for humidity - it can seriously affect how your candies set up.
Each sugar-free sweetener brings its own personality to candy making! Erythritol tends to recrystallize when cooled, while allulose stays smoother. When crafting sugar free candy recipes, I usually combine different sweeteners for the best results. Monk fruit and stevia can add sweetness without affecting the texture, but use them sparingly to avoid any bitter aftertaste.
Start with trusted sugar free candy recipes before experimenting with sweetener substitutions. Remember that some sugar alcohols, like xylitol, can cause cooling effects in your mouth. I've found that blending it with allulose helps minimize this sensation while maintaining sweetness.
Proper storage is crucial for maintaining the quality of your sugar free candy creations. Airtight containers are your best friends here - I love using glass jars with rubber seals for hard candies and metal tins for softer varieties. Keep in mind that sugar-free treats can be more sensitive to moisture than traditional candies. Adding food-grade silica gel packets helps absorb excess moisture and extends shelf life.
Consider separating layers of sugar free candy with wax paper to prevent sticking. For chocolate-based treats, store them in a cool, dark place around 65-70°F. I learned through trial and error that plastic containers can sometimes trap moisture, leading to texture changes.
Sharing homemade sugar free candy with loved ones is such a thoughtful gesture! When packaging as gifts, consider using cellophane bags for individual servings - they're perfect for maintaining freshness while looking festive. I love adding personalized labels that list ingredients, especially important for sugar-free treats where people might have specific dietary needs.
For holiday gifts, try arranging different types of sugar free candy in decorative tins. Small paper cups help separate varieties and prevent them from sticking together. Remember to keep chocolate-based treats cool during transport. Clear boxes with compartments work great for creating beautiful assortments.
Understanding how to maximize the shelf life of your sugar free candy is essential for enjoyment and safety. Most homemade varieties stay fresh for 2-3 weeks when stored properly. Hard sugar free candy tends to last longer than chewy types. Keep a close eye on any changes in texture or appearance, as these can indicate it's time to make a fresh batch.
Temperature fluctuations can affect sugar free candy more than traditional sweets. I store mine in a dedicated drawer away from heat sources. When making larger batches, consider freezing portions - many sugar free candy varieties freeze surprisingly well. Just remember to thaw them gradually to prevent condensation issues.
Ready to dive into the world of sugar free candy making? Our community is here to help! I started making these treats when my mom needed diabetic-friendly options, and now I love sharing what I've learned. Sign up for our newsletter to get tested recipes, troubleshooting tips, and seasonal candy ideas. Share your creations, ask questions, and connect with other sugar-free bakers. Let's make something sweet together!
These homemade sugar free peanut butter cups taste just like the store-bought version but without any added sugar. Perfect for diabetics, keto dieters, or anyone watching their sugar intake while still craving something sweet.
Freeze for 10 minutes until set
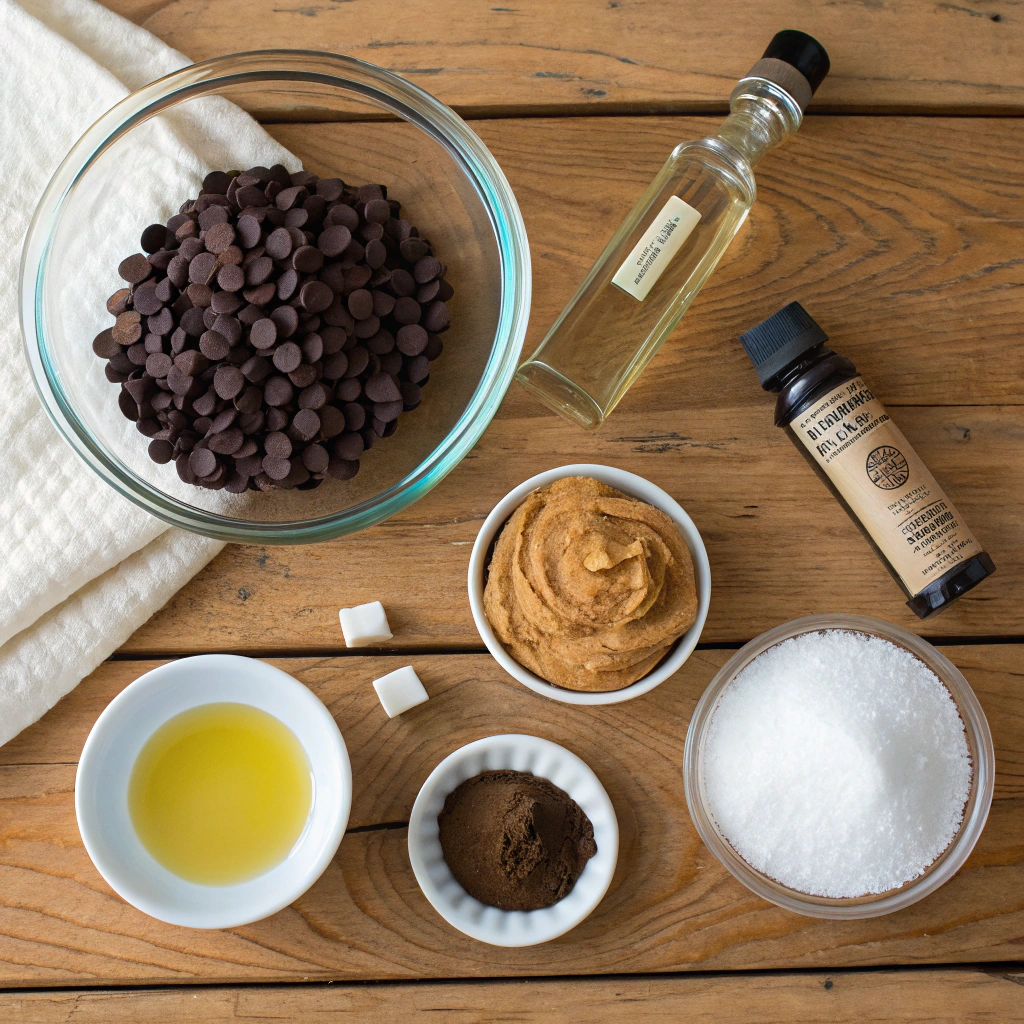
Combine peanut butter, powdered erythritol, vanilla, and salt
Calories:125kcalTotal Fat:11gSodium:65mgTotal Carbohydrate:4gDietary Fiber: 2gSugars: 0gProtein:5g
Storage Tips:
Keep refrigerated in airtight container
Can be frozen for up to 3 months
Let sit at room temperature for 5 minutes before eating
Separate layers with wax paper
Substitutions:
Swap peanut butter for almond or sunflower seed butter
Use monk fruit sweetener instead of erythritol
Try dark or milk sugar free chocolate varieties
Add sugar free chocolate chips to filling for extra crunch
Serving Suggestions:
Perfect for dessert platters
Great as afternoon snack
Pack in lunch boxes (with ice pack)
Serve slightly chilled for best texture