Nutritional values
Servings: 24 ServingCalories:325kcalTotal Fat:16gSodium:185mgTotal Carbohydrate:42gDietary Fiber: 0.5gSugars: 32gProtein:4g

Oh my goodness, y'all - let me tell you about my journey with red velvet cupcakes! After countless flour-covered aprons and more than a few memorable kitchen fails, I've finally mastered these little beauties. Making red velvet cupcakes used to send me into a panic (that rich color can be so tricky!), but now they're my go-to for everything from bake sales to birthday parties. The secret? It's all in understanding the unique chemistry between cocoa powder and buttermilk. Last weekend, I brought a batch to my daughter's soccer game, and even the pickiest mom on the team asked for the recipe. Trust me, if I can nail these velvety treats, you absolutely can too!
You know what's crazy? Those gorgeous red velvet cupcakes we all love actually got their start at New York's swanky Waldorf-Astoria Hotel back in the 1920s. I learned this while thumbing through my grandmother's recipe box last summer. The original recipe was actually for a full-sized cake, but clever bakers started making red velvet cupcakes for easier serving. Back then, they used beet juice for that signature color - way different from the bottles of food coloring we grab at the grocery store today! The hotel's version became so popular that people would literally beg the chef for the recipe. Fun fact: my great-aunt swears she paid $100 for a copied version in 1959!
Let me tell ya, red velvet cupcakes didn't become a nationwide sensation by accident! During the Great Depression, the Adams Extract company had this brilliant idea to boost sales by promoting a cake that used their red food coloring. Smart marketing, right? These stunning cupcakes quickly became the must-have dessert at every special occasion. The rich color and unique taste (it's not quite chocolate, not quite vanilla) had everyone hooked. My mom still talks about how red velvet cupcakes were THE thing to bring to church potlucks in the '60s. The cream cheese frosting revolution of the '70s made them even more irresistible!
Here's something that blows my mind - those first red velvet cupcakes got their color from a chemical reaction between cocoa powder and vinegar! These days, we're seeing a huge comeback of natural coloring options. Last month, I experimented with beet powder in my red velvet cupcakes (my kids had no idea!), and they turned out gorgeous. Some fancy bakeries are even using things like pomegranate juice or berry purees. While traditional food coloring still gives you that picture-perfect red, more bakers are playing with natural alternatives. Just remember - if you're using natural coloring, your cupcakes might end up more burgundy than bright red, but they'll taste just as amazing!
When making red velvet cupcakes, the type of cocoa powder you choose makes a huge difference. I learned this the hard way after several batches turned out too bitter! Natural unsweetened cocoa powder works best, giving these classic treats their subtle chocolate flavor without overpowering the other ingredients. Just like with melt chocolate for other recipes, temperature control is crucial when working with cocoa powder.
The acidity in natural cocoa powder also helps create that gorgeous crimson color when it reacts with the food coloring. Dutch-processed cocoa can make your red velvet cupcakes taste different from the traditional recipe, so save that for other baking projects. Remember to sift your cocoa powder to prevent any lumps that could affect the texture of your finished cupcakes.
The signature color of red velvet cupcakes comes down to choosing the right food coloring. While liquid food coloring is common, I've found that gel-based colors give you the most vibrant results without affecting the recipe's liquid ratio. You'll need less gel coloring to achieve that deep red hue, which means better-tasting cupcakes. For those preferring natural alternatives, beetroot powder can work, though it may yield a different shade. When using natural coloring in your red velvet cupcakes, remember that the color might not be as intense, but the flavor will still be delicious. Start with a small amount and adjust as needed.
Buttermilk is absolutely crucial for authentic red velvet cupcakes - it's not just about tradition! This tangy ingredient does double duty by adding moisture and activating the baking soda through its natural acidity. The chemical reaction helps create that tender, velvety crumb we all love. If you're out of buttermilk, mix one cup of regular milk with a tablespoon of lemon juice or vinegar, let it sit for 5 minutes, and you've got a perfect substitute. The buttermilk's acidity also enhances the red color in your red velvet cupcakes while contributing to their slightly tangy taste.
The secret to perfectly textured red velvet cupcakes starts before you even mix anything! Take your ingredients out of the fridge at least an hour before baking. Room temperature eggs, butter, and buttermilk blend more smoothly, creating a more uniform batter. I've noticed my red velvet cupcakes turn out much fluffier when I follow this simple step. Cold ingredients can cause the batter to curdle or become lumpy, leading to dense, uneven cupcakes. Think of it as giving your ingredients time to wake up and get ready to work together - it really makes a difference in the final texture!
The way you mix your red velvet cupcakes can make or break their texture. Start by creaming the butter and sugar until light and fluffy - this usually takes about 3-4 minutes. Don't rush this step! Add eggs one at a time, mixing well after each addition. When incorporating dry ingredients into your red velvet cupcakes, alternate with the buttermilk mixture, beginning and ending with the dry ingredients. Mix just until combined - overmixing activates too much gluten, making tough cupcakes. I always finish mixing by hand with a spatula to ensure everything is well incorporated without overdoing it.

Creating that iconic tender crumb in red velvet cupcakes requires careful attention to detail. The balance between cake flour and all-purpose flour makes a significant difference - I use a mix of both for the best results. Cake flour gives red velvet cupcakes their delicate texture, while all-purpose flour provides structure. Sift your dry ingredients together twice to ensure even distribution and remove any lumps. The temperature of your oven matters too - invest in an oven thermometer for accuracy. I've found that baking at exactly 350°F (175°C) gives the most consistent results.
Let's talk about the most beloved topping for red velvet cupcakes - cream cheese frosting! This classic combination has been making taste buds happy for generations. To get that perfect creamy texture, make sure your cream cheese and butter are at room temperature before mixing. I learned this the hard way when I once tried rushing with cold ingredients and ended up with lumpy frosting! For the smoothest results, beat the cream cheese first, then gradually add the butter. These red velvet cupcakes deserve that extra attention to detail. My grandmother's secret was adding a tiny splash of vanilla extract and a pinch of salt to balance the sweetness perfectly.
Did you know that ermine frosting was actually the original topping for red velvet cupcakes? This old-school recipe starts with cooking flour and milk together until thick, then cooling completely before whipping with butter and sugar. The result is incredibly silky and less sweet than modern alternatives. When I make red velvet cupcakes for traditionalists, this is my go-to frosting. The texture is like nothing else - imagine the fluffiest cloud meeting the smoothest buttercream! Just remember to strain the milk mixture while hot to avoid any lumps, and be patient during the cooling process.
While traditional frostings are fantastic, there's room for creativity when topping your red velvet cupcakes! I love experimenting with chocolate cream cheese frosting for an extra indulgent twist. White chocolate buttercream adds a luxurious touch that perfectly complements the subtle cocoa notes in the cake. For something lighter, try whipped mascarpone frosting - it's less sweet but equally creamy. During the holidays, I've even added peppermint extract to the classic cream cheese frosting for festive red velvet cupcakes. Remember to always match your frosting consistency to the weather - you might need to adjust the powdered sugar in humid conditions.
Creating beautifully decorated red velvet cupcakes starts with mastering basic piping skills. I always start with a large round tip for classic swirls - it's foolproof and looks professional every time. Hold your piping bag at a 90-degree angle about half an inch above the cupcake surface. Start from the outer edge and work your way in with steady pressure. These red velvet cupcakes deserve that perfect spiral top! For beginners, I recommend practicing on wax paper first. My favorite trick is chilling the frosting slightly before piping - it helps maintain those crisp edges and defined shapes.
Let's make those red velvet cupcakes really stand out! Sprinkle crushed pecans around the edges for a delightful crunch, or add chocolate shavings for extra decadence. During Valentine's Day, I love topping them with tiny fondant hearts or edible glitter. Red velvet cake crumbs make a beautiful garnish - just save some cake trimmings and crumble them finely. Fresh berries add a pop of color and complement the cream cheese frosting perfectly. For special occasions, try making chocolate decorations by piping melted chocolate onto parchment paper in fun shapes.
Want your red velvet cupcakes to look as amazing as they taste? Start with a smooth frosting base, then add eye-catching details. I love using metallic sprinkles for special occasions - they photograph beautifully! Try the Russian piping tip technique for stunning buttercream flowers that'll make everyone ask if they're real. For picture-perfect results, always pipe in good lighting and keep your hands steady. These gorgeous red velvet treats deserve their social media spotlight! Remember to chill them briefly before photographing - this prevents the frosting from looking too soft under warm lights.
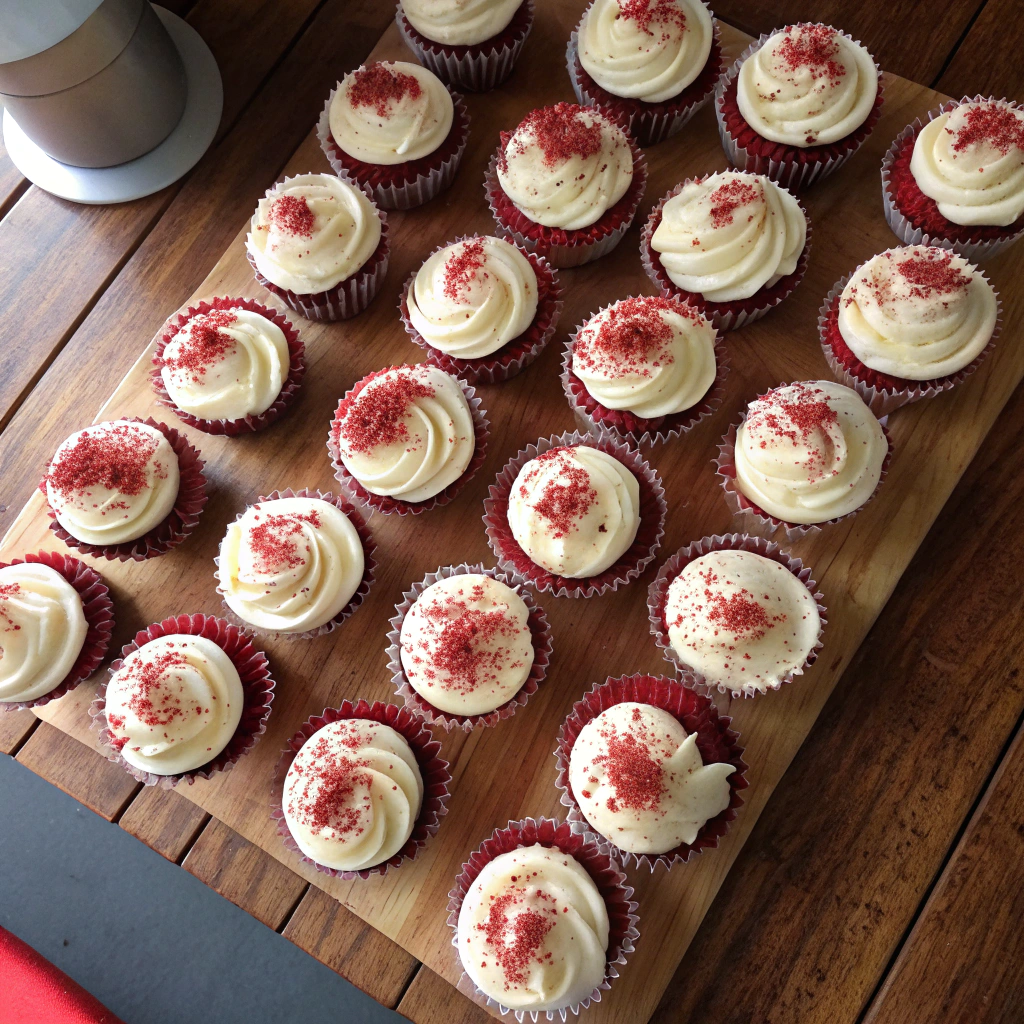
Display your red velvet cupcakes on a tiered stand for maximum impact. For travel, invest in a sturdy carrier with individual wells. I love arranging them in a spiral pattern with alternating frosting swirls and sprinkle decorations. Remember to keep them away from direct sunlight or heat sources during parties.
Individual clear boxes with ribbon bows make perfect gift packaging. For larger batches, use bakery boxes with window tops. Add a personal touch with handwritten tags sharing storage tips or serving suggestions.
Share your red velvet cupcake creations with us! Tag #TalesRecipes on social media or drop a comment below with your tips and tricks. I love seeing your variations and hearing about family traditions. Let's inspire each other to keep baking delicious treats that bring joy to every celebration.
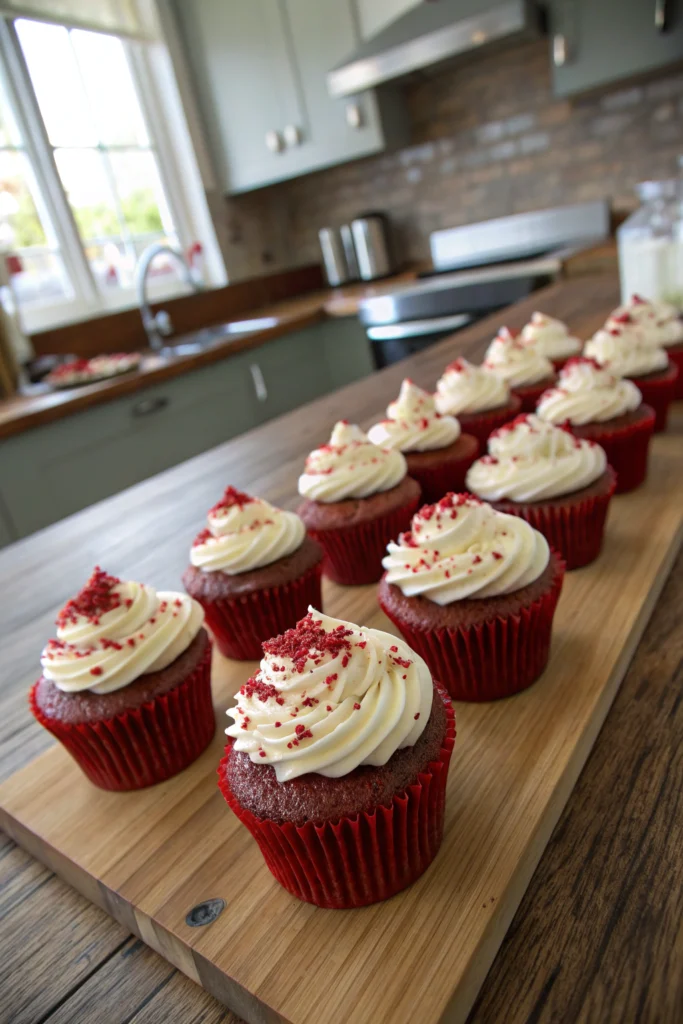
These homemade red velvet cupcakes feature a tender, cocoa-kissed crumb and luxurious cream cheese frosting. A beloved Southern classic made simple for home bakers, delivering that signature red color and subtle chocolate flavor in every bite.
Servings: 24 ServingCalories:325kcalTotal Fat:16gSodium:185mgTotal Carbohydrate:42gDietary Fiber: 0.5gSugars: 32gProtein:4g
Storage:
Keep unfrosted cupcakes at room temperature for 2 days, frosted cupcakes refrigerated for up to 5 days.
Bring to room temperature before serving.
Substitutions:
Make buttermilk by adding 1 tablespoon lemon juice to 1 cup milk.
For natural coloring, use 1/2 cup beet puree instead of food coloring.
Serving Suggestion:
Serve at room temperature with coffee or milk. Perfect for birthdays, holidays, or any special occasion.