Get ready to experience the most incredible Oreo peppermint cookies that’ll make your holiday season absolutely magical! These festive treats combine the classic crunch of Oreos with refreshing candy cane pieces, creating an irresistible winter wonderland in every bite. I discovered this recipe during a snowy December evening when my kids begged for something special to leave for Santa.
The satisfying snap of crushed peppermint and the rich chocolate notes will transport you straight to a cozy Christmas kitchen. Best of all? You won’t believe how simple these are to whip up! Perfect for cookie swaps, holiday parties, or midnight snacking (I won’t tell!), these cookies disappear faster than snowflakes in sunshine.
Why Oreo Peppermint Cookies Are Holiday Favorites
History of Combining Oreos with Peppermint
The tradition of Oreo peppermint cookies actually began in the 1950s when home bakers started experimenting with crushed candy canes on chocolate treats. During the post-war boom, creative moms would press peppermint pieces into Oreo cookies for church socials and neighborhood gatherings. This brilliant pairing quickly caught on, especially in snowy Midwest states where mint flavors ruled winter dessert tables.
By the 1960s, holiday magazines featured these cookies regularly, and some clever bakers even started dipping them in white chocolate first. The combination made perfect sense – the cool mint perfectly balanced the rich chocolate cookie. Today’s versions often include festive sprinkles and crushed candy pieces, but the basic magic remains the same. Just like grandma’s recipe box suggests, these treats still bring together the best of both worlds – classic sandwich cookies and refreshing holiday mint.
Unique Texture and Flavor Profile
Oreo peppermint cookies offer an incredible mix of textures that make them stand out from regular holiday treats. The classic crunch of the chocolate wafers meets the smooth, creamy filling, while crushed peppermint adds an exciting snap and sparkle. When you bite into one, you’ll first notice how the mint tingles on your tongue, followed by the rich chocolate notes that slowly bloom.
The combination creates a perfect balance – not too sweet, not too minty. Many bakers love how the cooling sensation of peppermint cuts through the deep chocolate flavor, making these cookies refreshingly different from standard chocolate desserts. Plus, the striking contrast between dark cookie crumbs and white peppermint pieces makes them look as good as they taste.
Think of it as getting the best of both worlds: the familiar comfort of America’s favorite sandwich cookie with the festive zing of holiday peppermint.
Perfect for Winter Celebrations
Oreo peppermint cookies shine brightest during the festive season. These crowd-pleasers work wonderfully for holiday cookie swaps, winter birthday parties, and cozy family gatherings around the fireplace. You’ll find them stealing the show at office potlucks, where they vanish faster than snowflakes in sunshine!
While they’re amazing year-round, something magical happens when you serve them alongside hot cocoa on a chilly December evening. For easy entertaining, make them ahead and store them in an airtight container – they’ll stay fresh for up to a week.
Pro tip: place them in decorated mason jars for heartwarming homemade gifts. Kids especially love helping to crush the candy canes, turning cookie-making into a cherished holiday tradition. Just remember to save some for Santa – these minty delights might become his new favorite over plain chocolate chip!
Complete Recipe Guide: From Prep to Presentation
Gathering and Measuring Ingredients
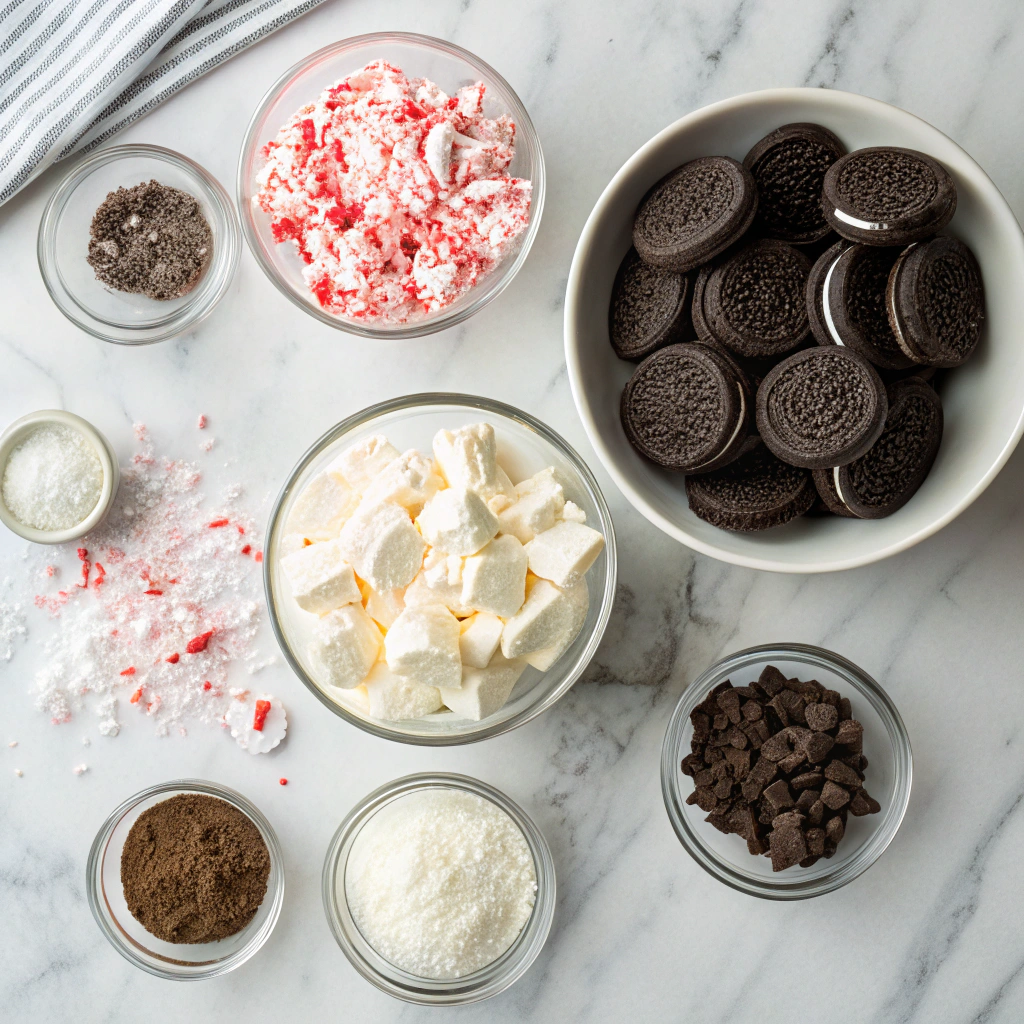
Creating perfect oreo peppermint cookies starts with precise measurements and quality ingredients. You’ll need classic Oreos crushed to fine crumbs, creating a deep chocolate foundation. Fresh candy canes work best for that signature minty crunch – avoid using old ones that might be sticky. The secret to that perfect texture lies in using room temperature cream cheese, which blends smoothly without lumps.
For best results, measure your powdered sugar by spooning it into measuring cups rather than scooping directly. White chocolate should be premium quality with real cocoa butter for proper melting. While gathering ingredients, try our white chocolate peppermint cookies recipe for another festive twist.
Remember to prep all ingredients before starting – this includes crushing Oreos, unwrapping candy canes, and letting dairy items reach room temperature. This mise en place approach ensures smooth sailing once you begin mixing.
Shaping and Decorating Techniques
Creating picture-perfect oreo peppermint cookies requires mastering a few key techniques. Start by rolling your cookie dough into uniform 1-inch balls – consistency is crucial for even baking. Gently press each ball with a fork to create that classic crisscross pattern, or use a patterned cookie stamp for extra flair.
When adding the crushed candy cane topping, sprinkle it on while the white chocolate coating is still wet for perfect adherence. For best results, tap your dipped cookies gently on the side of the bowl to remove excess chocolate before placing on parchment. Let each layer set completely before adding the next – rushing this step can lead to messy results.
The finishing drizzle should be thin enough to flow smoothly but thick enough to hold its shape. Work in small batches when decorating to prevent your chocolate from setting too quickly. Remember that presentation matters – arrange finished cookies in a spiral pattern for maximum visual impact.
Storage and Make-Ahead Tips
These oreo peppermint cookies stay wonderfully fresh when stored properly. Keep them in an airtight container at room temperature for up to 5 days, placing wax paper between layers to prevent sticking. The crushed candy cane topping may soften slightly over time, but the cookies will maintain their delicious flavor and texture.
For longer storage, freeze the undecorated cookies for up to 3 months – just thaw overnight before adding the white chocolate and peppermint toppings. The cookie dough can also be made ahead and frozen in balls for up to 2 months. When ready to bake, add an extra minute to the baking time.
Pro tip: Store cookies with a slice of bread to keep them soft and prevent the candy cane pieces from becoming too sticky. For gifting, package cookies in cellophane bags with festive ribbon, but wait to add any toppings until just before presenting.
Professional Secrets for Perfect Results
Temperature Control Mastery

Creating irresistible oreo peppermint cookies starts with mastering temperature control. Room temperature ingredients are absolutely crucial – cold butter or eggs can make your cookies spread unevenly or become tough. Let your butter sit out for exactly 1 hour before starting, until it’s soft enough that your finger leaves a slight indent. Your eggs should rest on the counter for 30 minutes.
When mixing, keep your dough cool between batches by storing it in the fridge. The perfect baking temperature is 350°F (175°C) – any hotter and your crushed Oreos might burn. Watch for golden edges and a slightly soft center at exactly 11 minutes. Let them cool for 5 minutes on the baking sheet before transferring to a wire rack.
This prevents the delicate peppermint-chocolate balance from becoming overwhelming as they set. For consistent results, invest in an oven thermometer – most home ovens can be off by 25 degrees or more.
Decorating Tips for Picture-Perfect Results
For stunning oreo peppermint cookies that look as amazing as they taste, start with proper coating techniques. Dip each cookie at a 45-degree angle, letting excess chocolate drip off naturally. Sprinkle crushed candy canes immediately while the coating is wet – waiting even 30 seconds can prevent proper sticking.
Create beautiful swirls by drizzling white chocolate in thin lines using a piping bag with a tiny tip. For that professional bakery look, tap the cookie gently on the counter to smooth the coating. Keep your work surface cool around 65°F to prevent chocolate from setting too quickly.
Store decorated cookies in a single layer with wax paper between them to maintain those picture-perfect designs. A light dusting of edible shimmer powder adds an elegant touch that makes these cookies truly gift-worthy. Remember to photograph your masterpieces in natural light to capture all those gorgeous details!
Storage Tips for Fresh-Baked Perfection
These oreo peppermint cookies stay deliciously fresh when stored properly. Keep them in an airtight container at room temperature for up to 5 days, placing wax paper between layers to prevent sticking. The chocolate coating helps lock in moisture, but avoid storing near heat sources or in direct sunlight which can cause melting.
For longer storage, these treats freeze beautifully for up to 3 months – just wrap them individually in plastic wrap first. When ready to enjoy, thaw at room temperature for about 30 minutes. The key is letting them come to room temp naturally – never microwave or they’ll lose that perfect texture.
If you notice any condensation forming during thawing, simply pat them gently with paper towels. For gift-giving, package cookies in decorative tins lined with parchment paper and add a silica gel packet to maintain freshness.
Solving Common Oreo Peppermint Cookie Challenges
Preventing Crumbly Texture Issues
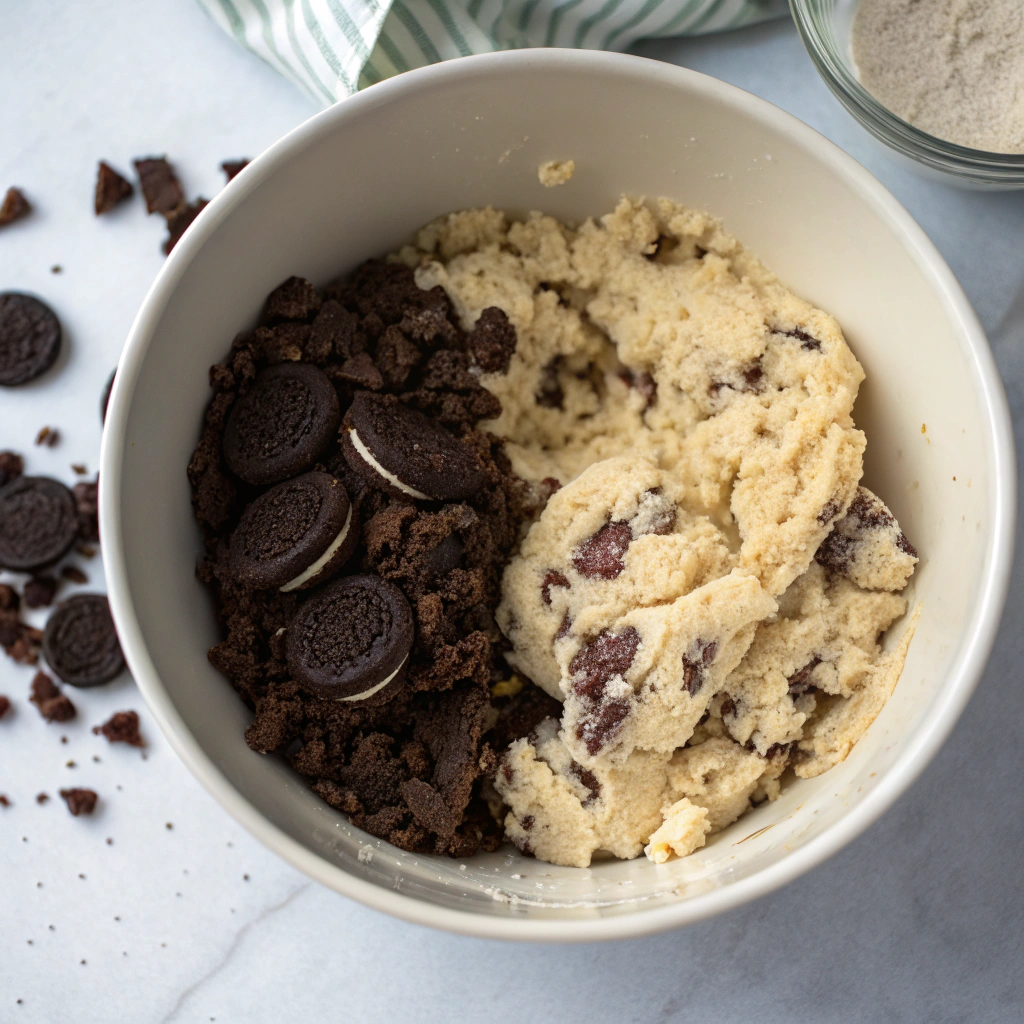
Getting that perfect texture for oreo peppermint cookies can be tricky. The secret lies in proper ingredient ratios and mixing technique. Start by crushing your Oreos to a consistent medium-fine texture – not too powdery, but no large chunks either. A food processor works best, using short pulses rather than continuous processing.
When combining with the peppermint-infused cream cheese mixture, work quickly but gently to avoid overworking the dough. The cream cheese should be perfectly softened at room temperature for 30 minutes, no more. If your dough feels too dry, add cream cheese one tablespoon at a time until it holds together without being sticky.
For the smoothest results, try our white chocolate peppermint cookies recipe which uses a similar technique. Watch out for over-baking – these cookies should come out of the oven when the edges are just set but the centers still look slightly underdone.
Achieving Perfect Peppermint Balance
Getting that ideal peppermint flavor in oreo peppermint cookies requires careful attention to detail. The key is using high-quality peppermint extract – start with just 1/4 teaspoon per batch and adjust to taste. Too much can make your cookies taste like toothpaste!
For the most festive results, try our white chocolate peppermint cookies recipe which perfectly balances mint and sweetness. Crush candy canes just before using to keep them from getting sticky, and fold them in last to prevent the red dye from bleeding. A food processor works great, but you can also place them in a zip-top bag and crush with a rolling pin.
Pro tip: chill your dough for at least 2 hours – this helps the peppermint flavor develop and prevents spreading during baking. The finished cookies should have a subtle mint aroma that complements the rich Oreo base without overpowering it.
Decorating Tips for Oreo Peppermint Cookies
Want your oreo peppermint cookies to look as amazing as they taste? Let’s talk decorating magic! Start by drizzling melted white chocolate in zigzag patterns across the cooled cookies – this creates that professional bakery look. For extra festive flair, crush some candy canes into a super-fine powder using a food processor and sprinkle it on while the chocolate is still wet.
Another fun trick is dipping half the cookie in melted dark chocolate, then sprinkling with crushed peppermint pieces. For the ultimate holiday presentation, try our white chocolate peppermint cookies recipe – it’s a crowd favorite that uses similar decorating techniques. Remember to work quickly when adding toppings since chocolate sets fast.
Pro tip: place decorated cookies in the fridge for 5 minutes to set the chocolate perfectly. Keep your workspace cool to prevent chocolate from getting too runny, and use a piping bag for precise drizzles.
Creative Oreo Peppermint Cookie Variations
Traditional Double-Stuffed Version

Want to take your oreo peppermint cookies to the next level? Start with double-stuffed Oreos for an extra-indulgent base. The additional cream filling creates a richer, more luxurious texture that perfectly balances the cool peppermint flavor. Break up whole candy canes into tiny pieces using your food processor, then gently press them into the cream filling.
For an amazing twist, try our chocolate peppermint cookies recipe that uses a similar double-filling technique. The key is working with room temperature Oreos – they’re less likely to crumble when you’re adding the peppermint pieces. Plus, the cream filling will be softer and more receptive to the candy additions.
Remember to store these in an airtight container with wax paper between layers to prevent sticking. The result? A perfectly balanced treat that combines the classic Oreo taste with refreshing peppermint in every bite.
Minty White Chocolate Delight
For an elegant twist on oreo peppermint cookies, try incorporating white chocolate into the mix. Start by melting premium white chocolate chips in a double boiler until silky smooth. Dip each cookie halfway into the melted chocolate, then immediately sprinkle with crushed candy canes while the coating is still wet. The contrast between the dark cookie and white chocolate creates a stunning visual effect.
For best results, lay the dipped cookies on parchment paper and refrigerate for 15 minutes until set. This method pairs beautifully with our white chocolate peppermint cookies recipe that uses a similar dipping technique. The key is maintaining the white chocolate at the perfect temperature – if it’s too hot, it’ll become thin and runny; too cool, and it’ll be too thick to coat properly.
Store these fancy treats in an airtight container between wax paper layers, and they’ll stay fresh for up to a week.
Holiday Cookie Decorating Magic
Transform your oreo peppermint cookies into festive masterpieces with simple decorating techniques. Start by crushing candy canes into a fine powder using a food processor or rolling pin. Melt white candy melts in the microwave at 50% power, stirring every 30 seconds until smooth. Dip each cookie halfway into the melted candy coating, then immediately sprinkle with the crushed peppermint before it sets.
For extra flair, drizzle dark chocolate in thin lines across the white coating using a piping bag. The contrast between the dark cookie, white coating, and red peppermint creates a stunning holiday display. Let the cookies set completely on parchment paper at room temperature for about 30 minutes.
Package these beauties in clear cellophane bags tied with festive ribbon for perfect holiday gifts, or arrange them on a serving platter for your next winter gathering. These decorated cookies stay fresh for up to 5 days when stored in an airtight container.
Start Making Your Perfect Holiday Cookies Today
Ready to create these crowd-pleasing treats? Grab your ingredients and follow our foolproof recipe. The magic of combining classic Oreos with cool peppermint creates an unforgettable holiday experience. Join thousands of happy bakers who’ve made these their go-to Christmas cookie. Click the recipe card below to get started on your batch today!

Oreo Peppermint Cookies
Festive cookies combining crushed Oreos with refreshing peppermint, dipped in white chocolate and sprinkled with candy cane pieces. Perfect for holiday gatherings and cookie exchanges.
Ingredients
Cookie Base:
Coating:
Instructions
Preparation:
- Place Oreos in food processor, pulse until finely crushedTexture should be like fine crumbs
- Beat softened cream cheese until smooth in large bowl
- Mix crushed Oreos, cream cheese, and peppermint extract until well combinedMixture should be evenly black
- Roll mixture into 1-inch balls
- Place on parchment-lined baking sheet
- Refrigerate for 15 minutes
Coating:
- Crush candy canes in food processor until finely ground
- Melt white chocolate in microwave at 50% power, stirring every 30 secondsShould be smooth with no lumps
- Dip each chilled ball in melted white chocolate
- Tap off excess and place on parchment paper
- Immediately sprinkle with crushed candy canes
- Let set at room temperature for 10 minutes
Nutritional values
Servings: 24 ServingCalories:185kcalTotal Fat:10gSodium:95mgTotal Carbohydrate:22gDietary Fiber: 0.5gSugars: 18gProtein:2g
Note
Storage:
Store in airtight container at room temperature for up to 5 days
(Place wax paper between layers)
Reheating:
Not recommended
Freezing:
Freeze uncoated balls for up to 3 months
(Thaw overnight before coating)
Variations:
Dark chocolate coating instead of white
Use mint Oreos for extra mint flavor
Add crushed nuts to coating
Common Issues:
Mixture too soft: Chill longer before rolling
White chocolate too thick: Add 1 teaspoon coconut oil
Candy canes sticky: Process just before using


