
Oh my goodness, y’all – let me tell you about this lemon pound cake that’s been my family’s go-to for three generations! I remember standing on a kitchen stool at my grandma’s house, watching her zest lemons over her worn mixing bowl. There’s something magical about a perfectly baked pound cake that just makes everything better. After countless Sunday baking sessions (and yes, a few memorable flops!), I’ve finally mastered this buttery classic. This lemon pound cake recipe hits that sweet spot between dense and fluffy, with just the right amount of citrus zing. Trust me, once you’ve tried this version, you’ll never go back to store-bought!
Classic Lemon Pound Cake Recipe Essentials
Must-Have Ingredients for the Perfect Citrus Crumb
Listen up, bakers – the secret to an amazing lemon pound cake starts with room temperature ingredients (I learned this the hard way after one too many lumpy batters!). You’ll need unsalted butter – spring for the good stuff here, it makes a difference. Grade A large eggs are non-negotiable for that perfect texture. Don’t skimp on real vanilla extract either!
For the star of the show, pick heavy, bright yellow lemons – they’ll give you more juice and zest. I always grab an extra lemon or two because, wouldn’t you know it, that’s when you’ll need them! All-purpose flour, pure cane sugar, and whole milk round out our ingredient list. And please, pretty please, use real butter – margarine just won’t cut it here.
Measuring Tips for Foolproof Results
Y’all, measuring ingredients for a lemon pound cake isn’t just dumping things in a bowl (I wish!). Here’s what I’ve learned after way too many dense disasters: First, fluff your flour with a fork, then spoon it into your measuring cup – never pack it down! For the perfect lemon pound cake texture, accuracy is key.
Speaking of measuring, those cute vintage cups are adorable but stick to standard measures. Level everything with the back of a knife – even a smidge too much flour can make your cake heavy. When measuring liquids, set your cup on the counter and bend down to check at eye level. And don’t forget to zest your lemons before juicing – trust me, it’s so much easier!
Essential Tools and Equipment Setup
Before you dive into making your lemon pound cake, let’s talk setup – because nothing’s worse than scrambling for that one thing mid-recipe (been there!). You’ll need a stand mixer or hand mixer – those butter and sugar aren’t gonna cream themselves! Grab a 10-inch tube pan or two 9×5 loaf pans; just make sure they’re light-colored metal. Dark pans can make the crust too brown, which I discovered after one particularly crispy incident. Have your microplane or zester ready for those lemons, plus measuring cups and spoons. I always set out a large mixing bowl, rubber spatula, and parchment paper. Oh, and check your oven temperature with a thermometer – most ovens run a little hot or cold.
Mastering the Lemon Pound Cake Technique
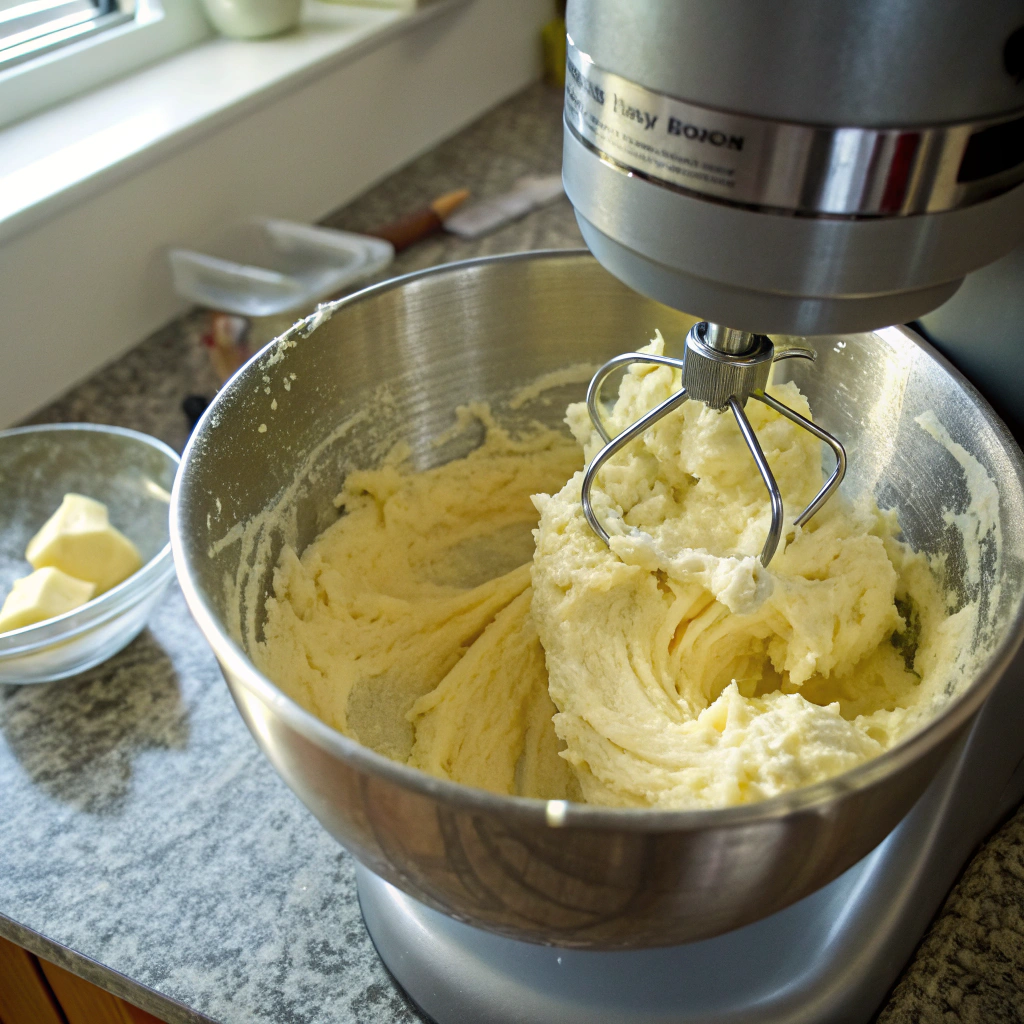
Creaming Butter and Sugar Like a Pro
The foundation of any great lemon pound cake starts with properly creamed butter and sugar. I learned this the hard way after countless dense cakes! Start with room temperature butter – I usually leave mine out for about 2 hours. Beat it alone first until it’s light and fluffy, about 3-4 minutes. Then gradually add your sugar while mixing at medium speed. You’ll know you’ve nailed it when the mixture turns pale yellow and looks almost fluffy like whipped cream. This process creates tiny air pockets that help your cake rise beautifully. I always scrape down the sides of the bowl several times to make sure everything is evenly mixed. Trust me, rushing this step will affect your final texture!
Adding Eggs Without Breaking the Batter
Creating the perfect lemon pound cake requires patience when adding eggs. I always use room temperature eggs – cold ones can cause your batter to curdle! Add them one at a time, mixing for about 30 seconds between each addition. If you notice the batter starting to look curdled or separated, don’t panic. Just add a tablespoon of your measured flour between eggs. This helps stabilize the mixture. The key is maintaining a consistent temperature throughout your ingredients. I’ve found that setting my eggs in warm water for about 10 minutes while the butter softens works perfectly. Keep your mixer on medium speed to avoid incorporating too much air.
Incorporating Fresh Lemon Zest for Maximum Flavor
The secret to an amazing lemon pound cake lies in fresh lemon zest! I always zest my lemons before juicing – it’s much easier that way. Here’s a pro tip: rub the zest into your sugar before creaming it with butter. This releases the essential oils and intensifies the flavor throughout your cake. Avoid the white pith when zesting as it can make your cake bitter. I typically use 2-3 large lemons for enough zest. If you’re planning ahead, you can even store lemon zest in an airtight container in the freezer. Just remember to bring it to room temperature before using it in your batter.
Troubleshooting Common Pound Cake Problems
Why Your Cake May Have Sunk in the Middle
A sunken lemon pound cake can be frustrating, but don’t worry – it’s fixable! The most common culprit is opening the oven door too early. I know it’s tempting to peek, but resist until at least 45 minutes into baking. Another reason might be expired leavening agents. I always test my baking powder by dropping a small amount in hot water – if it fizzes, it’s still good! Sometimes over-mixing can also cause sinking, as too much air gets trapped in the batter. Remember that your cake will continue baking from residual heat even after you take it out of the oven.
Fixing Dense or Dry Lemon Pound Cake Issues
Nobody wants a dry lemon pound cake! The key to moisture is proper measuring – too much flour is often the culprit. I always spoon flour into measuring cups rather than scooping directly from the bag. This prevents over-packing. Another moisture tip: try adding a bit of sour cream or Greek yogurt to your batter. These ingredients help keep your cake tender and moist for days. If your cake still turns out dense, check your oven temperature with a separate thermometer. Sometimes ovens can run hot, causing the outside to bake too quickly while the inside remains heavy.
Preventing Cracks and Uneven Rising
Getting a perfectly smooth lemon pound cake takes practice! Cracks often appear when the oven temperature is too high. I start at 350°F for the first 15 minutes, then reduce to 325°F for the remaining time. Greasing your pan thoroughly is crucial – I use butter and flour, making sure to coat every crevice. Another tip: tap your filled pan on the counter several times before baking to release air bubbles. Create a slight depression in the center of your batter before baking – this helps the cake rise more evenly as it bakes.
Glazes and Toppings for Lemon Pound Cake
Classic Lemon Drizzle Recipe
A perfect lemon pound cake deserves an equally amazing glaze! I’ve found that the best drizzle combines 1 cup of powdered sugar with 2-3 tablespoons of fresh lemon juice – adjust the amount until you get that perfect ribbon-like consistency. For extra zing, I love adding a teaspoon of lemon zest to the mix. The key is waiting until your cake has cooled for about 10 minutes before applying the first layer.
I usually do two coats – the first seeps into the warm cake, while the second creates that beautiful, glossy finish we all love. Pro tip: place parchment paper under your cooling rack to catch any drips and make cleanup a breeze. Your citrus masterpiece will thank you for this extra touch of sweetness!
Creative Seasonal Garnish Ideas
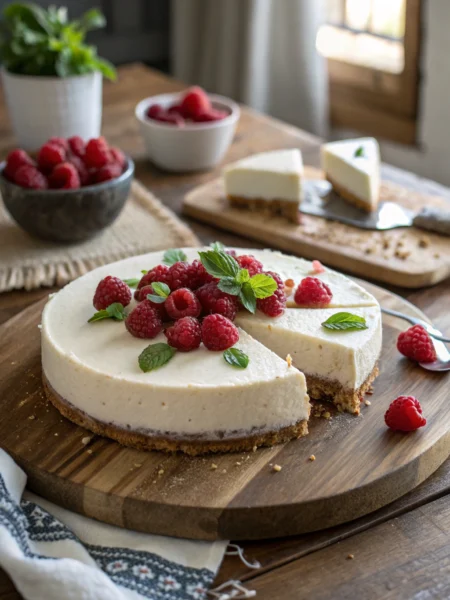
Your lemon pound cake can shine in any season with the right toppings! In spring, I love decorating with fresh edible flowers like violets or pansies. Summer calls for fresh berries – raspberries and blueberries not only look gorgeous but taste amazing with the lemony flavor. For fall, try candied lemon slices and a sprinkle of cinnamon sugar. Winter holidays? Go for sugared cranberries and rosemary sprigs! Don’t forget about herbs – fresh mint leaves make a beautiful garnish year-round. I always keep my decorations simple and natural, letting the cake’s citrusy goodness take center stage. Remember to add any fresh garnishes just before serving to keep them looking their best.
Make-Ahead Glazing Tips
Planning ahead with your lemon pound cake can be a real time-saver! I’ve learned that you can make the glaze up to three days in advance – just store it in an airtight container in the fridge. When you’re ready to use it, let it come to room temperature and give it a good stir. If it’s too thick, add a few drops of lemon juice to thin it out. For the best results, always glaze your cake the day you plan to serve it. This keeps that perfect shiny finish we all love. If you’re transporting your glazed cake, wait until it’s completely set (about 2 hours) before covering. A cardboard cake round makes moving your masterpiece much easier!
Storing and Serving Your Citrus Creation
Best Ways to Keep Lemon Pound Cake Fresh
The secret to keeping your lemon pound cake moist and delicious is proper storage! At room temperature, a well-wrapped cake stays fresh for up to 4 days. I like using plastic wrap followed by foil for the best protection. If your kitchen runs warm, pop your pound cake in the fridge – it’ll keep for nearly a week! Just remember to bring slices to room temperature before serving for the best flavor and texture. Avoid storing in plastic containers, which can trap too much moisture and make the glaze sticky. For unglazed cakes, a glass dome or cake keeper works perfectly. Always store your citrus beauty away from strong-smelling foods to preserve its delicate flavor.
Freezing and Thawing Guidelines
Your lemon pound cake can be frozen for up to three months if wrapped properly! First, let it cool completely. If glazed, freeze until the topping is set. Wrap the cake tightly in plastic wrap, then aluminum foil, and place in a freezer bag. For single servings, slice your pound cake before freezing – this way, you can thaw just what you need. When ready to enjoy, thaw overnight in the refrigerator while still wrapped. Bring to room temperature before serving. The glaze might look a bit dull after freezing, but a fresh drizzle on top quickly fixes that! Never refreeze thawed cake portions.
Perfect Pairings and Serving Suggestions

Your lemon pound cake deserves perfect accompaniments! For brunch, serve slices with fresh berries and a dollop of whipped cream. For a delightful breakfast pairing, try serving your lemon pound cake with a warm quinoa breakfast bowl for a balanced morning meal. At teatime, pair your citrus creation with Earl Grey or chamomile tea. Coffee lovers will enjoy it with a strong espresso or cappuccino.
For dessert, try warming slices slightly and adding a scoop of vanilla ice cream. I love serving this pound cake at spring gatherings with a side of macerated strawberries. While your lemon pound cake is baking, why not try making a refreshing green bean salad to serve alongside it at your next summer gathering? During summer, fresh mint-infused whipped cream makes an amazing topping. Remember to slice with a serrated knife for clean cuts, and warm the knife if the cake is cold!
Start Baking Your Perfect Lemon Pound Cake Today
Ready to create your own mouthwatering lemon pound cake? Grab those lemons and let’s get started! Remember, the key to success is taking your time with the creaming process and measuring ingredients carefully. Share your baking adventures with us in the comments below – we’d love to see your results! Don’t forget to tag @talesrecipes in your social media posts. Happy baking!
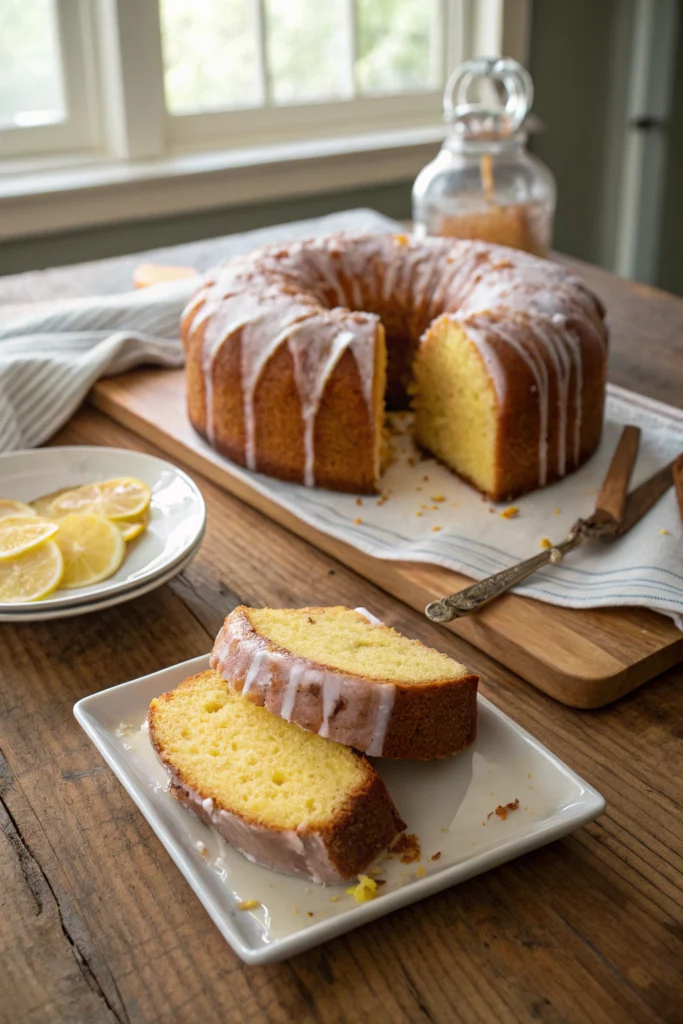
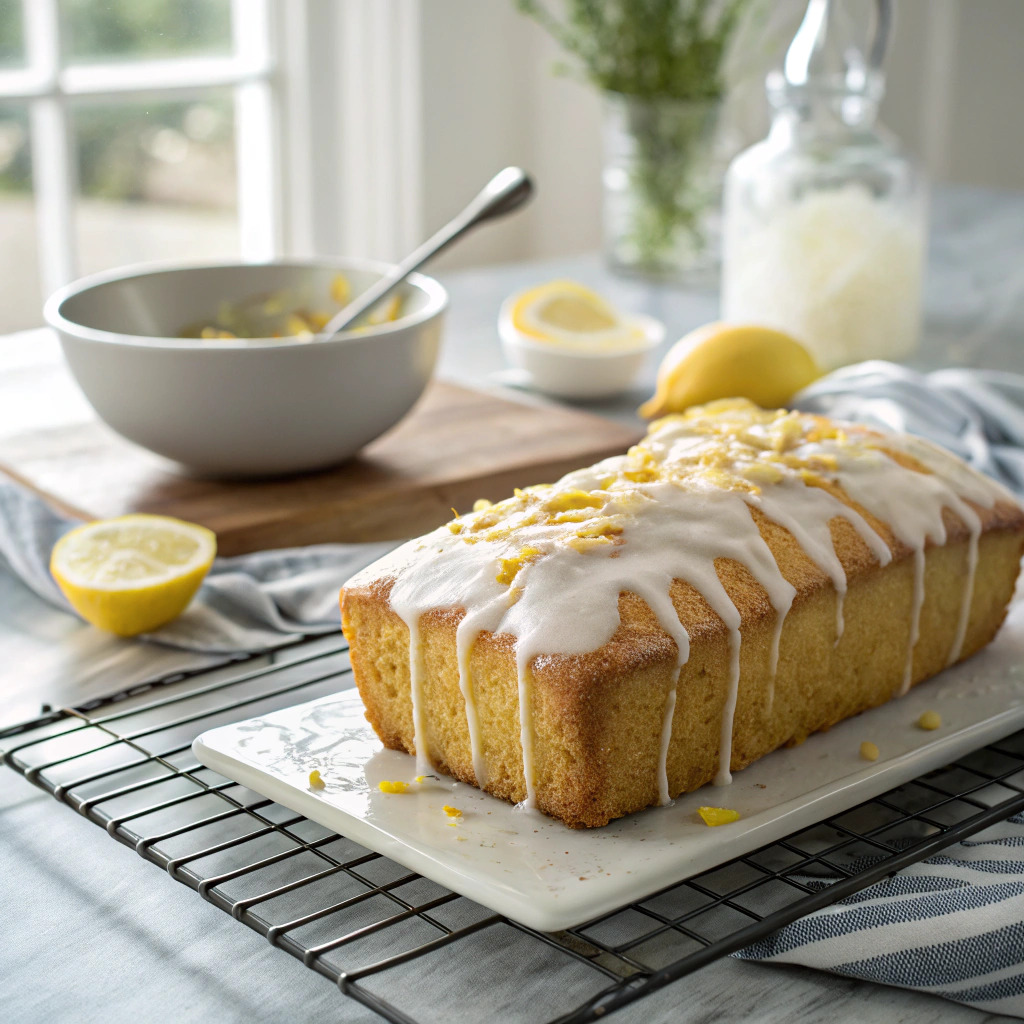
Lemon Pound Cake
This moist, tender pound cake bursts with fresh lemon flavor in every bite. Perfect for any occasion, from afternoon tea to elegant desserts, it features a golden crust and velvety crumb topped with a tangy lemon glaze.
Ingredients
For the Cake:
For the Lemon Glaze:
Instructions
Prepare the Pan and Oven
- Preheat oven to 350°F
- Grease and flour a 10-inch tube pan or two 9x5 loaf pans
- Line bottom with parchment paperSuccess indicator: Pan should be evenly coated with no bare spots
Mix Dry Ingredients
- In a medium bowl, whisk together flour, salt, and baking powder
- Set asideSuccess indicator: Ingredients should be well combined with no lumps
Cream Butter and Sugar
- Beat butter in stand mixer until light and fluffy3-4 minutes
- Gradually add sugar while mixing at medium speed
- Continue beating until pale and fluffy5-7 minutes - Success indicator: Mixture should be very light in color and fluffy in texture
Add Wet Ingredients
- Add eggs one at a time, beating well after each addition
- Mix in vanilla extract
- Add lemon zest and juiceSuccess indicator: Mixture should be smooth and well combined
Combine Wet and Dry
- Alternate adding flour mixture and milk to butter mixture
- Begin and end with flour3 parts flour, 2 parts milk
- Mix until just combinedSuccess indicator: Batter should be smooth but not overmixed
- Bake and Cool
Pour batter into prepared pan
- Bake for 65-75 minutes
- Cool in pan for 10 minutes
- Remove from pan and cool completelySuccess indicator: Toothpick inserted comes out clean with a few moist crumbs
- Make and Apply Glaze
- Mix powdered sugar, lemon juice, and zest
- Pour over cooled cakeSuccess indicator: Glaze should be thick but pourable
Nutritional values
Servings: 12 ServingCalories:320kcalTotal Fat:13gSodium:120mgTotal Carbohydrate:48gDietary Fiber: 1gSugars: 32gProtein:4g