Nutritional values
Servings: 12 ServingCalories:285kcalTotal Fat:12gSodium:320mgTotal Carbohydrate:42gDietary Fiber: 2.5gSugars: 24gProtein:4.5g
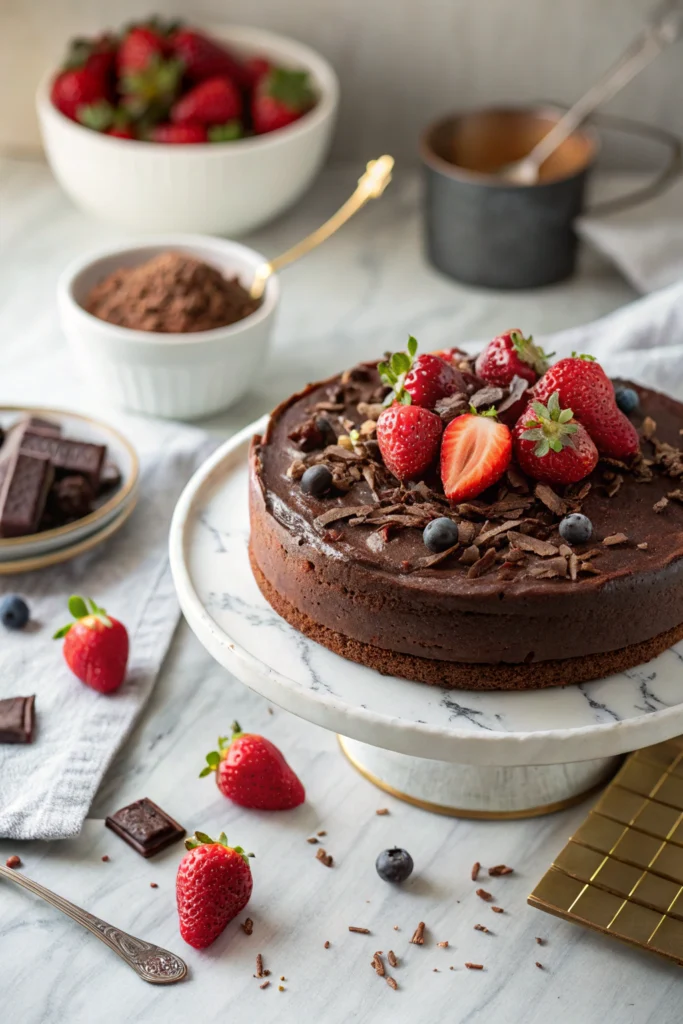
Looking for the perfect gluten free chocolate cake recipe that doesn't compromise on taste? You're in for a treat! This heavenly chocolate cake is so rich and moist, nobody will believe it's gluten-free. As someone who's tested countless recipes, I can honestly say this one's a game-changer.
The secret lies in the perfect blend of gluten-free flours and premium cocoa powder. Every bite delivers that classic chocolate cake experience you've been craving. Trust me, I've served this at countless family gatherings, and it always disappears within minutes!
Whether you're celebrating a special occasion or just craving something sweet, this foolproof recipe will become your go-to favorite. Ready to create some chocolate magic in your kitchen?
Understanding the science of gluten-free baking makes this chocolate cake recipe truly exceptional. The key lies in creating the perfect protein structure without wheat flour. Here's what makes it work: xanthan gum acts as our gluten substitute, forming a network that traps air bubbles for that perfect rise. Meanwhile, the combination of almond and rice flours provides just the right protein-to-starch ratio.
But here's the real game-changer - the temperature of your ingredients matters more than you might think! Room temperature eggs and butter create a smoother emulsion, while warm coffee intensifies the chocolate flavor by blooming the cocoa powder. I learned this trick after countless test batches in my kitchen. Plus, the slight acidity from buttermilk helps activate the baking soda, giving us that dreamy, tender crumb we're after.
This gluten free chocolate cake recipe packs more than just amazing flavor - it's a powerhouse of nutrition! Almond flour brings healthy fats and protein, while rice flour offers sustained energy. I've found that my clients with celiac disease absolutely love how this cake fits perfectly into their diet without compromising taste.
Beyond being gluten-free, this recipe works wonderfully for those following kosher or dairy-free diets (just swap the buttermilk for coconut milk). The natural cocoa powder isn't just for taste - it's loaded with antioxidants and minerals. Plus, you'll get a good dose of fiber from the alternative flours.
As someone who bakes for various dietary needs, I can tell you that this cake consistently receives rave reviews from everyone, regardless of their dietary restrictions. Remember to store leftovers in an airtight container - though honestly, there's rarely anything left to store!
Many people wonder if this gluten free chocolate cake recipe can match traditional wheat-based cakes. I'm thrilled to say it absolutely does! The texture is incredibly moist and tender, with a perfect crumb that holds together beautifully when sliced. Unlike some gluten-free bakes that can turn out gritty or dense, this cake has a light, airy quality that'll make you forget it's gluten-free.
The chocolate flavor actually shines brighter because the alternative flours don't overpower it like wheat flour sometimes can. When served to my family, they couldn't tell the difference - the cake disappeared just as quickly as any regular chocolate cake! The slight nuttiness from the almond flour adds an extra depth that many tasters prefer to traditional recipes.
Plus, this version stays fresh longer than wheat-based cakes, maintaining its moisture for up to five days when properly stored.
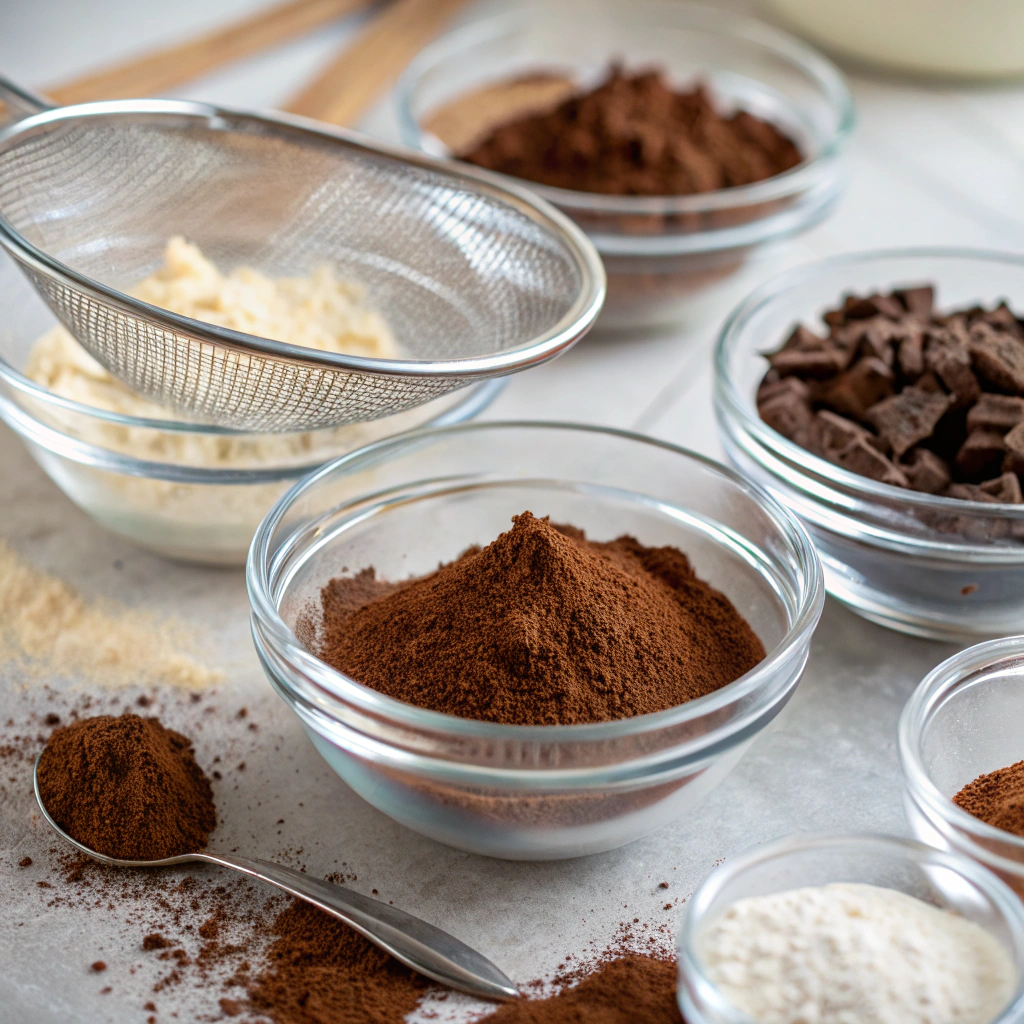
Getting your dry ingredients just right is crucial for this gluten free chocolate cake recipe's success. Start by carefully measuring your alternative flour blend – precision matters more with gluten-free baking than traditional recipes. Sift together your chosen flour mix, unsweetened cocoa powder, and leavening agents to remove any lumps. This extra step ensures even distribution and prevents bitter pockets in your final cake.
I love using a fine-mesh strainer held high above the bowl, letting the ingredients float down like snow. This creates additional air pockets that help achieve that perfect crumb structure. Remember to whisk everything together thoroughly, breaking up any stubborn cocoa clusters.
A light touch here goes a long way – think gentle folding motions rather than aggressive stirring. This mindful approach helps maintain those precious air pockets we created during sifting.
Getting the wet ingredients just right creates that perfect fudgy texture in your gluten free chocolate cake recipe. Start by bringing your eggs and milk to room temperature - this helps everything blend smoothly without lumps. In a large bowl, whisk together your vanilla extract, melted butter, and any liquid sweeteners until they're perfectly combined.
Some bakers swear by adding a splash of hot coffee to intensify the chocolate flavor, while others prefer using warm milk. I like mixing in a dollop of sour cream or Greek yogurt for extra moisture and tenderness. The key is achieving a silky-smooth mixture without overbeating.
You'll know it's ready when the ingredients come together in a glossy, uniform blend that ribbons off your whisk. Remember, temperature matters here - too cold and your melted butter might seize up.
Creating the perfect gluten free chocolate cake recipe starts with properly combining your dry ingredients. Whisk your gluten-free flour blend, cocoa powder, and baking powder in a large bowl until evenly distributed. Sifting these ingredients helps prevent lumps and ensures a smoother final texture.
I always add a pinch of xanthan gum if your flour blend doesn't include it - this helps mimic gluten's binding properties. A dash of salt enhances the chocolate flavor while balancing sweetness. Some bakers like adding instant espresso powder to deepen the chocolate notes.
The key is thorough mixing - I usually whisk for about 30 seconds, making sure to break up any cocoa clumps. You'll know your dry mix is ready when it has a uniform color with no streaks or spots.
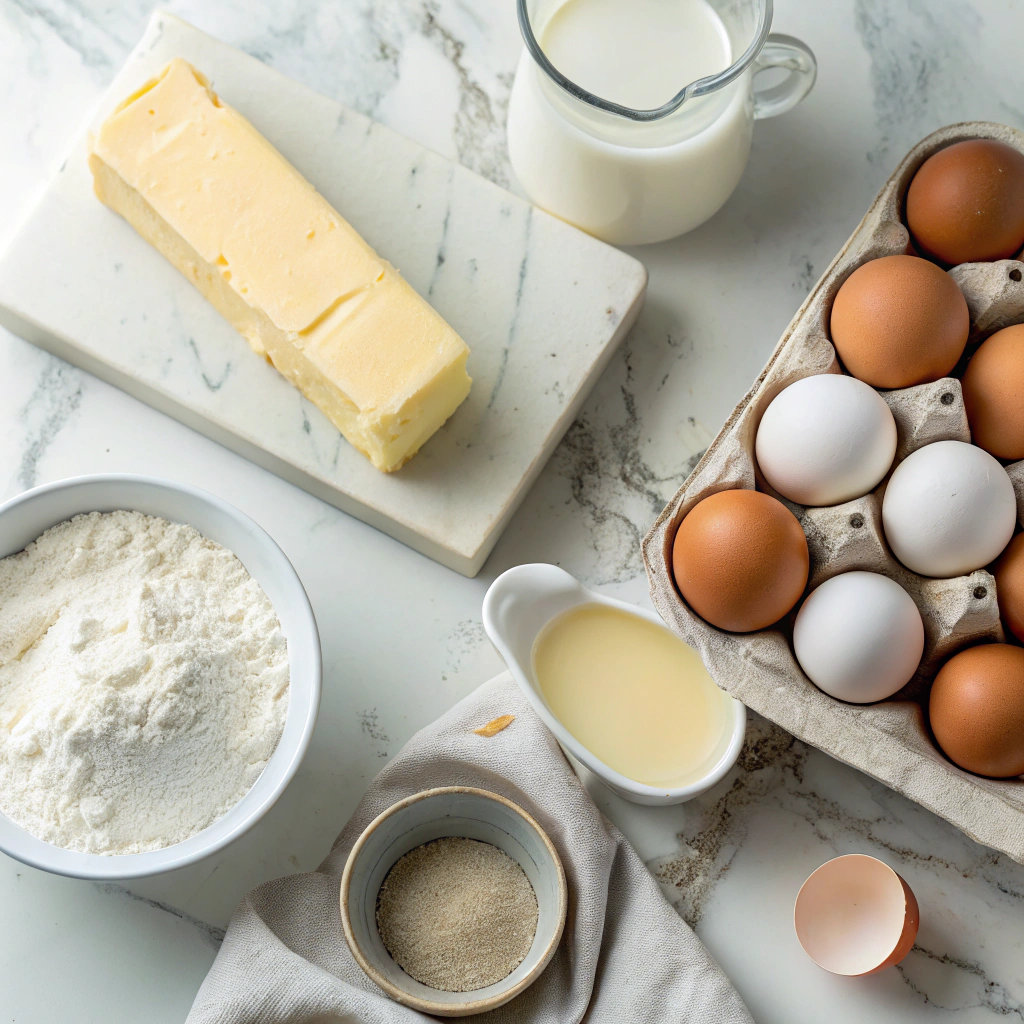
Starting your gluten free chocolate cake recipe with room temperature ingredients is absolutely crucial for success. Cold ingredients can cause your batter to curdle or separate, leading to an uneven texture. Take your eggs, milk, and butter out of the fridge at least 30 minutes before baking. Room temperature eggs incorporate more air when beaten, creating that coveted light and fluffy texture.
The butter should be soft enough that your finger leaves a slight indent when pressed, but not so warm that it's melting. For dairy-free alternatives, follow the same temperature rules with your chosen substitutes.
A quick tip: if you're short on time, place cold eggs in warm (not hot) water for 5-10 minutes to speed up the process. Your ingredients should feel neither cool nor warm to the touch – just like a comfortable room temperature.
Getting the perfect texture for your gluten free chocolate cake starts with mastering the mixing technique. Unlike regular cakes, gluten free batters need special handling to achieve that ideal crumb. Begin by thoroughly creaming your butter and sugar until light and fluffy - this usually takes about 3-4 minutes with an electric mixer. When adding eggs, incorporate them one at a time, beating for 30 seconds between each addition.
For the dry ingredients, alternate adding them with your wet ingredients in three portions, mixing just until combined. The key is to avoid overmixing, which can lead to a tough, dense cake. Stop mixing as soon as you no longer see dry streaks in the batter. A gentle folding motion works best for the final few strokes. Remember, the batter might look slightly thicker than traditional cake batter - that's perfectly normal for gluten free recipes.
Choosing the right pan is crucial for your gluten free chocolate cake success. A light-colored aluminum pan works best, as dark pans can cause too much browning on the edges before the center is done. For a standard recipe, use a 9-inch round pan that's at least 2 inches deep. Always line your pan with parchment paper, not just greasing and flouring, as gluten free cakes tend to stick more than traditional ones.
If using a springform pan, wrap the outside with foil to prevent any moisture from seeping in during baking. Square pans work too, but may require slight adjustments to baking time. For layer cakes, identical pans ensure even baking and professional-looking results. Remember to tap the filled pan gently on the counter a few times to release any trapped air bubbles before baking.
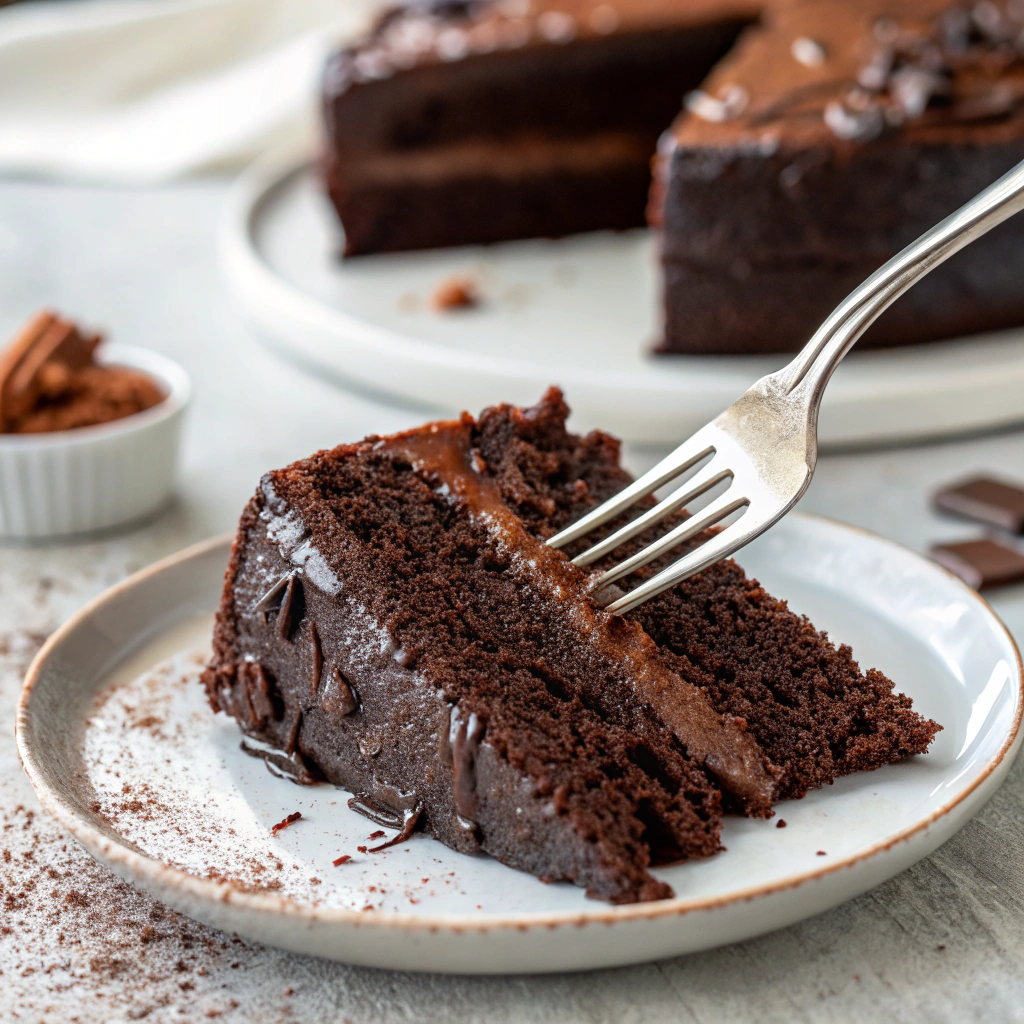
Creating the perfect gluten free chocolate cake requires understanding moisture balance. The key lies in proper ingredient ratios and mixing techniques. Start by combining your gluten-free flour blend with xanthan gum - this mimics gluten's binding properties. For ultra-moist results, incorporate ingredients like Greek yogurt or sour cream, which add richness while maintaining structure. Apple sauce serves as another fantastic moisture-boosting secret weapon.
When measuring dry ingredients, use the spoon-and-level method rather than scooping directly with measuring cups. This prevents over-packing, which can lead to a dry result. Just like our perfect chocolate mousse recipe, temperature control matters - bring all refrigerated ingredients to room temperature before mixing.
Watch your baking time carefully; gluten-free cakes can go from perfectly moist to dry in minutes. Insert a toothpick 5 minutes before the recommended baking time. It should come out with a few moist crumbs, not completely clean.
For the perfect gluten free chocolate cake, start with quality baking tools and ingredients. A digital scale is non-negotiable - precise measurements make all the difference. You'll need two 9-inch round cake pans, preferably with removable bottoms for easy release.
Stock up on certified gluten-free flour blend, high-quality cocoa powder (Dutch-processed works best), and xanthan gum if your flour blend doesn't include it. Fresh baking powder and baking soda are crucial - replace them every 6 months for optimal rise.
Room temperature eggs, butter, and milk blend better and create a smoother batter. Don't forget parchment paper for lining pans and a cooling rack for perfect texture.
For dairy-free options, stock unsweetened almond milk and vegan butter. A stand mixer helps, but a hand mixer works great too. Remember, success lies in having everything ready before you start mixing.
Creating the perfect gluten free chocolate cake requires careful attention to mixing and baking times. Start by beating room temperature butter and sugar until light and fluffy - about 3-4 minutes. Add eggs one at a time, mixing well after each. In a separate bowl, whisk your dry ingredients thoroughly to ensure even distribution of the xanthan gum.
When combining wet and dry ingredients, alternate with milk and mix just until incorporated. Don't overmix, or you'll end up with a tough cake. Pour the batter evenly between your prepared pans and tap them gently on the counter to remove air bubbles.
Bake at 350°F (175°C) for 25-30 minutes, or until a toothpick comes out clean. The cake should spring back when lightly pressed. Cool in pans for 10 minutes before transferring to a wire rack.
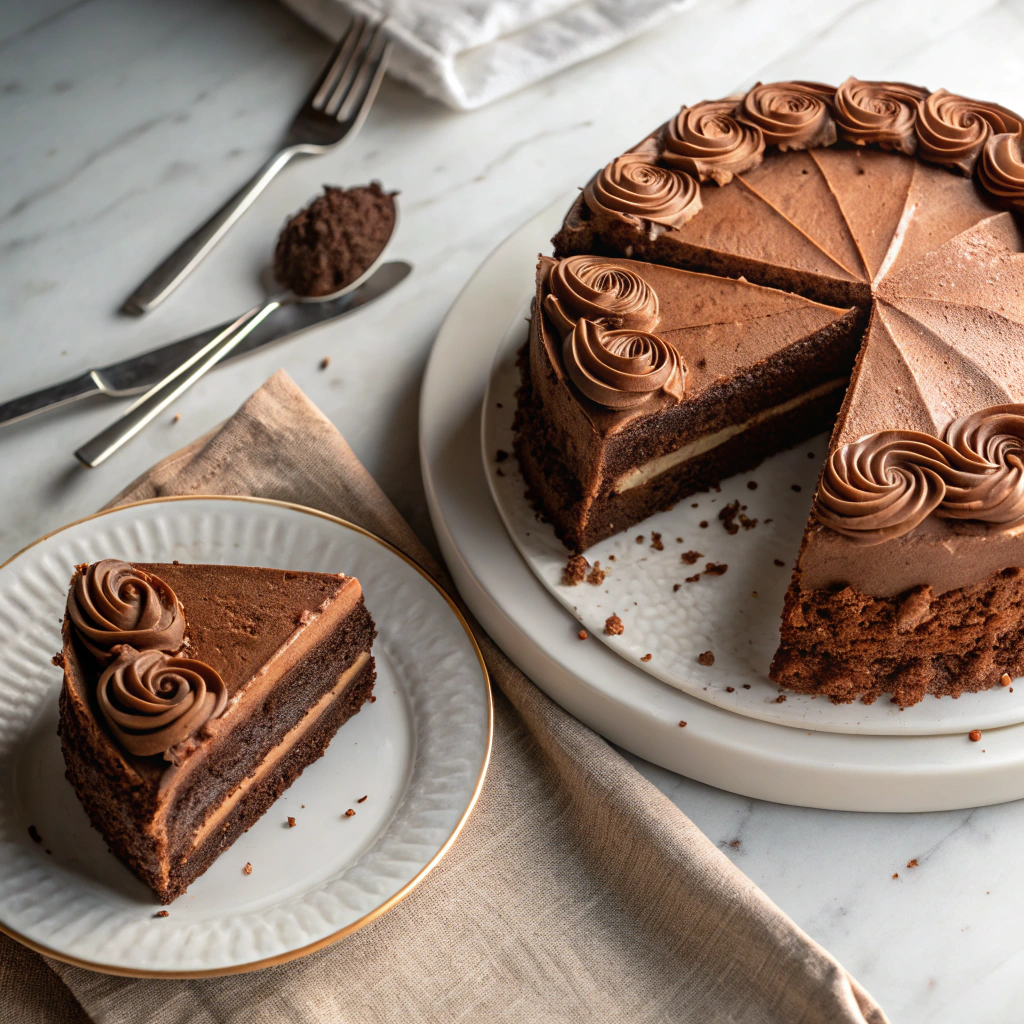
Transform this gluten free chocolate cake recipe into an elegant layered masterpiece perfect for special occasions. Start by dividing your batter evenly between two 9-inch round cake pans lined with parchment paper. The key to perfect layers lies in measuring precisely - use a kitchen scale for identical weights. Once baked and cooled completely, level the tops with a serrated knife for professional-looking flat surfaces.
Create visual drama by spreading a generous layer of rich chocolate mousse between the layers. This adds both height and an irresistible creamy contrast to the cake's texture. Stack carefully, ensuring the layers align perfectly.
For the finishing touch, frost the entire cake with your favorite chocolate buttercream, creating smooth sides and decorative swirls on top. This elevated version maintains all the moistness and flavor while delivering stunning presentation.
Transform this gluten free chocolate cake recipe into adorable single-serving treats. Pour the batter into lined muffin tins, filling each about 2/3 full for the perfect rise. These mini cakes bake faster than a full-sized version - usually 18-20 minutes at 350°F. The smaller size creates an ideal cake-to-frosting ratio that chocolate lovers adore.
Top each cupcake with a swirl of chocolate buttercream using a piping bag fitted with a large star tip for that bakery-style finish. For extra flair, dust with cocoa powder or add chocolate shavings.
These portable treats are perfect for parties, bake sales, or when you want built-in portion control. The individual servings stay incredibly moist and freeze beautifully for up to three months when stored in an airtight container.
Transform this gluten free chocolate cake recipe into a show-stopping layered masterpiece. Split the cooled cake horizontally into two or three layers using a long serrated knife. For best results, chill the cake first and use a gentle sawing motion. Between layers, spread rich chocolate ganache, dairy-free buttercream, or fresh berry compote. The filling adds moisture and creates beautiful contrast when sliced.
Keep layers even by marking the sides of the cake before cutting and rotating as you go. For extra stability, place each layer on a cardboard round. If making a triple-layer cake, reduce the filling slightly between layers to prevent overflow.
Remember to let filled layers settle for about 15 minutes before adding the final frosting coat. This technique creates a professional-looking dessert that's perfect for special occasions.
Ready to create your own amazing gluten free chocolate cake? Grab your mixing bowls and let's get started! With these expert tips and tricks, you'll be baking like a pro in no time. Don't forget to share your success stories and photos with our baking community. Your perfect chocolate cake adventure begins now!
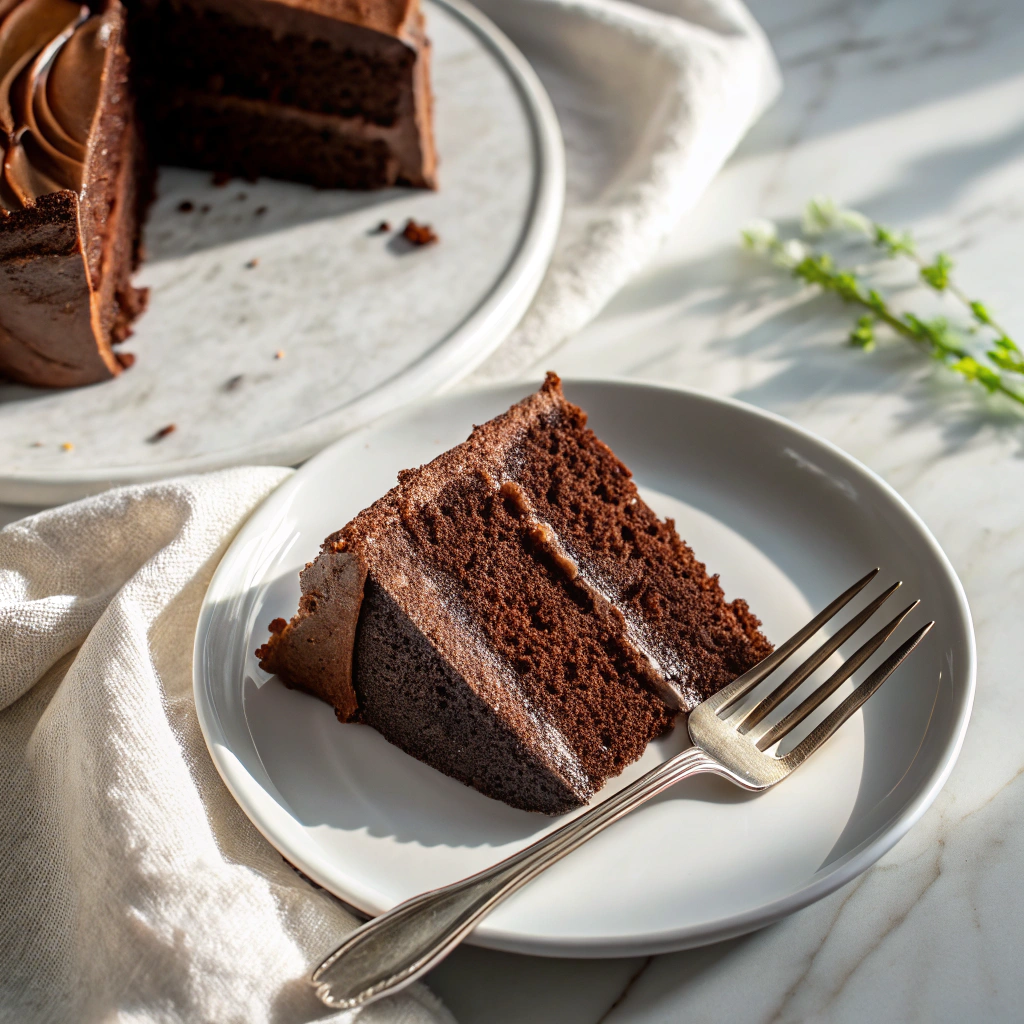
A luxuriously moist chocolate cake that happens to be gluten-free. Made with premium cocoa and a perfect blend of alternative flours, this cake delivers intense chocolate flavor and tender crumb that rivals any traditional cake.
Beat eggs, sugar, and oil until light and fluffy
Servings: 12 ServingCalories:285kcalTotal Fat:12gSodium:320mgTotal Carbohydrate:42gDietary Fiber: 2.5gSugars: 24gProtein:4.5g
Storage:
Room temperature: 3 days in airtight container
Refrigerated: Up to 1 week wrapped tightly
(Bring to room temperature before serving)
Freezing:
Wrap unfrosted layers individually in plastic wrap and foil
Freeze up to 3 months
Thaw overnight in refrigerator
Variations:
Dairy-Free: Replace buttermilk with almond milk + 1 tablespoon vinegar
Cupcakes: Fill liners 2/3 full, bake 18-20 minutes
Sheet Cake: Use 9x13 pan, bake 40-45 minutes
Common Issues:
Sinking Center: Don't open oven door during first 25 minutes
Dry Texture: Don't overbake; check 5 minutes before recommended time
Crumbly Cake: Ensure all ingredients are room temperature before starting