
You guys, I can’t even tell you how many batches of easy chocolate truffles I’ve made this week! My kitchen counter looks like a chocolate bomb exploded (worth it though!). After messing up countless attempts over the years, I’ve finally nailed down a foolproof method that takes just 30 minutes of active time. These homemade truffles are seriously game-changing for last-minute dinner parties or when those chocolate cravings hit hard. Trust me, once you learn how to make these easy chocolate truffles, you’ll never go back to store-bought. Plus, they make the sweetest holiday gifts – I mean, who doesn’t love receiving a box of handmade chocolate goodies?
Essential Ingredients for Easy Chocolate Truffles
Choosing the Right Chocolate for Perfect Truffles
Listen up, because this is where most easy chocolate truffles recipes go wrong! I learned the hard way (after one very sad, grainy batch) that you can’t just grab any old chocolate bar from the pantry. For silky-smooth chocolate candies, stick with high-quality baking bars – I usually grab Ghirardelli or Guittard from my local grocery store. Skip those chocolate chips – they’ve got stabilizers that’ll mess with your truffle texture. For silky-smooth results like these truffles, learning how to melt chocolate properly is essential. The other day, I splurged on some Valrhona dark chocolate, and oh my goodness, those were the best easy chocolate truffles I’ve ever made. But honestly, any good-quality chocolate between 60-70% cacao works great.
Cream and Butter Quality Tips
Y’all, when making easy chocolate truffles, the cream and butter quality seriously make or break your results. I used to think heavy cream was just heavy cream until my neighbor (she’s a pastry chef) set me straight! Go for heavy whipping cream with at least 36% milk fat – anything less and your truffles might end up too soft. And please, please use real butter! One time I tried making chocolate truffles with margarine (big mistake!), and they just wouldn’t set right. European-style butter like Kerrygold works amazingly well because of its higher fat content. Just make sure everything’s fresh – old cream can make your easy chocolate truffles taste funky.
Optional Flavoring Add-ins
Making easy chocolate truffles is like having a blank canvas – you can get super creative with the flavors! I’ve probably tried dozens of combinations in my kitchen experiments. A splash of vanilla extract is classic, but don’t stop there! Last Christmas, I added crushed candy canes and everyone went nuts for them. Some of my other favorite add-ins include espresso powder (just a teaspoon makes these easy chocolate truffles taste like fancy coffee shop ones), orange zest, or a splash of Baileys. Just remember to add any liquid flavorings when you’re mixing the hot cream with chocolate, and keep it to about 1-2 teaspoons max.
Quick-Start Guide to Making Simple Chocolate Truffles
3-Step No-Fail Truffle Base
Making easy chocolate truffles starts with getting your base mixture just right. Pour hot cream over chopped chocolate and let it sit for 2-3 minutes until the chocolate starts melting. Stir gently until smooth and glossy – this is your ganache base! I learned the hard way that rushing this step leads to grainy truffles. Add a splash of vanilla extract or your favorite liqueur for extra flavor. Let the mixture cool at room temperature for about 30 minutes before moving to the fridge. Trust me, patience here makes rolling these chocolate truffles much easier later.
Cooling and Setting Secrets
The key to perfect easy chocolate truffles lies in the cooling process. After your ganache reaches room temperature, cover the bowl with plastic wrap, making sure it touches the surface to prevent any skin from forming. Pop it in the fridge for at least 2 hours, though I prefer overnight for the best results. If you’re in a hurry, you can speed things up by spreading the mixture in a shallow pan. Just don’t freeze the ganache – it’ll make your truffles too hard to work with and mess up the texture.
Rolling and Shaping Tips
Time to get hands-on with your easy chocolate truffles! Start by scooping small portions with a melon baller or teaspoon – aim for about 1-inch balls. Keep your hands cool by running them under cold water and drying well before rolling. Work quickly to prevent the chocolate from melting. I like to wear food-safe gloves, which helps keep things clean and prevents the truffles from sticking. If the mixture gets too soft, pop it back in the fridge for 15 minutes. Your hands are the best tools for creating perfectly round treats!
10 Delicious Coatings for Chocolate Truffles
Classic Cocoa Powder Options
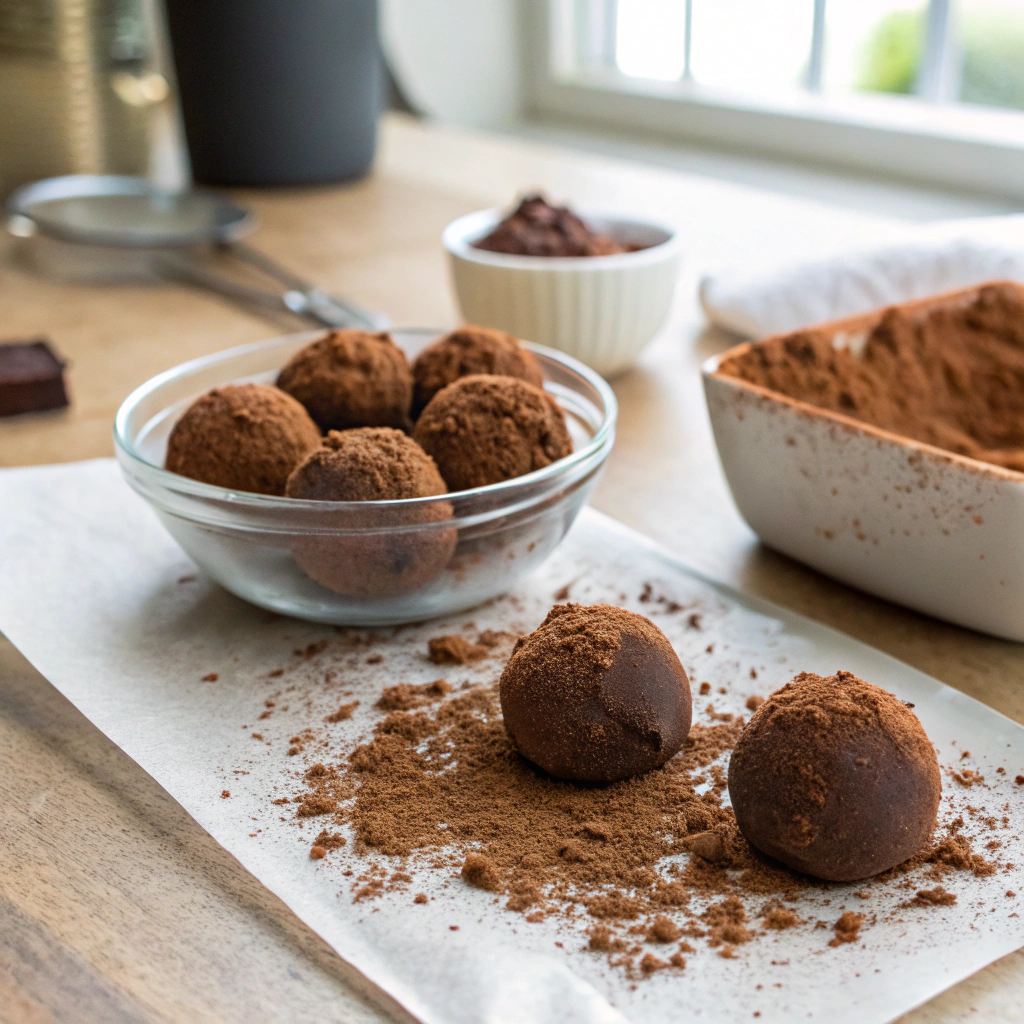
When making easy chocolate truffles, cocoa powder is your best friend for a classic finish. Dutch-processed cocoa gives a smoother, less bitter taste, while regular unsweetened cocoa provides that intense chocolate kick. I love mixing different types of cocoa powders to create unique flavors. Sometimes I’ll add a pinch of cinnamon or espresso powder to the coating for an extra flavor dimension. Remember to sift the cocoa powder first to avoid any lumps on your finished truffles. The coating should be light and even, not thick and powdery.
Nuts and Sprinkles Combinations
Rolling your easy chocolate truffles in crushed nuts adds wonderful texture and flavor. Toast the nuts first to bring out their natural oils and enhance their crunch. Hazelnuts pair beautifully with dark chocolate, while almonds work great with milk chocolate truffles. For a fun twist, try mixing colored sprinkles with finely chopped nuts. During holiday seasons, I love using red and green sprinkles mixed with pistachios. Make sure to chop the nuts very finely so they stick well to the truffle surface.
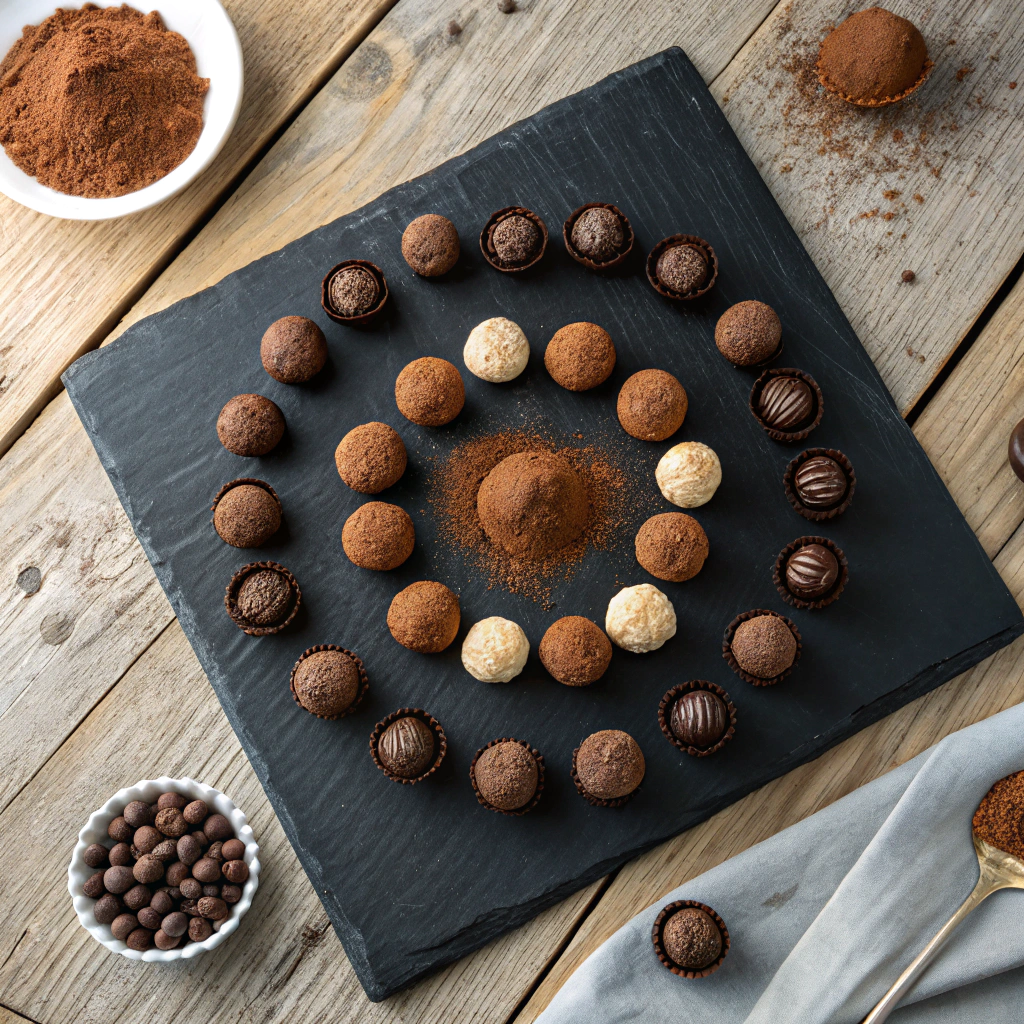
Creative Coating Ideas
Get adventurous with your easy chocolate truffles by trying unexpected coatings. Crushed freeze-dried strawberries add a burst of color and tangy flavor. Shredded coconut toasted until golden brown brings tropical vibes to your treats. I’ve even used crushed graham crackers for a s’mores-inspired version! Matcha powder creates beautiful green truffles with a subtle tea flavor. Mix and match different coatings on your batch of truffles to create an impressive variety that looks like it came from a fancy chocolate shop.
Storing Your Homemade Chocolate Truffles
Room Temperature vs. Refrigeration
When making easy chocolate truffles, proper storage is crucial for maintaining their delicious taste and texture. At room temperature (around 68-72°F), these homemade treats will stay fresh for about a week when stored in an airtight container. I’ve found that keeping them in a cool, dry spot away from direct sunlight works best.
However, if your kitchen runs warm, refrigeration might be necessary. Making chocolate truffles during summer can be tricky, so I always pop them in the fridge to prevent melting. Just remember to bring them back to room temperature for about 30 minutes before serving to get that perfect melt-in-your-mouth experience. For an elegant dessert pairing, try serving these truffles alongside easy chocolate mousse recipe for a decadent chocolate tasting experience.
Making Truffles Last Longer
Want to keep your easy chocolate truffles fresh for special occasions? The key is proper storage and temperature control. I’ve discovered that these sweet treats can last up to two weeks in the refrigerator when stored correctly. Place your chocolate truffles in an airtight container with wax paper between layers to prevent sticking. For even longer storage, you can freeze these bite-sized delights for up to three months! Just wrap them individually in wax paper before placing them in a freezer-safe container. When ready to enjoy, thaw your homemade confections overnight in the fridge.
Gift Packaging Ideas for Chocolate Truffles
Nothing shows thoughtfulness like gifting homemade easy chocolate truffles in beautiful packaging. I love using mini cupcake liners to cradle each truffle, then arranging them in pretty gift boxes lined with tissue paper. For an eco-friendly touch, try kraft paper boxes with ribbon ties, or repurpose clean tin containers. When packaging these chocolate treats, remember to keep them cool during transport. My favorite trick is to include a small ice pack wrapped in tissue paper when delivering during warm weather. Mini mason jars also make adorable containers and help protect your truffles while looking charming.
Troubleshooting Easy Chocolate Truffles
Fixing Grainy Truffle Mixture
If your easy chocolate truffles turn out grainy, don’t worry – it’s a common issue with simple fixes! The main culprit is usually chocolate that wasn’t melted properly. To rescue a grainy mixture, gently reheat it using a double boiler, stirring constantly until smooth. Watch the temperature carefully – chocolate should never exceed 120°F. Sometimes adding a tiny bit of warm cream while stirring can help smooth things out. I once saved a batch by placing the bowl over warm (not hot) water and slowly stirring until the crystals disappeared. Remember that quality chocolate makes better truffles.
Solutions for Too-Soft Truffles
When your easy chocolate truffles won’t firm up properly, there are several ways to save them. First, try chilling the mixture longer – sometimes it just needs more time in the fridge. If that doesn’t work, gradually blend in more melted chocolate to adjust the ratio. I’ve found that adding finely ground cookie crumbs can also help absorb excess moisture without compromising taste. For future batches, be careful with cream measurements and chocolate temperatures. Rolling soft truffles in cocoa powder or chopped nuts can also provide extra structure while adding texture.
Preventing Chocolate Seizing
Making easy chocolate truffles can go wrong if your chocolate seizes, but prevention is straightforward. Always keep water away from melting chocolate – even tiny droplets can cause problems. When making these sweet treats, make sure your bowls and utensils are completely dry. If you’re using a double boiler, prevent steam from reaching the chocolate. Should seizing occur while making your chocolate truffles, try stirring in a small amount of warm vegetable oil or shortening, one teaspoon at a time, until the mixture smooths out.
Start Making Your Own Chocolate Truffles Today
Making easy chocolate truffles is simpler than you think! You probably already have most tools in your kitchen – a bowl, measuring cups, and a spoon are all you need to start. Grab some good chocolate, heavy cream, and your favorite toppings from the store. I love setting aside a quiet Sunday afternoon for truffle-making – it’s surprisingly relaxing. Ready to give it a try? Your homemade chocolate gifts await!
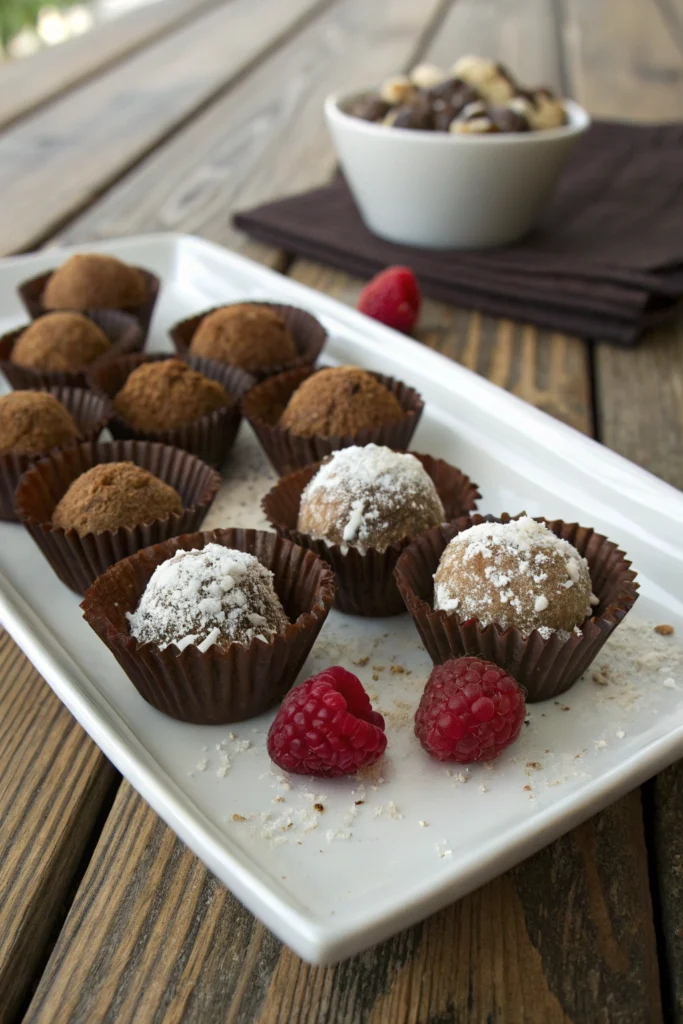
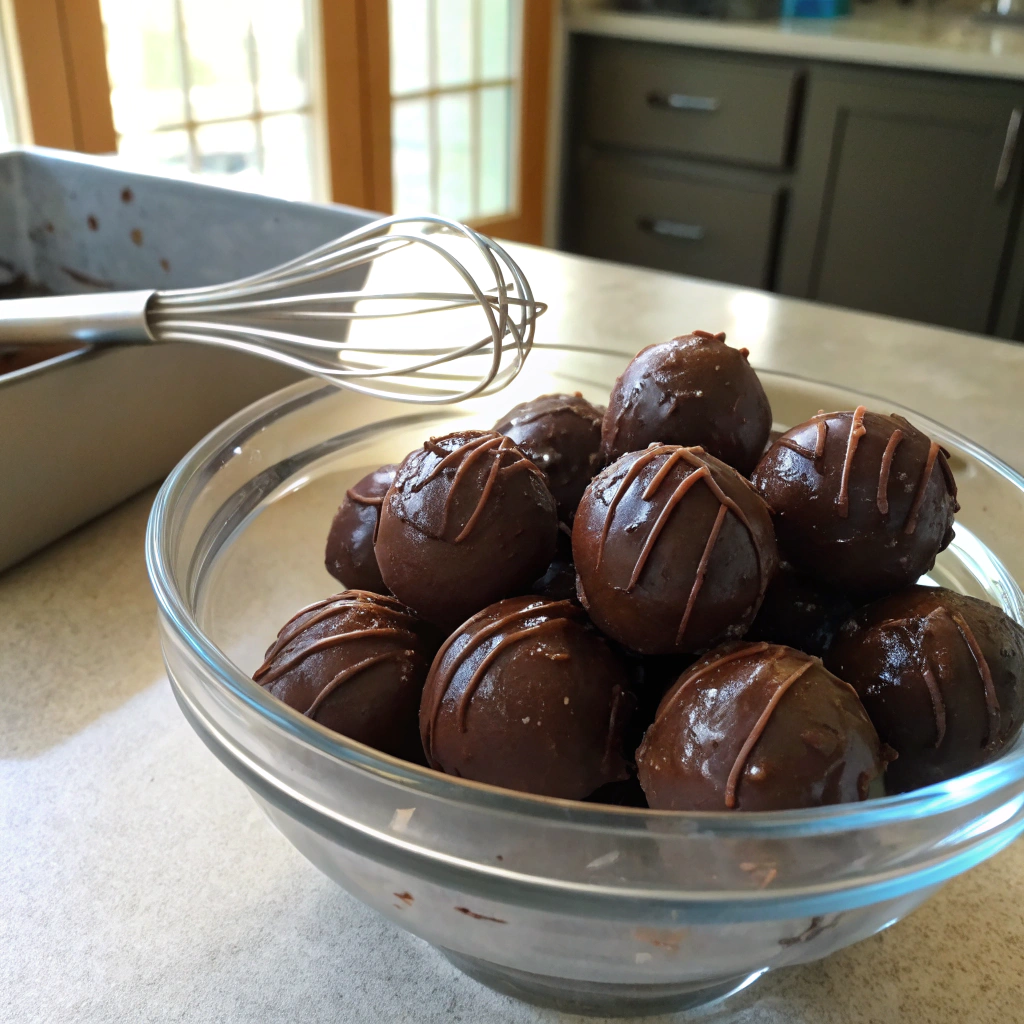
Homemade Easy Chocolate Truffles
These rich, decadent chocolate truffles require just a few ingredients and basic kitchen tools. Perfect for gifts or special occasions, they offer a professional look with minimal effort.
Ingredients
For the Truffle Base:
For Coating (choose one or mix):
Instructions
Prepare Chocolate
- Finely chop chocolate into small, even pieces
- Place in a heat-safe bowlTip: Smaller pieces melt more evenly
Heat Cream
- Heat heavy cream in a small saucepan until just simmering
- Remove from heat immediately when bubbles form around edgesDon't let cream boil
Make Ganache
- Pour hot cream over chopped chocolate
- Let stand 2-3 minutes
- Stir gently until smooth and glossy
- Add butter and vanilla, stir until combinedSuccess: Mixture should be completely smooth with no chocolate pieces
Cool Mixture
- Cover bowl with plastic wrap touching surface
- Refrigerate 2 hours or until firmTest firmness by pressing surface - should hold finger indent
Shape Truffles
- Scoop 1-inch portions using a melon baller or spoon
- Roll quickly between palms to form balls
- Place on parchment-lined trayKeep hands cool by running under cold water between batches
Coat Truffles
- Roll each ball in chosen coating
- Place in mini paper cups if giftingStore in airtight container in fridge up to 2 weeks
Nutritional values
Servings: 24 ServingCalories:105kcalTotal Fat:7.8gSodium:5mgTotal Carbohydrate:8.5gDietary Fiber: 1.1gSugars: 6.2gProtein:1.2g
Note
Storage:
Keep refrigerated for up to 2 weeks.
Bring to room temperature 15 minutes before serving.
Substitutions:
Use coconut cream for dairy-free version.
Replace dark chocolate with milk or white chocolate if preferred.
Serving Suggestion:
Arrange on a pretty plate with fresh berries for an elegant dessert presentation.