
Get ready to experience pure holiday bliss with these incredible chocolate peppermint cookies! As a devoted baker, I’ve perfected this recipe through countless December afternoons in my kitchen. The rich, fudgy chocolate base mingles perfectly with cool peppermint, creating that classic winter flavor we all crave. These cookies strike the perfect balance – crispy edges with soft, chewy centers that practically melt in your mouth.
What makes them truly special? The secret lies in using both cocoa powder and melted chocolate, plus a touch of peppermint extract that’ll make your whole house smell like Christmas. Perfect for cookie swaps, holiday gifts, or midnight snacking (I won’t tell!), these treats never fail to bring smiles. Even better? You’ll only need basic ingredients and about an hour to whip up a batch of pure cookie magic.
Why Chocolate Peppermint Cookies Are a Holiday Essential
Origins of This Classic Christmas Cookie Combination
The magical pairing of chocolate peppermint cookies first gained popularity in 1950s American kitchens. Inspired by candy canes and hot cocoa, clever home bakers started crushing leftover holiday candies into their chocolate cookie dough. Soon, department store cafes and bakeries caught on, making these treats a December staple. The combination makes perfect sense – cool peppermint naturally brings out chocolate’s deep, rich notes. Plus, that refreshing mint zip helps balance the sweetness.
Fun fact: ancient Egyptians actually used mint in their desserts thousands of years ago! Today’s version evolved from European chocolate-mint candies that made their way to America in the early 1900s. The red and white colors perfectly match holiday decor, while that distinctive minty aroma instantly signals festive cheer. No wonder these cookies remain a cherished tradition, showing up at countless cookie exchanges and holiday parties nationwide.
Scientific Reasons Chocolate and Mint Work Together
The magic behind chocolate peppermint cookies lies in fascinating food chemistry. When you bite into these treats, your taste buds encounter menthol, the compound that gives mint its cooling sensation. Meanwhile, chocolate contains complex flavor molecules that activate warmth receptors. This hot-cold contrast creates an exciting sensory experience that keeps you coming back for more! Scientists have found that chocolate’s rich cocoa butter actually helps carry mint flavors more effectively across your palate.
Plus, both ingredients contain similar aromatic compounds that make them natural partners. That’s why even a small amount of peppermint extract makes chocolate peppermint cookies taste so incredible. Your brain also plays a part – studies show mint’s refreshing scent increases alertness and enjoyment while eating. No wonder we can’t resist reaching for another cookie! This perfect partnership explains why this combination has stood the test of time.
Nutritional Benefits and Mindful Indulgence
While chocolate peppermint cookies are definitely treats, they can offer surprising health perks when enjoyed mindfully. Dark chocolate brings powerful antioxidants and mood-boosting compounds to your cookie jar. Plus, real peppermint aids digestion and can help satisfy sweet cravings with less sugar. To make these cookies more nutritious, try using whole wheat pastry flour for extra fiber and nutrients. You can also swap artificial sweeteners for natural alternatives like maple syrup or honey.
Remember to savor each bite slowly – studies show mindful eating helps you feel more satisfied with smaller portions. For those watching their diet, these cookies freeze beautifully, letting you portion control easily. Just pull out one or two when the craving hits! The best part? The intense mint-chocolate combo means you’ll feel satisfied with fewer cookies, making them a smart choice for occasional indulgence.
Perfect Step-by-Step Cookie Making Instructions
Preparing Your Kitchen and Measuring Ingredients
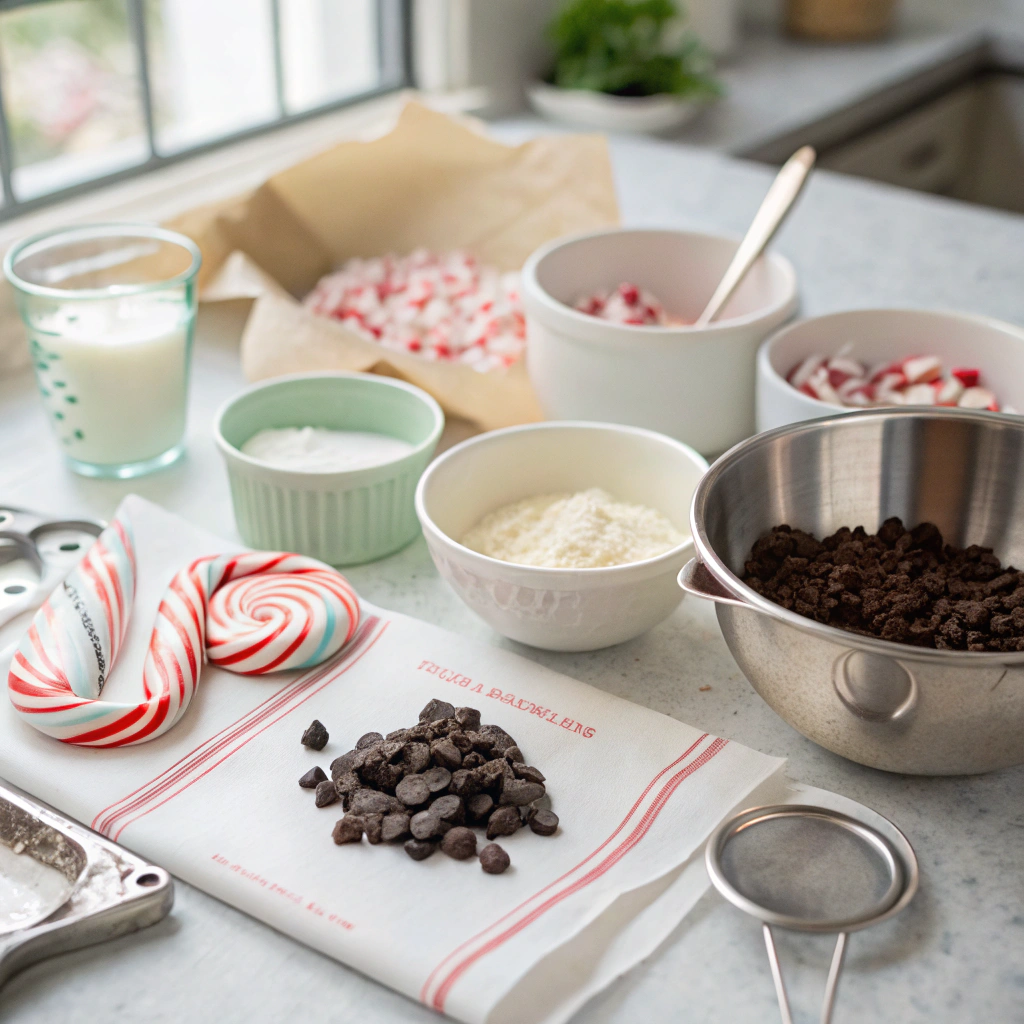
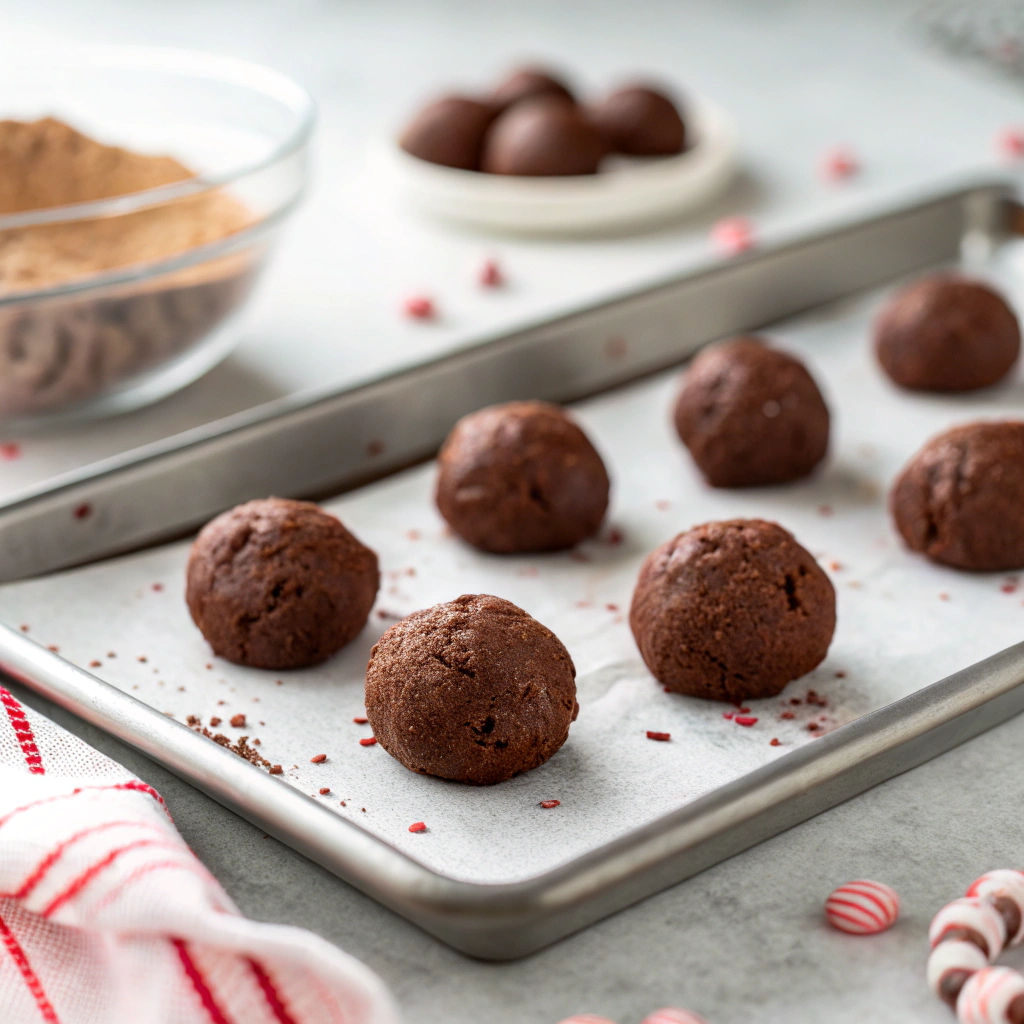
Before diving into these irresistible chocolate peppermint cookies, proper setup is crucial for success. Start by gathering all ingredients on your counter and checking measurements twice. You’ll need a large mixing bowl, cookie sheets, parchment paper, and precise measuring tools. Room temperature ingredients are essential – especially butter and eggs – as they blend more smoothly and create better texture. Pre-measure your dry ingredients into separate bowls to prevent any mid-mixing confusion.
This is also the perfect time to preheat your oven and position your racks. For consistent results, use the melt chocolate guide technique for your chocolate chips. Having everything ready and properly measured not only makes the baking process smoother but also helps avoid those dreaded halfway-through grocery store runs. Remember to clear ample counter space for rolling and shaping your cookies later.
Creating the Perfect Chocolate Peppermint Cookie Dough
Getting your cookie dough just right is crucial for these chocolate peppermint cookies. Start by creaming room temperature butter until light and fluffy – this usually takes about 3-4 minutes. Gradually blend in sugar, letting each addition fully incorporate. Add eggs one at a time, mixing well after each. In a separate bowl, whisk your dry ingredients to ensure even distribution of cocoa powder and leavening agents.
When combining wet and dry ingredients, use a gentle folding motion to maintain the air you’ve worked into the butter. The dough should be slightly firm but still pliable. If it feels too soft, chill for 30 minutes before shaping. For the perfect peppermint balance, start with less extract and adjust to taste – remember that the flavor intensifies during baking. The final dough should be smooth, chocolatey, and fragrant with just the right hint of mint.
Decorating Your Chocolate Peppermint Cookies
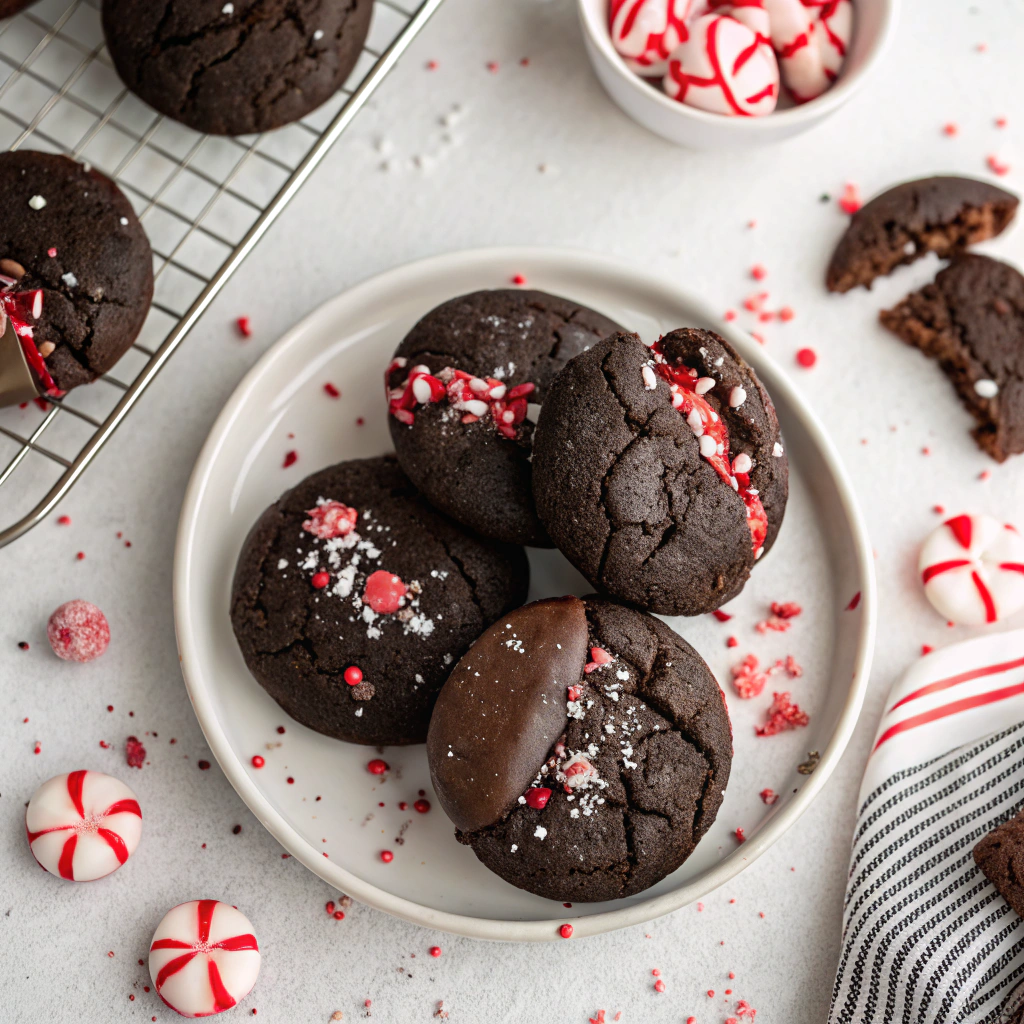
Want to make your chocolate peppermint cookies truly eye-catching? Start by drizzling melted white chocolate in delicate zigzag patterns across the cooled cookies. Crushed candy canes add both visual appeal and an extra burst of peppermint – sprinkle them while the chocolate is still wet. For a professional finish, try dipping half of each cookie in dark chocolate and adding a light dusting of cocoa powder.
During holidays, festive sprinkles or edible glitter can transform these treats into showstoppers. Remember to let all chocolate decorations fully set before stacking or storing. A cool room works better than the fridge, which can cause condensation. For gift-giving, arrange decorated cookies in clear cellophane bags tied with ribbon – the striking contrast between dark cookies and white chocolate drizzle makes them particularly gift-worthy.
Professional Baker's Secret Tips for Perfect Results
Temperature Control Techniques for Best Texture
Getting that perfect balance of crispy edges and chewy centers in chocolate peppermint cookies requires mastering temperature control. Start with room temperature butter and eggs – this helps create that ideal cookie texture we’re all after. Let your dough chill for at least 2 hours (overnight is even better!) before baking. This prevents spreading and intensifies the chocolate-mint flavor fusion. Preheat your oven thoroughly and use an oven thermometer for accuracy – even a 25°F difference can affect texture.
For optimal results, use our perfect chocolate melting guide when incorporating chocolate chips or coating. Space cookies 2 inches apart on cool baking sheets between batches. Once baked, let them rest on the sheet for exactly 5 minutes before transferring to a cooling rack. This timing sweet spot ensures they’ll set properly without becoming too crisp.
Presentation Tips for Instagram-Worthy Cookie Photos
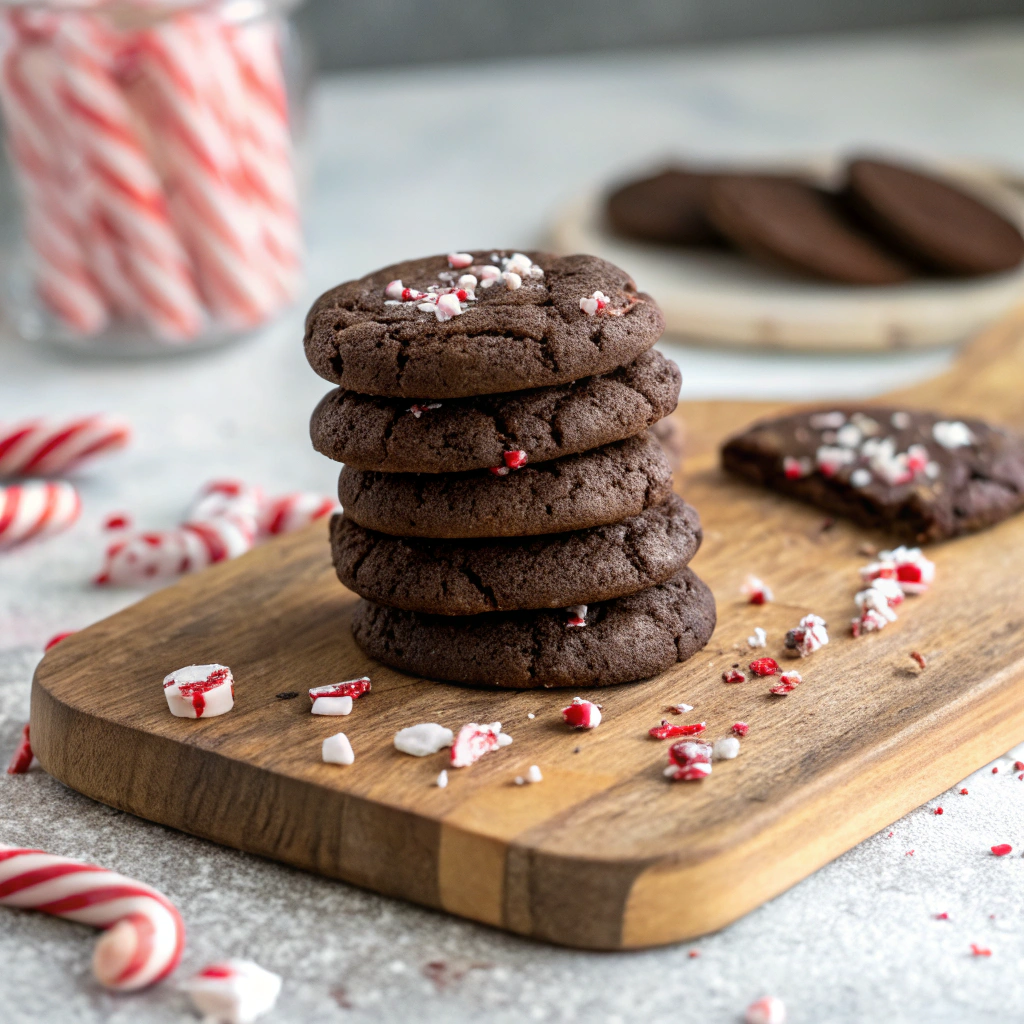
Creating drool-worthy photos of your chocolate peppermint cookies takes some insider know-how. Start by choosing a rustic wooden board or marble surface as your backdrop – these textures make the cookies pop beautifully. Position your cookies in odd numbers, like groups of three or five, which is more visually appealing. Sprinkle some crushed candy canes or cocoa powder around for that perfectly imperfect look. Natural lighting is your best friend – shoot near a window during mid-morning or early afternoon.
Get up close to capture those glistening chocolate chips and minty swirls. Try both overhead and 45-degree angle shots. Don’t forget to include some “action” shots of cookies being broken apart to show that perfect chewy center. Add festive props like vintage cookie tins, fresh mint sprigs, or a steaming mug of hot cocoa in the background for extra seasonal charm.
Storage Tips for Perfect Holiday Cookies
Keep your chocolate peppermint cookies fresh and delicious through the holiday season with these pro storage tricks. Start by cooling them completely on a wire rack – rushing this step leads to condensation and soggy cookies. Layer them between sheets of wax paper in an airtight container, keeping similar flavors together so the peppermint doesn’t overpower other varieties. For best texture, store soft and crispy cookies separately. The perfect spot is a cool, dry place away from direct sunlight. They’ll stay fresh at room temperature for up to 5 days.
Want to make them last longer? Pop them in the freezer for up to 3 months in a freezer-safe container. Just thaw them at room temperature for about 30 minutes before serving. If you notice them starting to lose their snap, refresh them with 3-5 minutes in a 300°F oven. Remember to let them cool completely again before storing.
Fixing Common Chocolate Peppermint Cookie Mistakes
Preventing Dry or Crumbly Cookie Issues
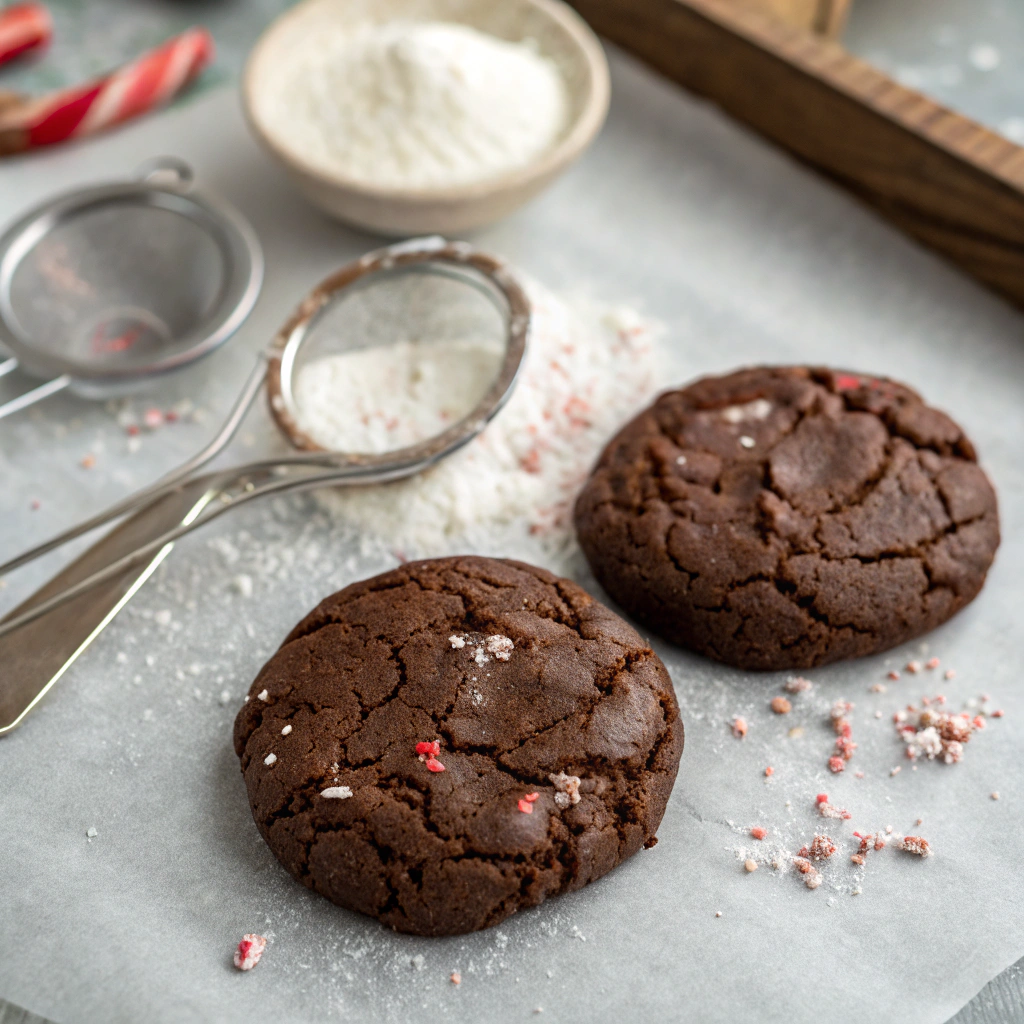
Getting that perfect chewy texture in chocolate peppermint cookies can be tricky. The most common culprit behind dry, crumbly cookies is overmixing the dough or using too much flour. Start by accurately measuring your flour – use the spoon and level method instead of scooping directly with the measuring cup. When mixing, stop as soon as the ingredients are combined. Another game-changer is chilling your dough for at least 2 hours before baking. This allows the flour to hydrate properly and helps prevent spreading.
Watch your baking time carefully – even an extra minute can lead to dry cookies. Pull them from the oven when the edges are set but the centers still look slightly underdone. They’ll continue cooking on the hot baking sheet. For optimal moisture, store them with a slice of bread, which helps maintain that perfect chewy texture.
Fixing Peppermint Flavor Issues
Getting the perfect peppermint flavor balance in chocolate peppermint cookies can be tricky. Too much extract creates an overwhelming toothpaste taste, while too little leaves cookies bland. Start with just 1/4 teaspoon of pure peppermint extract per batch – you can always add more but can’t take it away. Avoid artificial peppermint flavoring, which often has a harsh chemical taste. For natural depth, crush real candy canes into fine powder using a food processor. Fold half into the dough and save half for topping. The candy provides both flavor and crunch.
Let cookies cool completely before adding peppermint toppings – warm cookies can cause melting and flavor loss. Test a small portion of dough first to gauge the mint level. Remember that peppermint flavor intensifies as cookies sit, so err on the subtle side initially.
Decorating Tips for Chocolate Peppermint Cookies
Want to make your chocolate peppermint cookies truly eye-catching? Start by drizzling melted white chocolate in thin zigzag patterns across the cooled cookies using a piping bag. Crushed candy canes should be sprinkled immediately while the chocolate is still wet for better adherence. For a professional finish, dip half of each cookie in melted dark chocolate and add a light dusting of cocoa powder. Create festive designs by placing small peppermint candies in the center before the chocolate sets.
You can also use holiday-themed sprinkles or edible glitter for extra sparkle. For gift-giving, arrange cookies in clear cellophane bags tied with red and white twine. Consider adding a chocolate drizzle border around the edges for an elegant touch. Remember to let all decorative elements set completely before stacking or packaging to maintain the pristine appearance.
Creative Chocolate Peppermint Cookie Variations
Traditional Candy Cane Crunch Version
Transform your chocolate peppermint cookies into a festive treat that captures the essence of holiday baking. Start with a rich chocolate cookie base, then fold crushed candy canes directly into the dough for bursts of minty sweetness throughout. The secret is crushing the candy canes into varying sizes – some fine powder for intense flavor distribution and some larger pieces for delightful crunch and visual appeal. When baking, watch carefully as the candy pieces can caramelize quickly.
Let the cookies cool completely on the baking sheet to achieve that perfect chewy center with slightly crisp edges. The contrast between dark chocolate and bright peppermint creates an irresistible flavor combination that’s perfect for holiday cookie exchanges or family gatherings. For extra indulgence, dip half of each cooled cookie in dark chocolate and sprinkle with additional candy cane pieces.
White Chocolate Peppermint Twist
For a luxurious spin on chocolate peppermint cookies, try incorporating creamy white chocolate into the mix. Start by chopping premium white chocolate into small chunks – the irregular pieces create delightful pockets of sweetness throughout each cookie. Fold these chunks into your cookie dough along with crushed peppermint pieces, but here’s the pro tip: reserve some white chocolate for drizzling over the finished cookies.
As they cool, melt the remaining white chocolate using gentle heat, then drizzle it in elegant zigzags across the tops. While the drizzle is still wet, sprinkle with finely crushed peppermint for a stunning snow-like effect. The combination of smooth white chocolate and crisp peppermint creates an irresistible texture contrast that perfectly complements the rich chocolate cookie base. These cookies make an especially elegant addition to holiday cookie platters or gift boxes.
Dark Chocolate Mocha Magic
For an indulgent twist on chocolate peppermint cookies, try infusing them with rich coffee flavors. Start by dissolving instant espresso powder in a splash of hot water – this intensifies both the chocolate and mint notes. Mix premium dark chocolate chunks (70% cocoa or higher) into your cookie dough along with crushed peppermint candy pieces. The key is layering the flavors: fold in some chocolate chips, then sprinkle more on top just before baking.
As they bake, the kitchen fills with an intoxicating aroma of mocha and mint. The result? Cookies with a sophisticated flavor profile that combines deep chocolate richness, subtle coffee undertones, and refreshing peppermint in every bite. The espresso enhances the chocolate’s complexity without overpowering the cool mint finish. These cookies are perfect for coffee lovers and make an elegant addition to holiday cookie exchanges.
Start Baking Your Perfect Holiday Cookies Today
Ready to create these magical chocolate peppermint cookies? Grab your mixing bowls and let’s get started! Your kitchen will soon be filled with the incredible aroma of chocolate and mint. Click the “Print Recipe” button below for a printer-friendly version, or save it to your recipe box. Don’t forget to share your baking success photos with us!
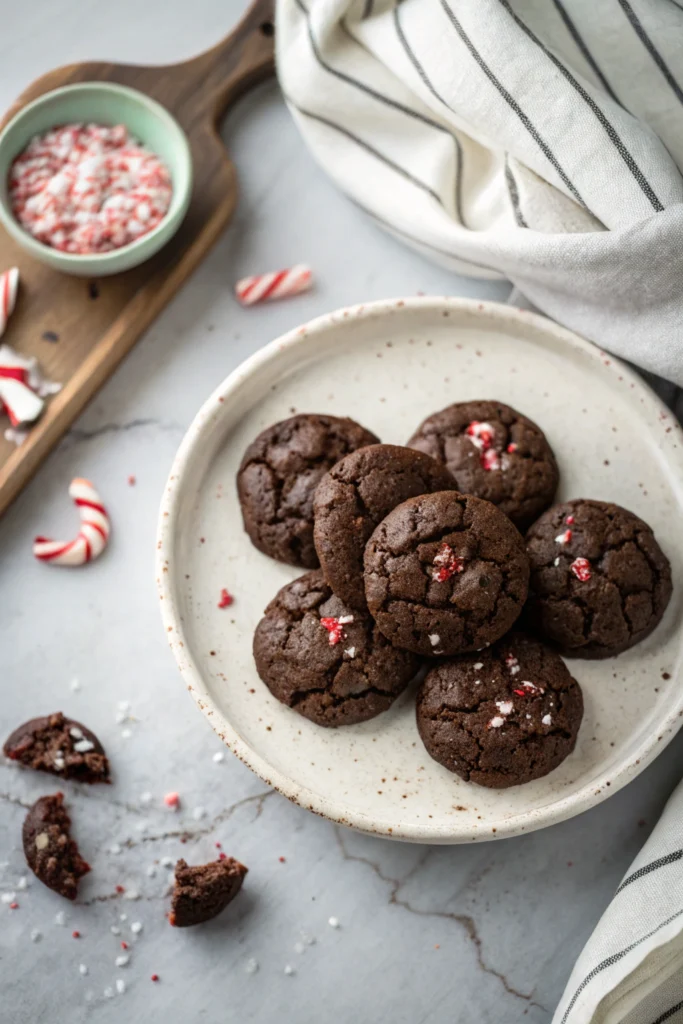
Chocolate Peppermint Cookies
Rich chocolate cookies infused with cool peppermint, featuring a perfectly chewy center and crisp exterior. Topped with crushed candy canes and a white chocolate drizzle for the ultimate holiday treat.
Ingredients
Cookie Dough:
Topping:
Instructions
Preparation:
- Whisk together flour, cocoa powder, baking soda, and salt in a medium bowlEnsure cocoa powder is lump-free
Beat butter and both sugars in stand mixer until light and fluffy
(3-4 minutes)- Add eggs one at a time, beating well after each addition
- Mix in peppermint and vanilla extracts
- Gradually add dry ingredients to wet mixture on low speed
- Fold in chocolate chips
- Chill dough for at least 3 hours
Baking:
- Preheat oven to 350°F
- Line baking sheets with parchment paper
- Scoop 1½-inch balls of dough onto sheets, spacing 2 inches apart
- Bake 10-12 minutes until edges are set but centers look slightly underdoneCookies should be soft in center when touched lightly
- Cool on baking sheets for 5 minutes
- Transfer to cooling rack
Decorating:
- Melt white chocolate in double boiler
- Drizzle over cooled cookies
- Immediately sprinkle with crushed candy canes
- Dust with powdered sugar once set
Nutritional values
Servings: 24 ServingCalories:185kcalTotal Fat:8.5gSodium:85mgTotal Carbohydrate:25gSugars: 16gProtein:2.5g
Note
Storage:
Store in airtight container at room temperature up to 5 days
(Layer between parchment paper)
Freezing:
Freeze undecorated cookies up to 3 months in freezer-safe container
(Thaw at room temperature for 30 minutes)
Variations:
Dark Chocolate Dip: Replace white chocolate with dark chocolate coating
Double Mint: Add 1 cup mint chocolate chips instead of semi-sweet
Candy Cane Stuffed: Press small candy cane piece into center before baking
Common Issues:
Spreading too much: Chill dough longer or add 2-3 tablespoons more flour
Too dry: Reduce baking time by 1-2 minutes
Mint too strong: Start with ¼ teaspoon extract, adjust to taste