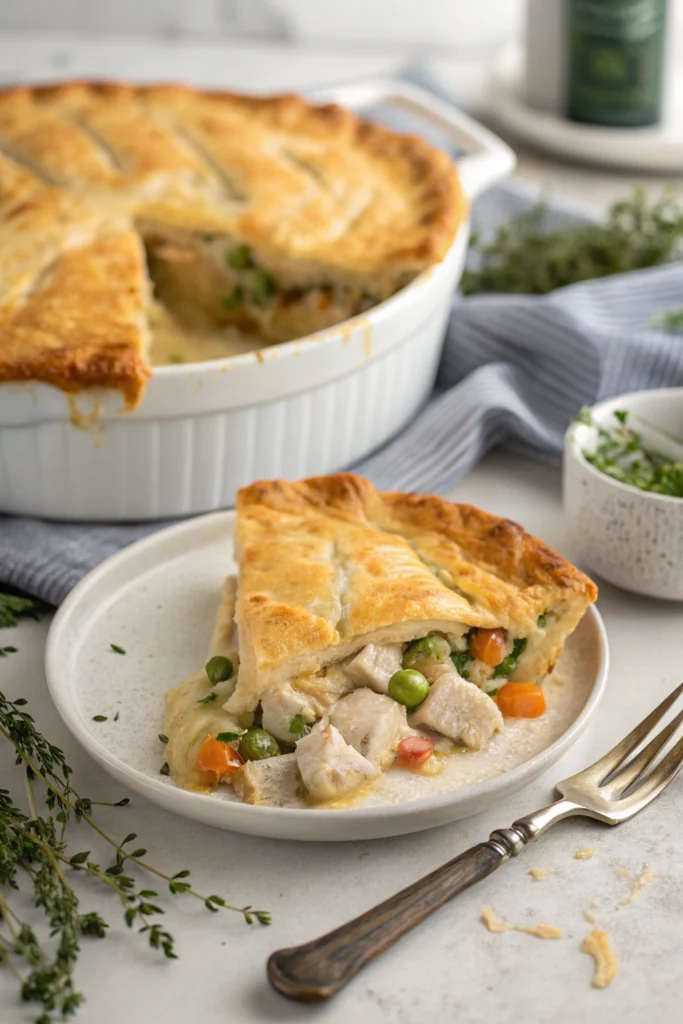
Looking for the perfect chicken pot pie casserole? This cozy dish brings together tender chicken, farm-fresh vegetables, and a golden, flaky crust that’ll make your kitchen smell like heaven. As a busy mom, I’ve perfected this recipe over countless family dinners, making it both foolproof and absolutely delicious.
The magic lies in its simplicity – you’ll get all the comfort of traditional pot pie without the fuss of making individual servings. Just layer your ingredients, pop it in the oven, and watch as it transforms into a bubbling masterpiece that’ll have everyone asking for seconds. Trust me, this crowd-pleasing casserole version is about to become your new go-to comfort food!
What Makes a Perfect Chicken Pot Pie Casserole ?
Classic American Comfort Food Origins
The chicken pot pie casserole has humble beginnings in early American farmhouse kitchens. Back in the 1800s, resourceful cooks would transform leftover Sunday roast chicken into Monday’s hearty pot pie. Unlike today’s version, these original recipes often featured a bottom crust made from leftover biscuit dough. The filling combined whatever vegetables were in season – from tender spring peas to hardy winter root vegetables.
What’s fascinating is how this dish evolved from a simple leftovers solution to a cherished family favorite. By the 1950s, the casserole version gained popularity as busy moms looked for time-saving dinner solutions.
The genius switch from individual pies to a family-style casserole format made serving easier while keeping all the cozy goodness intact. This practical adaptation perfectly captures the spirit of American home cooking – making delicious food accessible for everyday meals.
Key Components of Traditional Recipe
A perfect chicken pot pie casserole starts with three essential layers that work together like a well-rehearsed dance. The bottom layer features tender chunks of rotisserie chicken swimming in a rich, velvety sauce made from chicken broth and heavy cream. Fresh vegetables like carrots, celery, and pearl onions add both color and texture to this hearty mix.
In the middle, you’ll find the magical binding sauce – a blend of butter and flour that creates that signature pot pie thickness. Finally, the crowning glory is a golden-brown topping that can range from buttery biscuits to flaky puff pastry.
While some cooks swear by homemade pie crust, many busy families opt for ready-made alternatives that still deliver that satisfying crunch. The key is achieving the right balance between these components, ensuring each bite contains the perfect mix of creamy filling and crispy top.
Nutritional Benefits and Family Appeal
The chicken pot pie casserole packs a powerful nutritional punch that makes it a smart choice for growing families. One serving delivers about 25 grams of protein from the chicken, while the mixed vegetables add essential vitamins A and C. Parents love that kids gobble up vegetables they might otherwise push around their plates. The creamy sauce, while indulgent, carries calcium and vitamin D from the dairy components.
To boost the health factor, try whole-grain toppings or swap in Greek yogurt for some of the heavy cream. This comfort food classic also freezes beautifully, making it perfect for meal prep Sundays. You can divide the mixture into smaller portions, pop them in the freezer, and bake fresh whenever you need a quick, nutritious dinner.
Just remember to cool completely before freezing to prevent ice crystals from forming.
Step-by-Step Foolproof Baking Guide
Preparing Your Ingredients and Equipment
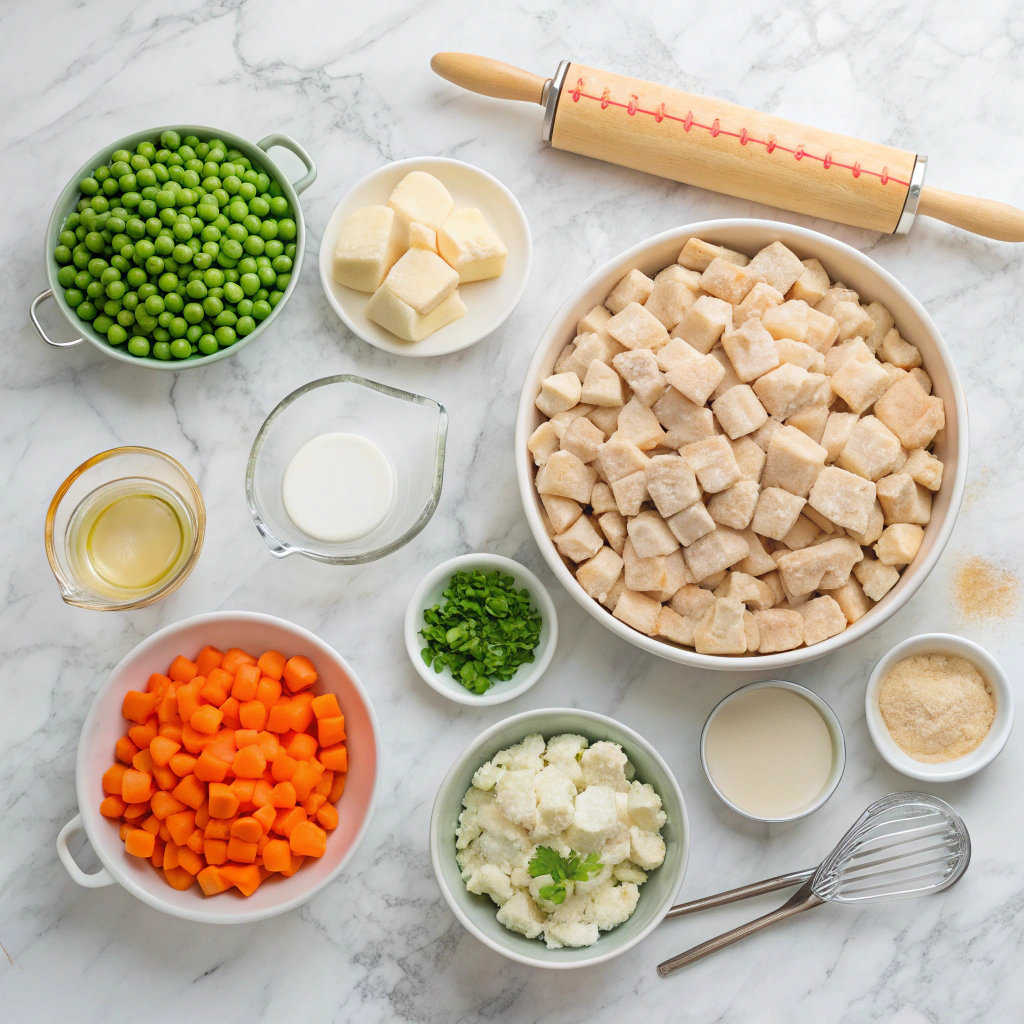
Every successful chicken pot pie casserole starts with proper mise en place. Begin by gathering two mixing bowls, a 9×13 baking dish, and measuring cups. You’ll need diced chicken, mixed vegetables, cream of chicken soup, and your favorite biscuit mix. For the best results, dice your chicken into uniform 1-inch cubes and let your frozen vegetables thaw completely. This prevents uneven cooking and ensures the perfect texture.
Our classic chicken pot pie recipe uses a clever trick – warming the cream soup slightly before mixing makes it easier to combine with other ingredients. Arrange everything within arm’s reach on your counter, just like professional chefs do.
Having all components ready before you start prevents that mid-recipe scramble and guarantees your casserole turns out perfectly every time.
Assembling Your Perfect Pot Pie
Creating the ideal chicken pot pie casserole is all about layering flavors and textures. Start by spreading your creamy filling evenly in the baking dish – you’ll want those chunks of tender chicken and veggies distributed just right.
Next comes the fun part! Rather than struggling with traditional pie crust, we’re using golden biscuits as our topping. Place them in a neat pattern across the surface, leaving tiny gaps between each one. These spaces let the filling bubble up beautifully while baking, creating those irresistible crispy edges everyone fights over.
Pro tip: brush the biscuit tops with melted butter and sprinkle with a pinch of herbs. This simple step adds amazing flavor and helps achieve that magazine-worthy golden brown finish. Think of it like putting together a cozy puzzle – each piece has its perfect spot!
Baking Your Chicken Pot Pie Casserole to Perfection
The secret to a perfectly baked chicken pot pie casserole lies in timing and temperature control. Start by preheating your oven to 375°F – this sweet spot ensures your biscuits turn golden while the filling stays creamy. Place your casserole on the middle rack where heat distributes evenly.
You’ll want to bake for about 25-30 minutes until those biscuits reach that Instagram-worthy amber color. Watch for those magical bubbles around the edges – they’re telling you the filling is hot and ready! If your biscuits brown too quickly, loosely tent with foil to protect them while the filling finishes cooking.
The final test? Insert a knife into the center – it should come out hot to the touch. Let it rest for 5-10 minutes before serving, allowing the filling to set up just right. Trust me, your patience will be rewarded with that perfect scoop every time!
Professional Chef's Secret Techniques
Temperature Control for Perfect Texture
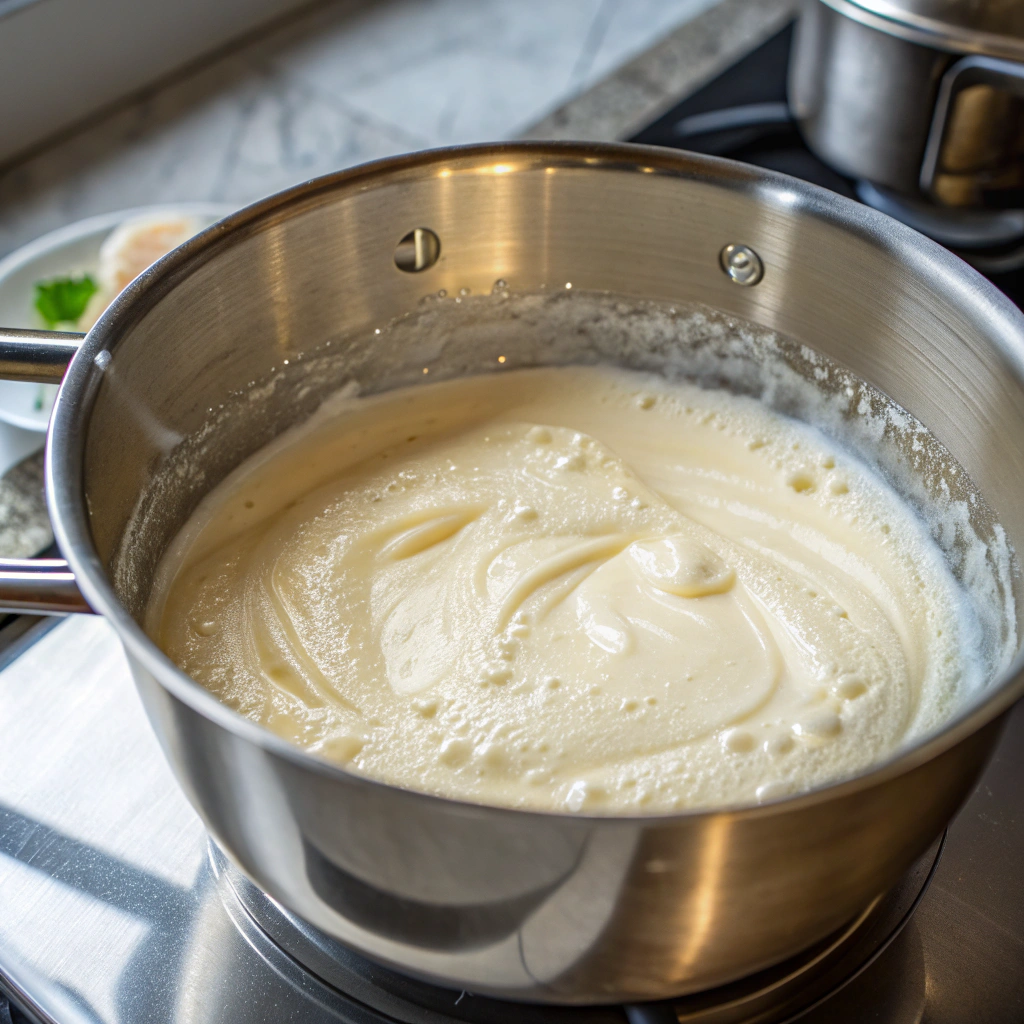
Mastering your chicken pot pie casserole starts with precise temperature control. Begin by bringing your ingredients to room temperature – this crucial step prevents cold spots and ensures even cooking. Your cream sauce should simmer gently at 180°F, just below boiling, where those magical thickening properties kick in. Watch for those tiny bubbles around the edge of your pan – that’s your sweet spot!
When layering, keep your filling hot (around 165°F) while working quickly with the cold biscuit topping. This temperature contrast is what creates those heavenly crispy-on-top, creamy-in-the-middle results that make this dish irresistible.
Remember to let those ingredients mingle and marry – the filling needs that perfect warmth to develop those rich, complex flavors we’re after.
Essential Tools and Equipment Setup
Having the right tools ready makes your chicken pot pie casserole a breeze to prepare. Start with a deep 9×13 baking dish – this size perfectly balances the filling-to-topping ratio. Keep two mixing bowls handy: one for the creamy sauce and another for combining vegetables. A whisk is crucial for achieving that silky-smooth sauce texture, while a wooden spoon helps fold ingredients gently.
Your cutting board and sharp knife will be busy with vegetable prep. Don’t forget measuring cups and spoons – precise measurements matter here! A large sauté pan with high sides works best for cooking vegetables and combining the filling.
Finally, grab some kitchen twine to bundle fresh herbs. Having everything within arm’s reach creates a smooth workflow, letting you focus on the joy of creating this comforting dish.
The Perfect Chicken Pot Pie Casserole Filling
Creating the ideal chicken pot pie casserole filling is all about balancing flavors and textures. Start by cooking diced chicken until golden brown – you’ll want that slight caramelization for extra depth. Next, sauté your aromatics: onions, carrots, and celery should become tender but not mushy. Fresh thyme and rosemary add wonderful earthiness, while a splash of white wine (optional but recommended!) deglazes all those tasty browned bits.
The secret to that classic pot pie taste lies in the ratio of vegetables to sauce – aim for enough sauce to coat everything generously without drowning it. Baby peas go in last since they need minimal cooking. A pinch of nutmeg might sound unusual, but it adds that subtle something-special that’ll have everyone asking for seconds.
Remember, the filling should be slightly thicker than you think necessary, as it’ll thin out during baking.
Fixing Common Casserole Challenges
Preventing Soggy Bottom Crust
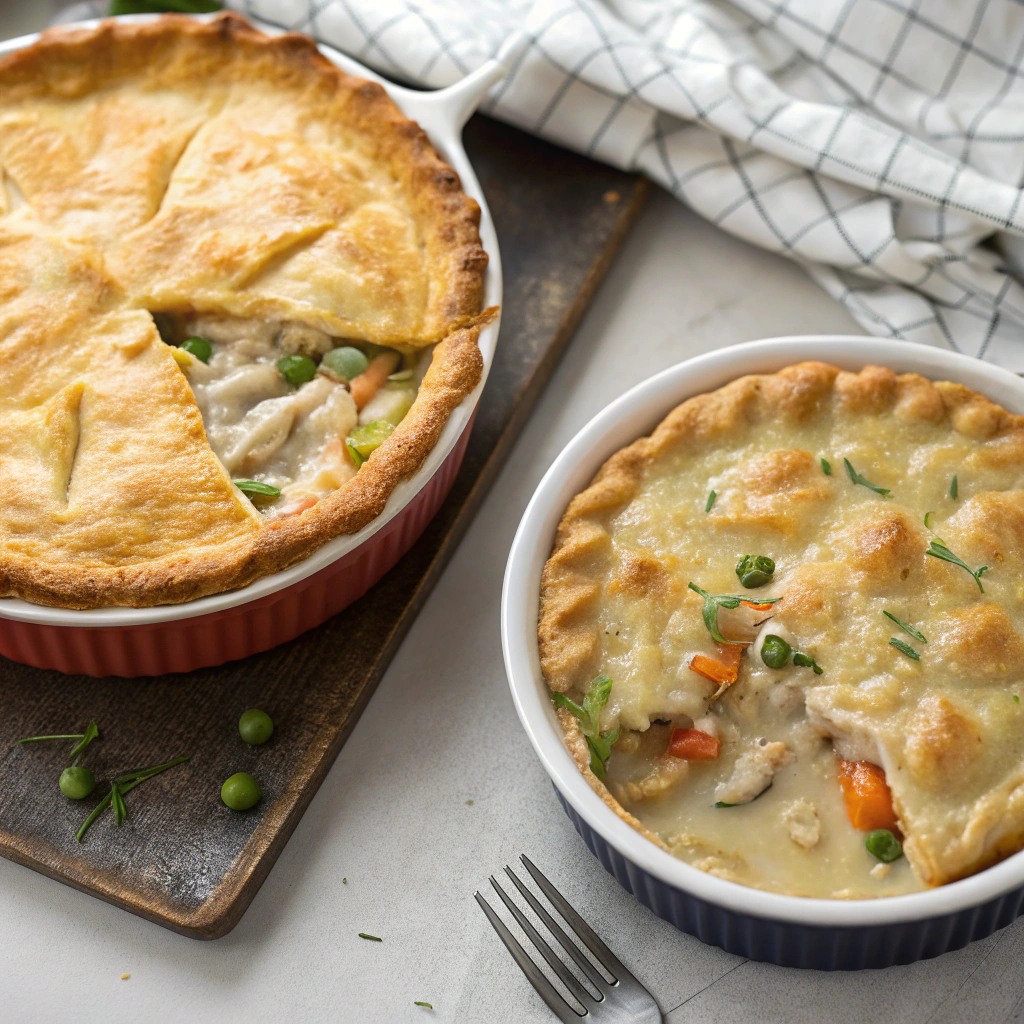
Nothing ruins a chicken pot pie casserole quite like a mushy bottom crust. The key lies in proper preparation and temperature control. Start by blind baking your bottom crust for 10-12 minutes at 425°F until it’s just beginning to turn golden. This creates a protective barrier against moisture.
Another game-changing trick is sprinkling a thin layer of grated Parmesan cheese on the pre-baked crust before adding your filling – it acts as a delicious moisture barrier! Make sure your filling isn’t too hot when you add it, as steam can make the crust soggy.
Position your casserole on the bottom rack of your oven, where direct heat will help maintain that crispy texture. For extra insurance, try using a dark metal pan instead of glass, as it conducts heat more effectively and promotes better browning.
Perfecting Your Filling Consistency
Creating the ideal chicken pot pie casserole filling requires mastering the right consistency. Start by making your sauce slightly thicker than you think necessary – it’ll thin out during baking. The key is achieving that perfect silky texture that’s not too runny or too thick. When stirring your roux, listen for that gentle swooshing sound that signals the right thickness.
Your wooden spoon should leave a clear trail that slowly fills back in when drawn through the mixture. If your filling’s too thin, whisk in a cornstarch slurry (1 tablespoon cornstarch mixed with 2 tablespoons cold water) a little at a time. Too thick? Add warm chicken broth in small splashes until it reaches that gorgeous, velvety consistency.
Remember, the filling should coat the back of a spoon but still flow smoothly when poured.
Perfect Timing for Golden-Brown Results
Getting that picture-perfect golden top on your chicken pot pie casserole comes down to precise timing. Start by preheating your oven to 375°F – this sweet spot temperature ensures even browning without drying out your filling. Place your casserole on the middle rack where heat circulation is optimal.
Keep an eye on that crust around the 30-minute mark – you’re looking for that gorgeous amber color starting to develop. If the edges are browning too quickly, loosely tent with foil to protect them while the center catches up.
That perfect golden-brown happens right when you notice those tiny bubbles of filling starting to peek through the crust’s surface. Listen for that gentle sizzling sound – it’s your cue that the bottom crust is crisping up nicely. Remember, every oven has its quirks, so your first few tries might need slight timing adjustments.
Creative Recipe Adaptations
Traditional Family-Style Version
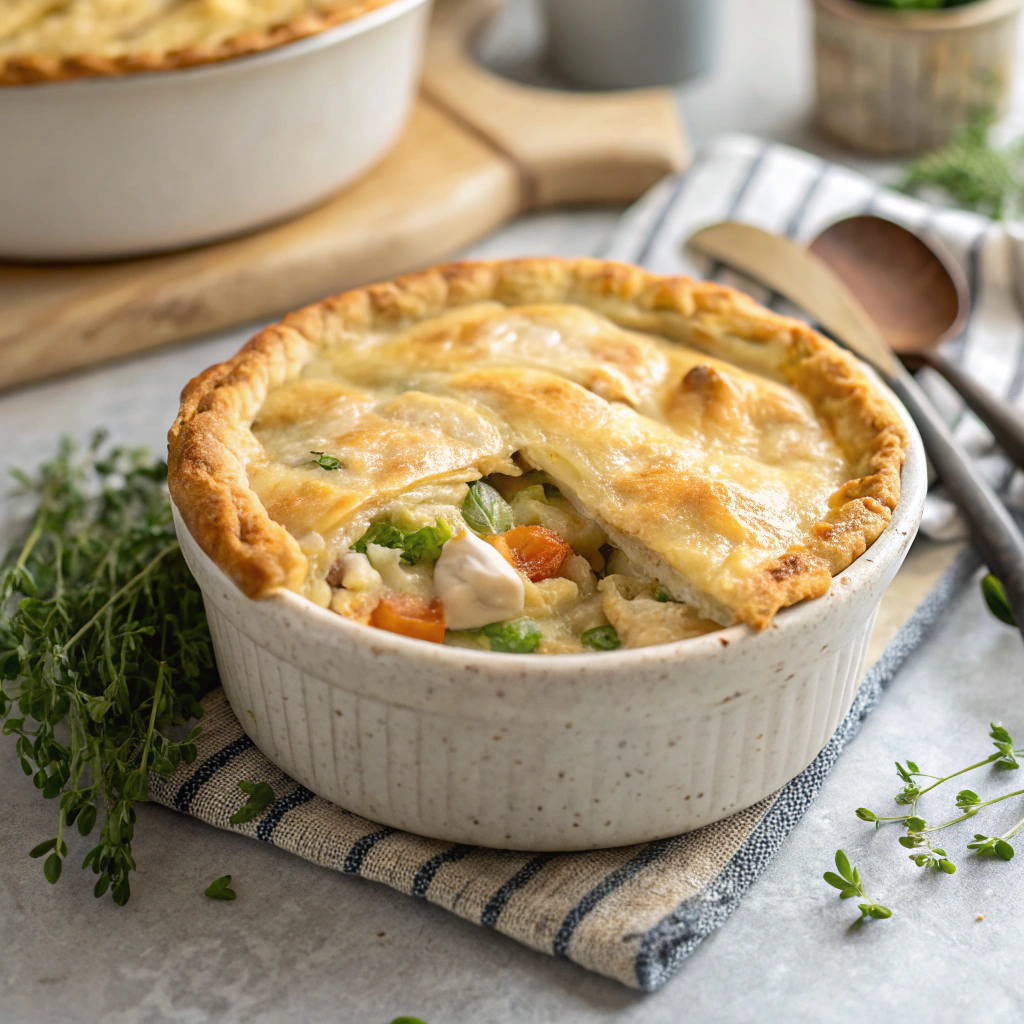
Transform your chicken pot pie into a crowd-pleasing casserole that brings everyone to the table. Start with a deep 9×13 baking dish – its generous size is perfect for feeding hungry families. Layer tender chunks of rotisserie chicken with farm-fresh vegetables, creating that classic pot pie filling we all love.
Instead of struggling with pie crust, top it with golden, flaky biscuits that puff up beautifully while baking. This family-style approach makes serving a breeze – just scoop and enjoy! The casserole format means everyone gets the perfect ratio of creamy filling to crispy topping.
Plus, it’s ideal for our cozy homemade chicken pot pie recipe that’s become a reader favorite. Watch as your kitchen fills with that irresistible aroma of herbs and butter, signaling comfort food at its finest.
Make-Ahead Tips and Variations
For busy weeknights, prep this chicken pot pie casserole ahead and store unbaked in the fridge. Mix up your veggies based on what’s in season – butternut squash adds fall flair, while fresh corn brings summer sweetness. Skip the rotisserie chicken and use leftover turkey after Thanksgiving – it’s just as delicious!
Want a time-saving shortcut? Grab frozen mixed vegetables, but thaw and drain them well first. For extra savory depth, stir in some fresh herbs like thyme or rosemary. Make a double batch and freeze one for later – just wrap it tightly and freeze before baking.
When ready to cook, let it thaw overnight in the fridge. The filling might look a bit watery at first, but don’t worry! It’ll thicken up beautifully as it bakes. For individual portions, divide the mixture into ramekins – perfect for portion control or fancy dinner parties.
Storage and Freezing Tips
Want to meal prep this chicken pot pie casserole? Let it cool completely after baking, then portion into airtight containers. It’ll stay fresh in the fridge for 3-4 days – just reheat until bubbly hot.
For longer storage, wrap individual portions tightly in plastic wrap and foil before freezing. They’ll keep for up to 3 months! When ready to enjoy, thaw overnight in the fridge. Pop it in a 350°F oven for about 20-25 minutes or until heated through.
The crust might not be quite as crispy after freezing, but a quick brush with melted butter before reheating works wonders. Pro tip: Label your containers with the date and reheating instructions – your future self will thank you! If freezing a whole casserole, use a disposable aluminum pan to free up your baking dishes.
Start Creating Your Perfect Casserole Today
Ready to wow your family with the ultimate comfort food? This chicken pot pie casserole brings together tender chicken, creamy sauce, and buttery crust in every bite. Grab your ingredients and follow our tried-and-true tips for a dinner that’ll have everyone asking for seconds. Share your creation with us using #TalesRecipes!
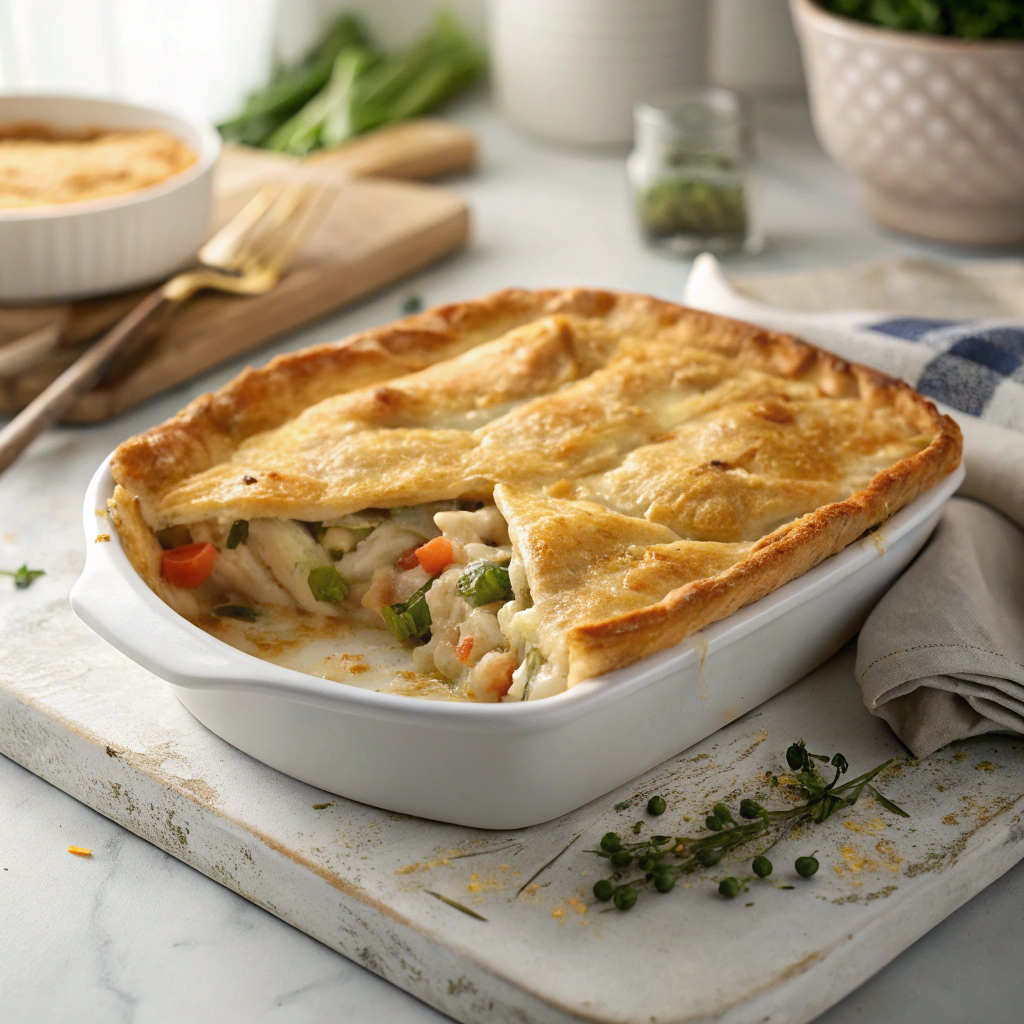
Chicken Pot Pie Casserole
A hearty casserole combining tender chicken, farm-fresh vegetables, and golden biscuits in a creamy sauce. This family-friendly version transforms traditional pot pie into an easy-to-serve dish perfect for busy weeknights.
Ingredients
Filling:
Sauce:
Topping:
Instructions
Preparation:
- Preheat oven to 375°F
- Grease 9x13 baking dish
- Dice chicken into 1-inch cubesEnsure vegetables are thawed if using frozen
Sauce Making:
- Melt butter in large skillet over medium heat
- Add flour, whisk constantly for 1 minute
- Gradually add broth and cream, stirring continuously
- Cook until thickenedcoats back of spoon
- Add seasonings
Assembly:
- Combine chicken and vegetables in baking dish
- Pour sauce over mixture, stir gently
- Arrange biscuits on top
- Brush with melted butter, sprinkle with parsley
Baking:
- Bake 35-40 minutes until golden brownBiscuits should be cooked through and filling bubbling
Nutritional values
Servings: 8 ServingCalories:425kcalTotal Fat:24gSodium:890mgTotal Carbohydrate:28gDietary Fiber: 3gSugars: 4gProtein:25g
Note
Storage:
Refrigerate covered for up to 3 days
(Allow to cool completely before storing)
Reheating:
Heat individual portions at 350°F for 15-20 minutes
(Cover with foil to prevent drying)
Freezing:
Freeze unbaked without biscuits for up to 3 months
Thaw overnight in refrigerator before baking
Add fresh biscuits before baking
Variations:
Turkey Pot Pie: Substitute turkey for chicken
Vegetable: Skip meat, double vegetables
Homemade Biscuits: Replace canned with scratch-made
Common Issues:
Runny Filling: Let rest 10 minutes before serving
Soggy Biscuits: Don't overlap biscuits when placing
Uneven Cooking: Rotate dish halfway through baking


