Nutritional values
Servings: 4 ServingCalories:850kcalTotal Fat:52gSodium:1280mgTotal Carbohydrate:42gDietary Fiber: 3gSugars: 6gProtein:48g


Y'all, let me tell you about my obsession with making the perfect Blackstone Philly cheesesteak! Last summer, I spent countless weekends tweaking my recipe on my backyard griddle until my neighbors started "accidentally" dropping by during dinner time. There's something magical about that sizzle when thinly sliced beef hits that hot Blackstone surface. Trust me, once you've made a Philly cheesesteak on a Blackstone griddle, you'll never go back to your regular pan. The flat top cooking surface gives you that authentic street vendor taste that'll transport you straight to South Philly. Between managing the meat, melting the cheese just right, and getting those veggies perfectly caramelized, it's like conducting a delicious symphony right in your backyard.
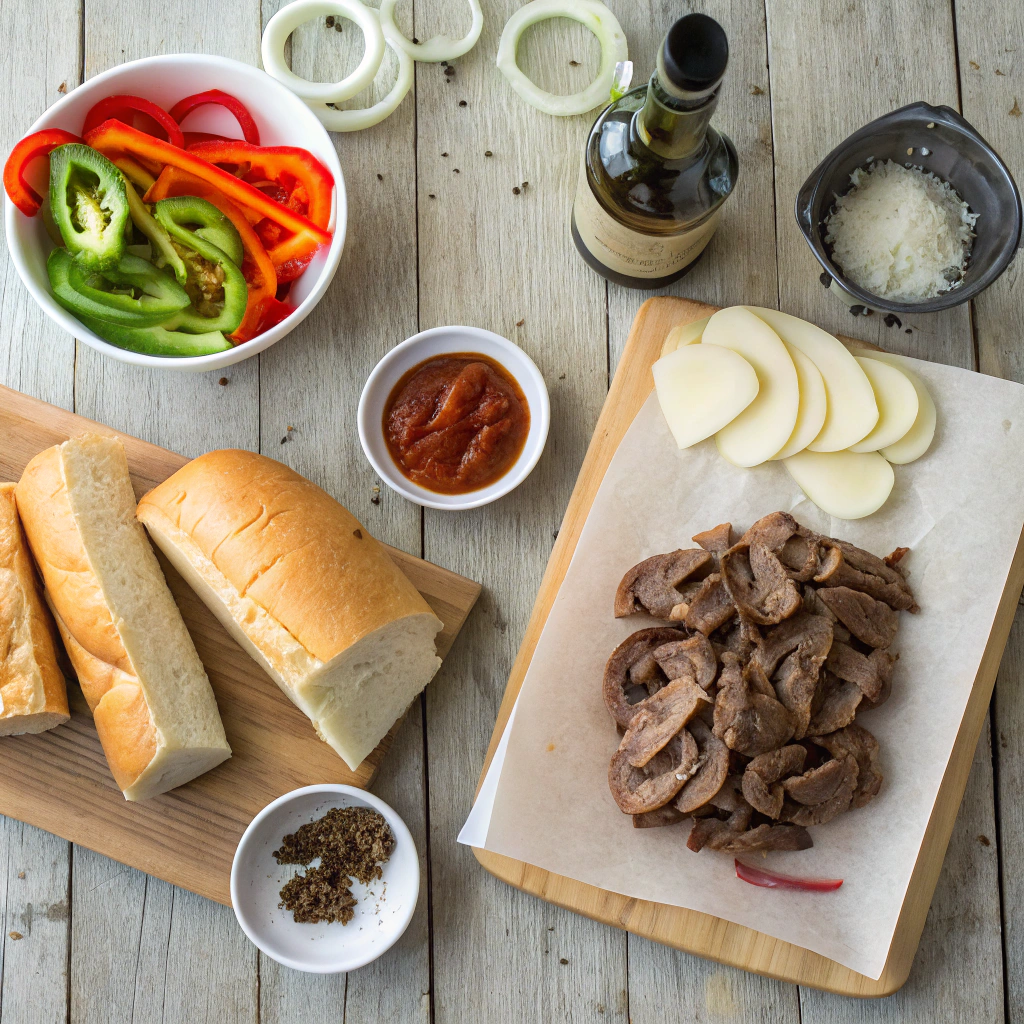
For the best Blackstone Philly cheesesteak, you'll want to start with ribeye - and don't let anyone tell you different! Before starting, make sure you know how to properly defrost meat to ensure the best texture for your cheesesteak. I learned this the hard way after trying cheaper cuts that just didn't give me that melt-in-your-mouth texture. Ask your butcher to slice it paper-thin, or pop it in the freezer for 30 minutes before slicing it yourself. The marbling in ribeye is crucial - it's what gives your griddle-cooked sandwich that rich, beefy flavor that keeps everyone coming back for more. When I'm cooking on my Blackstone, I like to work in small batches so the meat sears instead of steams. Remember, a great cheesesteak starts with quality beef that's sliced just right.
Making a killer Blackstone Philly cheesesteak means getting serious about your cheese game. While the purists swear by Cheez Whiz (and hey, I won't judge!), I've found provolone gives that perfect pull when you bite into your sandwich. My secret trick? I layer both white American and provolone for the ultimate cheese experience. The American melts into all the nooks and crannies of the meat, while the provolone adds that sharp, authentic flavor that screams "Philly!" When working the Blackstone griddle, I create a little tent with my metal spatula to trap the heat and get that cheese melting just right. It's all about timing and temperature control.

Let's talk veggies for your Blackstone Philly cheesesteak - and boy, do people have opinions about this! After making hundreds of these bad boys on my griddle, I'm gonna tell it straight: fresh-cut vegetables are worth the extra effort. Sure, those pre-sliced peppers and onions in the freezer section are convenient, but they just don't caramelize the same way on the Blackstone. I slice my onions about a quarter-inch thick, and my green peppers slightly thinner. The key is consistency in your cuts - it helps everything cook evenly on that flat top surface. And here's a pro tip: mushrooms are totally optional, but when I add them, they need to be fresh and sliced thick enough not to disappear during cooking.
Before making a Blackstone Philly cheesesteak, you'll need to master your griddle's heat zones. I learned this trick after many failed attempts - divide your cooking surface into three distinct areas. The high-heat zone should be around 400-450°F for that perfect meat sear. Keep the middle at medium heat (350°F) for veggies, while the low-heat section stays around 300°F for keeping ingredients warm and melting cheese. This temperature control is crucial for authentic Philly-style results.
I always let my griddle preheat for 10-15 minutes before starting. A good tip I picked up from a food truck owner: sprinkle a few drops of water on the surface - if they dance and evaporate quickly, you're ready to cook.
Getting ready for a Blackstone Philly cheesesteak starts with proper griddle seasoning. I've found that flaxseed oil creates the best non-stick surface, though regular vegetable oil works well too. Apply thin layers using a paper towel, letting each coat smoke off completely. This process might take an hour, but it's worth every minute for that perfect sear on your steak.
After each use, I clean my griddle while it's still warm and apply a light coat of oil. Learning to properly clean your griddle between uses will ensure the best results for your next cheesesteak adventure. This maintenance routine has saved my late-night cheesesteak cravings more times than I can count!
Every Blackstone Philly cheesesteak master needs the right tools. Two metal spatulas are non-negotiable - you'll use them for the signature chopping and flipping moves. I keep a squeeze bottle filled with water nearby for steam-cleaning tough spots. Invest in a good meat thermometer and long-handled tongs for safe cooking.
Don't forget your protective gear! The griddle gets seriously hot, so heat-resistant gloves are a must. I learned this the hard way after one too many oil splatters. A proper scraper and grease cup make cleanup much easier.
Creating the perfect Blackstone Philly cheesesteak starts with properly sliced meat. I freeze my ribeye for about 30 minutes before slicing - this firms it up for paper-thin cuts. Using a sharp knife, slice against the grain at a slight angle. For extra tenderness, I marinate the meat for 2-3 hours in a mix of olive oil, Worcestershire sauce, and garlic.
Pro tip from my years of griddle cooking: let the marinated meat come to room temperature before hitting the hot surface. This helps achieve that beautiful brown crust while keeping the inside tender and juicy.

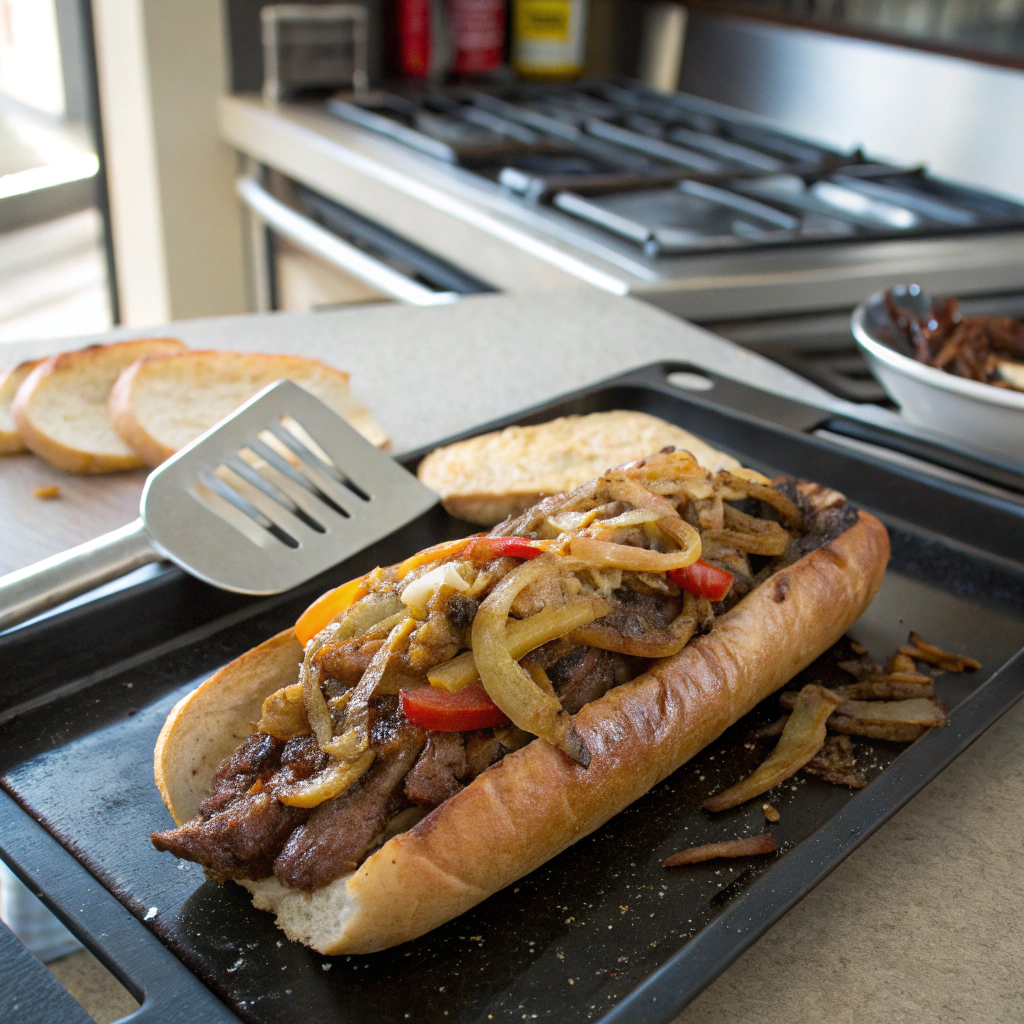
When making a Blackstone Philly cheesesteak, timing your vegetables is crucial. Start with onions since they take longest to caramelize - about 8-10 minutes on medium heat. Add bell peppers next, letting them soften for 5-6 minutes. Mushrooms go last, as they cook quickly and release moisture that could steam rather than sear your other ingredients.
Keep your veggies moving with those dual spatulas, and don't be afraid to use the cooler zones of your griddle to prevent overcooking. I like to season each layer separately for the best flavor development.
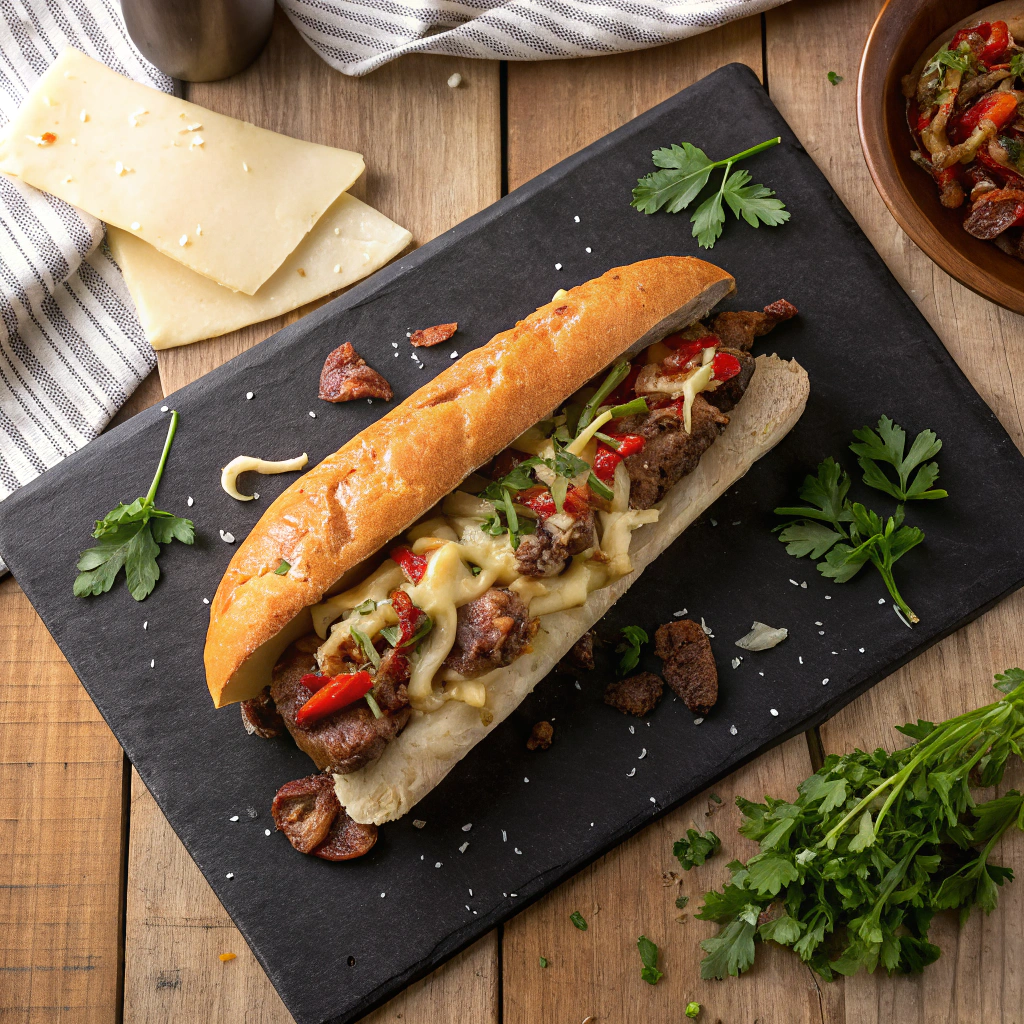
The final touch on any Blackstone Philly cheesesteak is perfectly melted cheese. Traditional provolone works great, but don't shy away from trying white American or even Cheez Whiz for that authentic South Philly experience. Create a pile of cooked meat and veggies, lay your cheese on top, and add a few drops of water around the edges.
Cover everything with a large metal dome or bowl - this creates steam that melts the cheese evenly. Watch closely though! Too much steam can make your bread soggy, and nobody wants a mushy cheesesteak.
Making a Blackstone Philly cheesesteak requires careful attention to temperature. I learned the hard way that starting with a griddle that's too hot will burn the outer edges of your meat while leaving the center undercooked. For the perfect cheesesteak, preheat your Blackstone to medium-high (around 375°F) before adding your thinly sliced beef. The sweet spot for cooking a Blackstone Philly cheesesteak is when you can hold your hand 6 inches above the surface for 3-4 seconds. Remember to maintain consistent heat throughout the cooking process, adjusting the burners as needed. I've found that keeping a spray bottle of water nearby helps manage any unexpected flare-ups that might char your meat.
One common mistake I see folks make when preparing a Blackstone Philly cheesesteak is piling too much meat on the griddle at once. This creates steam instead of the desired sear, resulting in gray, rubbery meat rather than those delicious crispy brown bits we all love. When cooking your Blackstone Philly cheesesteak, work in batches if needed, giving each portion of meat enough space to develop a proper crust. I typically divide my meat into manageable portions, spreading them out in a single layer. This technique allows for better heat distribution and proper caramelization, creating those signature crispy edges that make a cheesesteak irresistible.
The sequence of steps matters hugely when crafting a Blackstone Philly cheesesteak. A common timing mistake is adding cheese too early, causing it to become oily and separate. Start by cooking your onions until they're perfectly caramelized, then move them to one side of the griddle. Next, cook your seasoned beef until it's about 80% done before adding your Blackstone Philly cheesesteak toppings. The final assembly should be quick and organized - lay down your roll, add the hot meat, top with cheese, and let it melt for just 30 seconds. This timing ensures everything comes together at the perfect temperature, creating that mouthwatering blend of flavors we all crave.
The authentic Blackstone Philly cheesesteak experience starts with razor-thin ribeye, sliced against the grain. When recreating this classic on your Blackstone, the technique is everything - you want to hear that distinctive sizzle as the meat hits the hot griddle surface. Traditional South Philly style means keeping it simple: just meat, onions, and your choice of cheese (Whiz, provolone, or American). The key to nailing a Blackstone Philly cheesesteak this way is letting the ingredients speak for themselves. I've found that a light seasoning of salt and pepper is all you need, allowing the natural beef flavor to shine through.
Today's Blackstone Philly cheesesteak scene is evolving with exciting new variations. I love experimenting with different flavor profiles while maintaining the spirit of the original. Try adding sautéed mushrooms and peppers for a loaded version, or kick things up with jalapeños and pepper jack cheese. Making fusion-style Blackstone Philly cheesesteaks opens up endless possibilities - I've even created an Asian-inspired version with teriyaki sauce and caramelized onions. The key is keeping the basic technique intact while introducing new ingredients that complement the rich, beefy foundation.

When it comes to personalizing your Blackstone Philly cheesesteak, the sky's the limit with toppings. While purists might stick to the basics, I've found that adding creative elements can make each sandwich unique. Start with your perfectly grilled meat on the Blackstone, then consider additions like roasted red peppers, different cheese blends, or even crispy bacon. The key is balancing your toppings so they enhance rather than overwhelm the core flavors. Remember to warm any cold toppings on the griddle before adding them to your sandwich - this ensures everything melds together perfectly.
Share your Blackstone Philly cheesesteak adventures with our growing community! Whether you're a griddle newbie or a seasoned pro, we want to see your creations. Drop a comment below with your favorite cheese combo or special seasoning blend. Tag us in your photos and join our monthly cookoff challenges. Together, we're keeping the authentic cheesesteak tradition alive, one griddle at a time! For a perfect side dish to complement your cheesesteak, try this refreshing zesty steak salad that uses similar ingredients.
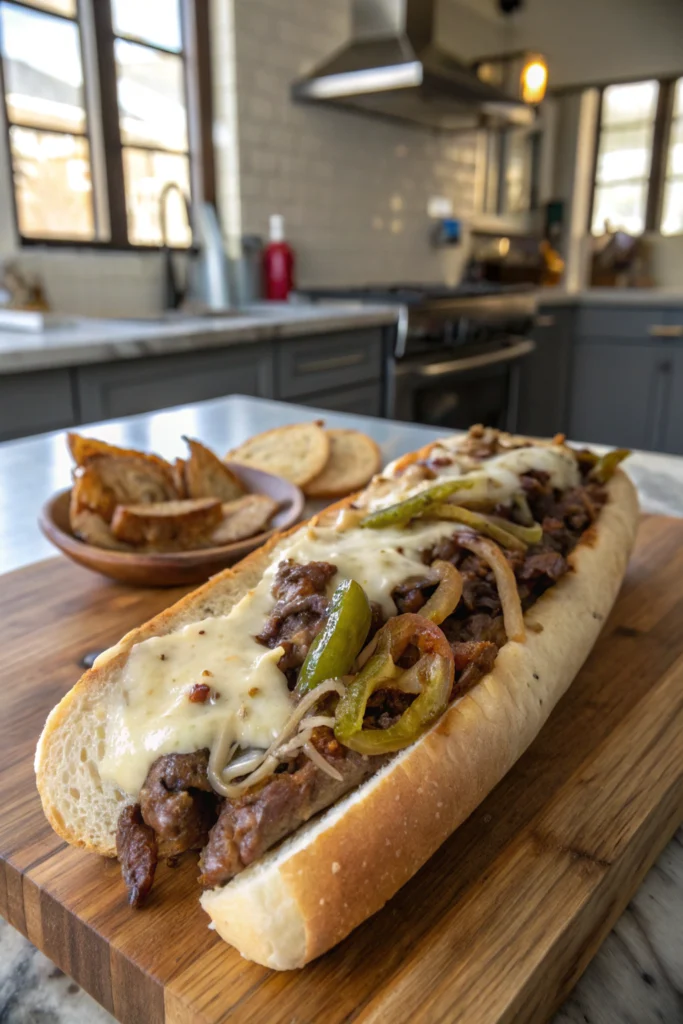
A traditional Philly cheesesteak made right on your Blackstone griddle. Featuring thinly sliced ribeye, caramelized onions, and your choice of melted cheese, all served on a toasted hoagie roll.
Servings: 4 ServingCalories:850kcalTotal Fat:52gSodium:1280mgTotal Carbohydrate:42gDietary Fiber: 3gSugars: 6gProtein:48g
Storage:
Wrap leftover meat and vegetables separately.
Refrigerate up to 3 days.
Reheating:
Best reheated on griddle at medium heat.
Substitutions:
Can use chicken or turkey for lighter option.
Serving:
Pair with crispy fries or onion rings.