
Y’all, let me tell you about my obsession with Blackstone fried rice! After countless takeout orders and way too much money spent, I finally cracked the code to making this dish at home. Last summer, I transformed my backyard into a mini hibachi spot, and wow – the difference that flat-top griddle makes!
Making Blackstone fried rice has become my Friday night tradition, and my neighbors always “happen” to drop by when they smell that amazing aroma wafting over the fence. Trust me, once you nail this recipe, you’ll never look at takeout the same way again. The secret? It’s all about having the right tools and that smoking-hot cooking surface that gives you that authentic “wok hei” flavor we all crave.
Essential Tools for Blackstone Fried Rice Success
Choosing the Right Blackstone Griddle Size
Listen up, friends – size really matters when you’re planning to make Blackstone fried rice for the family! I learned this the hard way when I started with a tiny 17-inch model that had me cooking in frustrating batches. For perfect Blackstone fried rice, you’ll want at least a 28-inch griddle. This gives you enough space to push ingredients around and create those essential “zones” for cooking at different temperatures.
My 36-inch griddle is my baby now – totally worth the extra bucks! You can cook rice on one side while your proteins sizzle on the other. Just remember, whatever size you pick, make sure it fits your deck or patio space. And don’t forget to factor in about 2 feet of clearance all around for safety!
Must-Have Spatulas and Cooking Tools
Making restaurant-style Blackstone fried rice means getting your hands on the right tools – and boy, did I learn this through trial and error! You’ll need two heavy-duty metal spatulas – those flimsy plastic ones just won’t cut it. I grabbed some professional-grade spatulas with long handles (trust me, your knuckles will thank you). The real game-changer for perfect Blackstone fried rice is adding a bench scraper to your arsenal. It’s amazing for chopping ingredients right on the griddle and scraping up those crispy bits. Don’t forget a good pair of tongs for handling meat, and some squeeze bottles for your sauces. Oh, and here’s a pro tip: keep a spray bottle filled with water nearby for steam control!
Rice Prep Equipment You'll Need
Before you even fire up that griddle for Blackstone fried rice, let’s talk about the behind-the-scenes prep work. First things first – get yourself a decent rice cooker if you haven’t already. I swear by my Zojirushi, but any reliable brand will do the trick. You’ll also need some good mixing bowls – I use glass ones because they’re perfect for prepping and don’t hold onto those strong Asian sauce flavors. A sharp knife and cutting board are non-negotiable for chopping up your veggies and proteins. Keep some small prep bowls handy too – having all your ingredients measured and ready to go (what the pros call “mise en place”) is crucial when you’re working with that hot griddle surface.
Mastering the Base for Blackstone Griddle Fried Rice
Best Rice Types for Griddle Cooking
When making Blackstone fried rice, choosing the right type of rice makes all the difference. Long-grain jasmine rice is my go-to because it stays firm and doesn’t clump together on the griddle. I learned this the hard way after a mushy disaster with short-grain rice! For the best griddle-fried results, avoid sticky rice varieties that can turn gummy during cooking. Medium-grain Calrose rice works well too, offering a nice middle ground between firmness and slight stickiness. When preparing Blackstone fried rice at home, I’ve found that aged rice produces better results than new rice. The lower moisture content helps achieve that coveted slightly crispy exterior while maintaining a tender inside.
Proper Rice Cooling Techniques
The key to amazing Blackstone fried rice starts with properly cooled rice. I always cook my rice the day before and spread it on a large baking sheet before popping it in the fridge. This might seem fussy, but trust me – it prevents the dreaded mushy fried rice syndrome! The cooling process allows excess moisture to evaporate and the starches to firm up. For the best texture when making fried rice on your Blackstone, let the rice chill for at least 4 hours. If you’re in a hurry, you can spread the rice thinly and pop it in the freezer for 30 minutes, but overnight refrigeration gives the best results.
Secret to Perfect Rice-to-Oil Ratio
Getting the right balance of oil is crucial for successful Blackstone fried rice. I start with about 2-3 tablespoons of oil for every 4 cups of cooked rice. Too little oil and the rice sticks; too much and it becomes greasy. My secret weapon is using a combination of oils – regular vegetable oil for its high smoke point, plus a touch of sesame oil for flavor. When cooking fried rice on the Blackstone, I’ve learned to add oil in stages rather than all at once. This helps maintain the perfect balance as you cook, preventing the rice from either sticking or becoming too oily.
Pro Tips for Blackstone Fried Rice Ingredients
Protein Choices That Work Best
For the tastiest Blackstone fried rice, I’ve found that pre-cooked proteins work best. Leftover rotisserie chicken is a fantastic option that adds rich flavor without extra cooking time. When making fried rice on the griddle, I like to dice my proteins into small, uniform pieces for even cooking. Shrimp is another great choice – it cooks quickly and doesn’t dry out on the hot surface. For vegetarian Blackstone fried rice, try using cubed firm tofu that’s been pressed and pre-seared. The key is choosing proteins that won’t release too much moisture and spoil that perfect rice texture.
Fresh vs Frozen Vegetable Options
When preparing Blackstone fried rice, both fresh and frozen veggies can work great – it’s all about proper preparation. Fresh vegetables add wonderful crunch and color, but need to be cut uniformly for even cooking. I prefer using frozen peas and carrots for convenience, but always thaw and drain them well first. The best fried rice on the Blackstone comes from layering quick-cooking veggies like bean sprouts with harder vegetables like diced carrots. When preparing your ingredients, knowing how to properly cut avocado for garnishing will add a professional touch to your finished dish. Remember that frozen vegetables often contain extra moisture, so I always pat them dry before adding them to the griddle.
Game-Changing Sauce Combinations
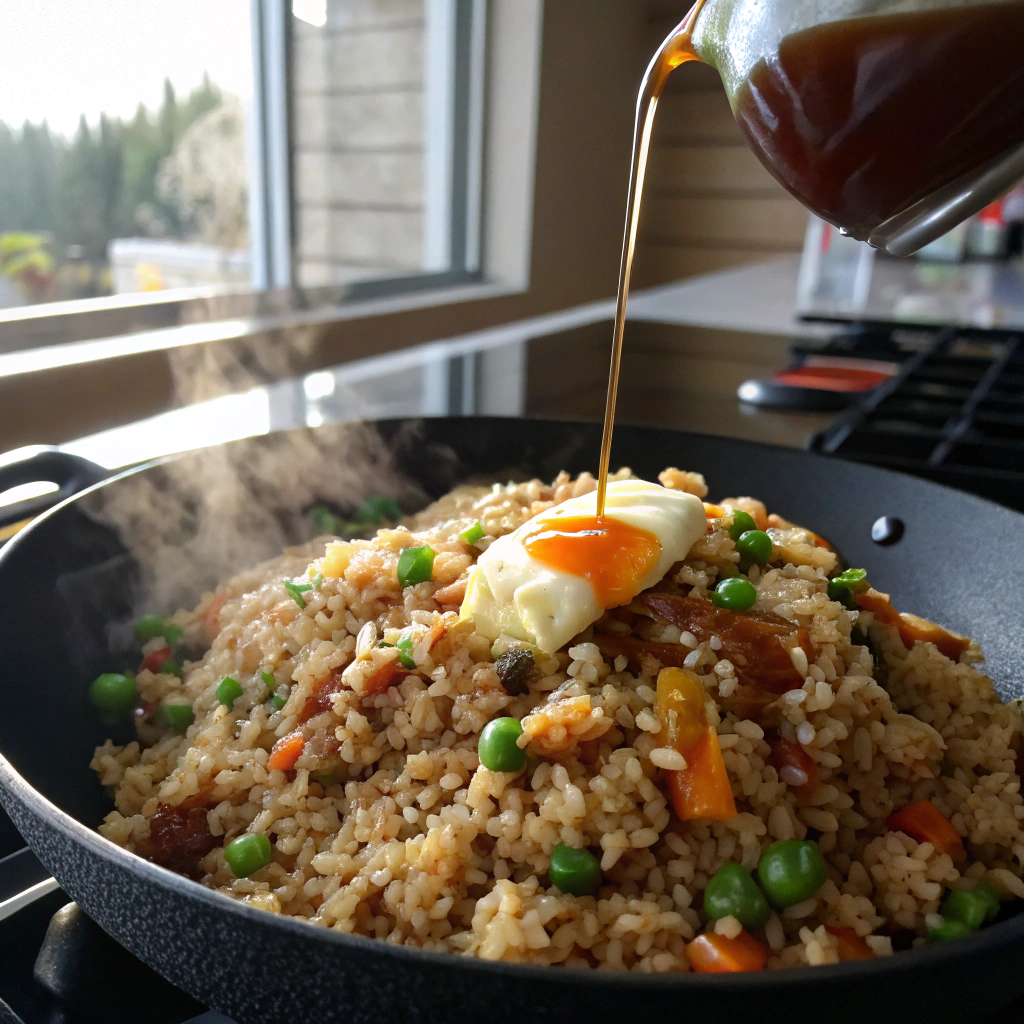
The secret to outstanding Blackstone fried rice lies in the sauce combination. I start with a base of good-quality soy sauce, but the magic happens when you add oyster sauce for depth and a splash of fish sauce for that umami kick. When making fried rice on the griddle, I mix my sauces in advance to ensure even distribution. A touch of white pepper adds complexity that regular black pepper just can’t match. For an extra special Blackstone griddle creation, try adding a drizzle of chili oil at the end – it takes the flavor to a whole new level.
Step-by-Step Blackstone Fried Rice Method
Proper Griddle Temperature Zones
Getting your Blackstone fried rice just right starts with proper temperature control. I’ve learned that dividing your griddle into zones makes all the difference. Set one side to medium-high (around 375°F) for searing proteins and vegetables, while keeping the other side at medium (350°F) for the rice. This two-zone approach prevents burning and helps create that perfect wok hei flavor we all love. When making Blackstone fried rice, I always start by heating the griddle for 10-15 minutes. Test the heat by dropping a few water droplets – they should dance and sizzle without instantly evaporating. Remember to adjust your zones based on weather conditions and how your griddle naturally heats.
Timing Each Ingredient Addition
Making restaurant-quality Blackstone fried rice requires perfect timing. Start by cooking your proteins on the hotter zone until they’re almost done, then move them to the cooler side. Next, stir-fry your harder veggies like carrots and onions for about 2-3 minutes. Your cold leftover rice should hit the griddle after the veggies are tender-crisp. When making fried rice on the Blackstone, spread it evenly and let it heat through for about 3 minutes before stirring. Softer vegetables like peas go in last. I’ve found that rushing this process ruins the texture – each ingredient needs its own time to shine.
Mastering the Rice Spreading Technique
The secret to amazing Blackstone fried rice lies in how you spread and work the rice. Use your spatulas to spread the rice in a thin, even layer across the cooking surface. This maximizes contact with the griddle and creates those crispy bits everyone fights over. Keep your movements confident but gentle – you don’t want to crush the rice grains. I like to let the rice sit undisturbed for 30-second intervals, then use two spatulas to flip and toss in sections. When preparing griddle fried rice, remember that patience pays off. The rice needs time to develop that golden-brown color and perfect texture.
Troubleshooting Your Griddle Rice Adventures
Preventing Rice from Sticking
Nobody wants their Blackstone fried rice sticking to the griddle! The key is starting with properly dried, day-old rice – fresh rice contains too much moisture and will always stick. Before cooking, I spray a light coating of oil across the griddle surface. When making griddle fried rice, temperature control is crucial – too hot, and the rice sticks; too cool, and it gets mushy. Keep your spatulas clean between flips by wiping them on a damp cloth. Another trick I’ve discovered is adding a tiny bit of sesame oil to the cooking oil – it adds flavor and helps prevent sticking.
Fixing Common Blackstone Fried Rice Mistakes
Even experienced cooks can run into trouble with Blackstone fried rice sometimes. If your rice clumps together, try breaking it up before adding it to the griddle. When the rice seems too dry, drizzle small amounts of soy sauce around the edges rather than directly on top. One common mistake I see is overcrowding the cooking surface. Working in batches makes better fried rice – give those grains room to crisp up! If your rice starts burning, quickly scrape it to a cooler zone and adjust your heat. Remember that making great griddle rice takes practice.
Weather Impact on Outdoor Cooking
Making Blackstone fried rice outdoors means dealing with Mother Nature’s moods. Wind can significantly affect your griddle’s temperature, so use a windscreen on blustery days. Humidity makes rice stickier, so you might need extra oil on damp days. When preparing griddle rice in cold weather, allow extra time for preheating and consider using slightly higher temperature settings. Hot summer days might require lower heat to prevent burning. I always keep a spray bottle of water nearby for flare-ups, especially when cooking on windy days. Weather shouldn’t stop you from making great fried rice – just adjust accordingly!
Start Your Blackstone Rice Journey Today
Ready to make amazing Blackstone fried rice? Grab day-old rice, your favorite protein, fresh veggies, and high-heat oil. Don’t forget soy sauce and seasonings! Start with small batches while learning temperature control. The griddle cooking journey is all about practice and finding what works for your style. Share photos of your creations – we love seeing your griddle success stories! For a delicious side dish to complement your fried rice, try making a fresh cantaloupe summer salad that adds a cooling contrast to the hot griddle meal.
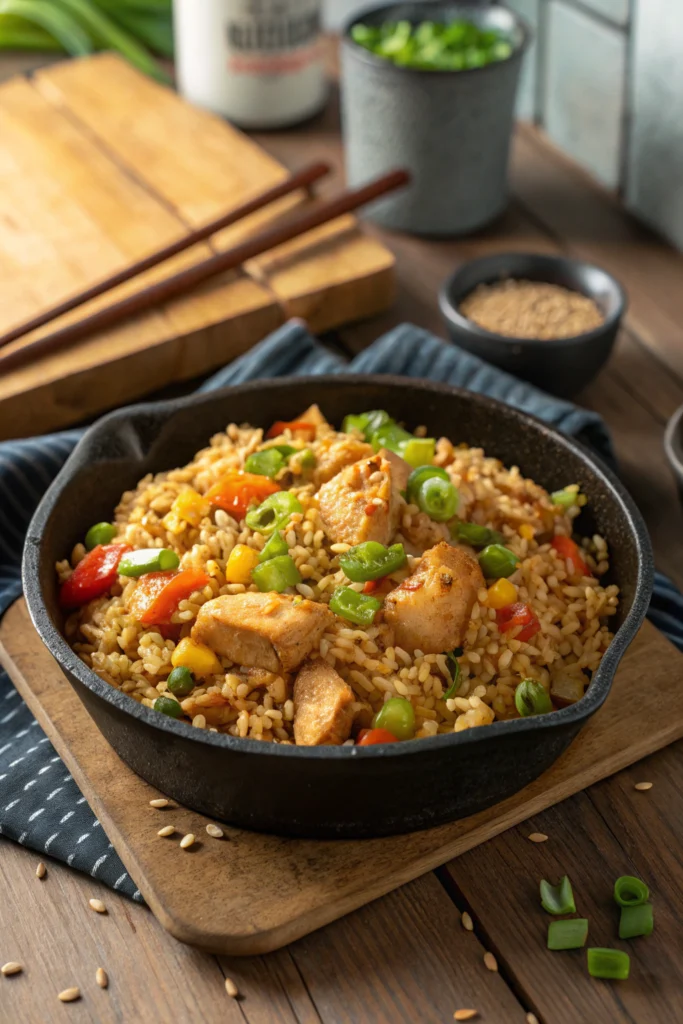
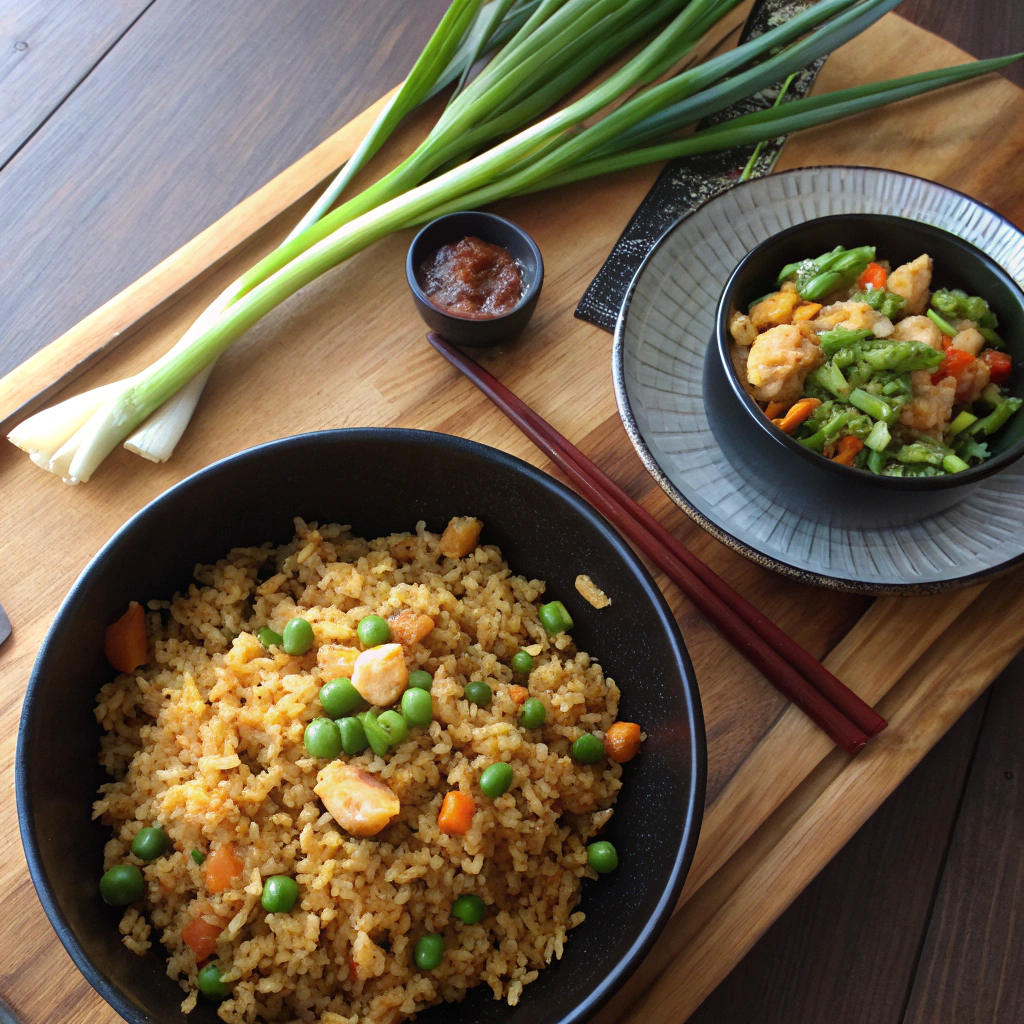
Blackstone Fried Rice
Crispy, flavorful fried rice cooked on a blazing hot Blackstone griddle. This recipe combines perfectly seasoned rice with tender proteins and fresh vegetables for an authentic Asian-inspired feast that rivals your favorite restaurant.
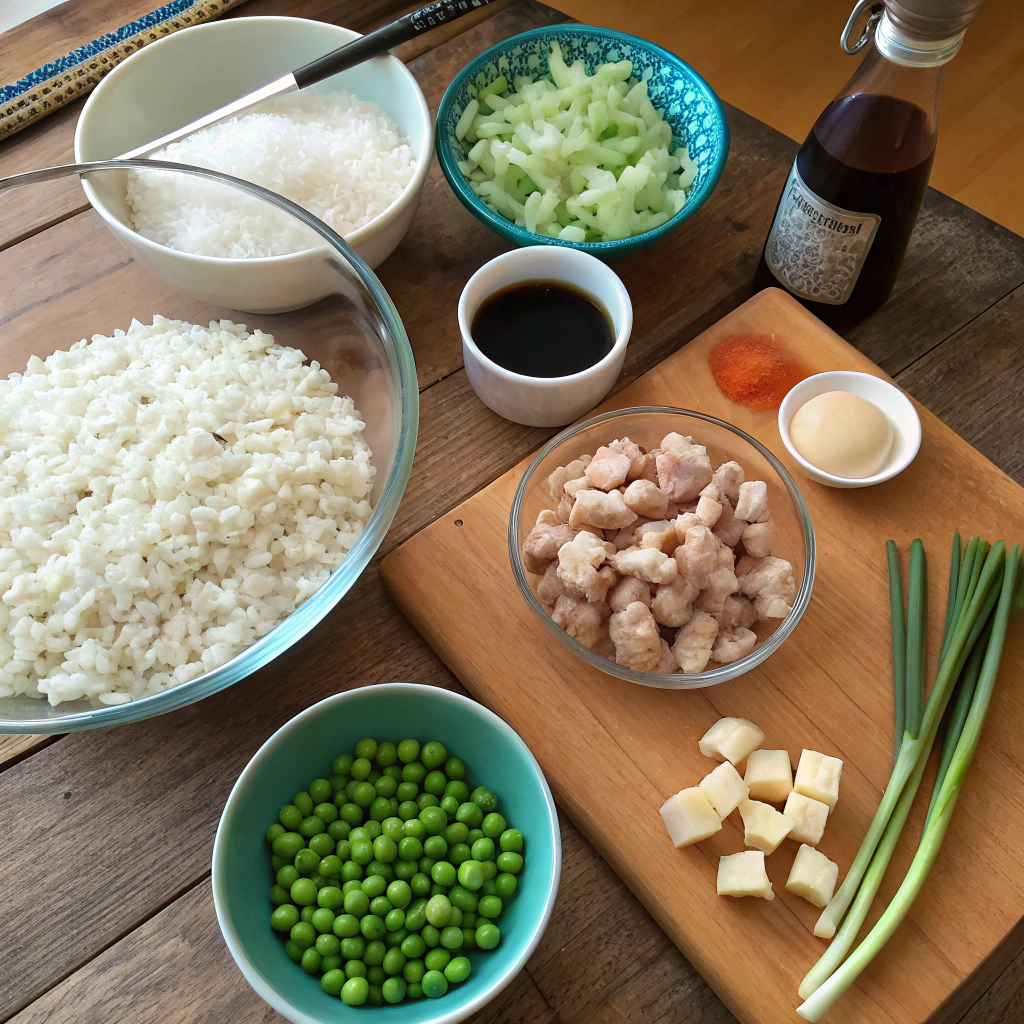
Ingredients
For the Rice Base:
Proteins and Vegetables:
Sauce Mixture:
Instructions
Prepare the Griddle
Heat Blackstone griddle to medium-high
375°F- Create two cooking zones: hot and mediumTest heat with water droplets - they should dance and sizzle
Cook Proteins
- Add 1 tablespoon peanut oil to hot zone
- Cook diced chicken until golden3-4 minutes
- Push to cooler side
- Pour beaten eggs onto hot surface, scramble quicklyKeep eggs moving to prevent burning
Sauté Vegetables
- Add vegetables to hot zone
- Cook until onions are translucent2-3 minutes
- Push to side with proteinsVegetables should be tender-crisp
Cook Rice
- Add remaining peanut oil to hot zone
- Spread rice in even layer
- Let sit for 30 seconds before flippingRice should sizzle when it hits the griddle
Combine and Season
- Mix all ingredients together
- Add sauce mixture around edges
- Drizzle sesame oil
- Toss until well combinedRice should have some crispy bits
Finish and Serve
- Top with green onions
- Serve immediately while hotOptional: add extra soy sauce to taste
Nutritional values
Servings: 6 ServingCalories:425kcalTotal Fat:16gSodium:680mgTotal Carbohydrate:52gDietary Fiber: 2gSugars: 2gProtein:18g
Note
Storage:
Keep leftovers in airtight container for up to 3 days.
Substitutions:
Swap chicken for shrimp or tofu.
Use any fresh vegetables you prefer.
Serving suggestion:
Pair with egg rolls or Asian cucumber salad.