Y’all, let me tell you about my first attempt at making banoffee pie – it was a hot mess! But after countless tries (and many happy taste-testers), I’ve finally nailed this creamy caramel dream. This no-bake dessert has become my go-to when I need to wow dinner guests without spending hours in the kitchen. The combination of buttery graham cracker crust, gooey toffee, fresh bananas, and billowy whipped cream in a classic banoffee pie is simply irresistible.
For an equally delightful dessert experience, try making a lemon meringue pie with its perfect balance of sweet and tart flavors. Trust me, once you master this recipe, you’ll be getting requests to bring it to every family gathering. I’ve even started keeping extra cans of dulce de leche in my pantry because my kids beg for this treat so often!
The Story Behind Classic Banoffee Pie
From British Origins to American Tables
Would you believe banoffee pie was actually created by accident? Back in 1971, at The Hungry Monk restaurant in East Sussex, England, the owner was trying to tweak an American recipe when this beauty was born. The original banoffee pie came about after hours of boiling unopened cans of condensed milk (pretty dangerous – don’t try that at home!). These days, we’ve got it way easier with ready-made dulce de leche. I remember my first taste of authentic banoffee pie during a semester abroad in London. The moment that toffee-banana combo hit my tongue, I knew I had to figure out how to make it back home in my tiny apartment kitchen.
Why This Dessert Became a Global Sensation
Let’s be real – who can resist the perfect banoffee pie? It’s got everything going for it: sweet, creamy, crunchy, and absolutely no baking required! The genius is in its simplicity. My neighbor Sarah actually started a small catering business because people went crazy for her version at a block party. The dessert spread like wildfire through social media, with food bloggers and home bakers putting their own spin on it. What makes this treat so special is how the flavors build – that rich toffee sauce mingles with fresh bananas, and the whole thing gets crowned with clouds of fresh whipped cream.
Traditional vs Modern Banoffee Variations
While the classic banoffee pie recipe remains a crowd-pleaser, creative bakers have dreamed up some pretty amazing twists. I’ve seen everything from chocolate-drizzled versions to gluten-free graham cracker crusts made with almond flour. My personal favorite variation swaps in a gingersnap base – it adds this amazing spicy kick that cuts through the sweetness. Some folks make individual banoffee pie jars for parties (super cute!), while others go totally fancy with chocolate curls and caramel drizzles. But here’s the thing about a traditional banoffee pie: sometimes the original is hard to beat, especially when those bananas are perfectly ripe.
Essential Ingredients for Perfect Banoffee Pie
Selecting the Best Bananas for Banoffee
When making a classic banoffee pie, banana selection can make or break your dessert. I learned this the hard way after using overripe bananas that turned brown too quickly! For the perfect slice, choose bananas that are ripe but still firm – they should be yellow with just a few brown spots. This ensures they’ll hold their shape when layered into your banoffee pie and won’t turn mushy.
I like to buy bananas 2-3 days before I plan to make the dessert, letting them ripen naturally at room temperature. Pro tip: avoid refrigerating your bananas, as this can affect their texture and sweetness. If your bananas are getting too ripe too fast, you can slow down the process by separating them from the bunch.
Toffee vs Dulce de Leche: Which to Choose
Creating the perfect banoffee pie means choosing between traditional toffee and dulce de leche for that signature caramel layer. While both options work beautifully, each brings something unique to the table. Traditional toffee, made by cooking condensed milk, sugar, and butter, gives your banoffee pie that authentic British taste. Dulce de leche offers a smoother, more mellow caramel flavor that some prefer. I’ve found that simmering unopened cans of condensed milk for homemade dulce de leche creates amazing results – just remember to keep the cans fully submerged! If you’re short on time, store-bought dulce de leche works well too.
Crust Options That Make or Break Your Pie
The foundation of any great banoffee pie starts with its crust. While traditional digestive biscuits are the classic choice, I’ve experimented with various alternatives that work wonderfully. Graham crackers make an excellent substitute, offering that same buttery, crumbly texture that complements the creamy layers above. For a twist on the classic banoffee pie, try using gingersnaps – they add a subtle spice that pairs beautifully with the banana and toffee. Whatever base you choose, make sure to press it firmly into your pie dish. A loose crust can ruin the whole experience! Don’t forget to pre-bake your crust for extra crispness.
Step-by-Step Banoffee Pie Assembly
Making the No-Fail Cookie Base
Creating the perfect crust for your banoffee pie starts with properly crushing your chosen cookies. I’ve found that using a food processor gives the most consistent results, but you can also place cookies in a zip-top bag and crush them with a rolling pin. The key to a sturdy banoffee pie base is achieving the right texture – aim for fine crumbs that hold together when pressed. Mix your crumbs with melted butter until they resemble wet sand. Press this mixture firmly into your pie dish, making sure to create an even layer that goes up the sides. I like using the bottom of a measuring cup for this step – it helps create those perfectly smooth edges.
Crafting Silky Smooth Toffee Filling
The heart of any banoffee pie lies in its luxurious toffee layer. Start by combining butter and brown sugar in a heavy-bottomed pan over medium heat. Stir constantly to prevent burning – trust me, I’ve learned this lesson the hard way! Once the mixture starts bubbling, add condensed milk and keep stirring. The key to perfect banoffee pie filling is patience – cook until the mixture turns a deep golden color and thickens enough to coat the back of a spoon. Let it cool slightly before pouring over your crust. This prevents the filling from seeping into the base and keeps layers distinct.
Pro Tips for Perfect Banana Layering
Achieving those picture-perfect banana layers in your banoffee pie requires some strategy. Start by slicing your bananas at a slight angle – this creates more surface area and makes for better presentation. When arranging the slices in your banoffee pie, begin at the outer edge and work your way in, slightly overlapping each piece. To prevent browning, brush the banana slices with a little lemon juice before adding the whipped cream layer. This simple trick keeps your banoffee pie looking fresh longer. If you’re not serving immediately, wait to add the banana layer until just before serving.
Common Banoffee Pie Mistakes to Avoid
Why Your Toffee Won't Set
Making the perfect toffee for your banoffee pie can be tricky, but don’t worry – I’ve made all the mistakes so you don’t have to! The most common issue is not cooking the condensed milk long enough. When making banoffee pie, you’ll need to simmer it for at least 2-3 hours until it’s thick and caramel-colored. If you enjoy working with caramel, you might also love making easy chocolate mousse recipe for another impressive no-bake dessert. Keep the water level above your cans, or you’ll risk them exploding (learned that one the hard way!).
Another frequent problem is rushing the cooling process. After cooking, let your toffee cool completely before spreading it on your crust. I’ve seen many beautiful pies turn into a gooey mess because someone got impatient. The toffee should be thick enough to hold its shape when spooned
Preventing Banana Discoloration
Nothing ruins a beautiful banoffee pie faster than brown bananas! To keep those slices looking fresh, I’ve got some tried-and-true tricks. First, always use just-ripe bananas – they should be yellow with no green tips, but not overly spotty. When preparing your banoffee pie, dip the banana slices in lemon juice before arranging them on the toffee layer.
Timing is everything with this dessert. If you’re making your pie ahead of time, wait to add the banana layer until just before serving. I’ve found that brushing the bananas with a mixture of honey and water can also help prevent oxidation. This sweet protective coating keeps them looking appetizing longer.
Fixing a Soggy Banoffee Pie Base
A soggy base can ruin an otherwise perfect banoffee pie, but I’ve got solutions! The key is starting with a well-baked crust. When making the traditional digestive biscuit base, make sure you’re pressing it firmly into your pan. I use the bottom of a measuring cup to really compact it – this helps prevent the dreaded soggy bottom that can plague many banoffee pies.
Let your crust cool completely before adding any toppings. Another game-changer is brushing the cooled crust with melted chocolate. This creates a moisture barrier between your crust and the toffee layer. I always chill the chocolate-lined crust for about 15 minutes before adding the next layer.
Serving and Storing Your Banoffee Creation
Best Temperature for Serving Banoffee
The perfect temperature can make or take your banoffee pie from good to absolutely amazing! I’ve found that letting the pie sit at room temperature for about 15-20 minutes before serving gives you the ideal texture. When your banoffee pie is too cold, the toffee becomes too firm and loses its signature silkiness. The banana flavor also develops better at room temperature.
If you’re serving outdoors during summer, keep your pie in the fridge until about 10 minutes before serving. The whipped cream will hold its shape better, and the whole dessert will maintain its structure. Just remember that banoffee pie is best enjoyed when the toffee layer is slightly soft but not runny.
Make-Ahead Banoffee Pie Tips
Planning ahead for your banoffee pie can be a real lifesaver! The base and toffee layers can be prepared up to two days in advance. Store your partially assembled banoffee pie in the fridge, covered tightly with plastic wrap. Just remember to leave off the bananas and whipped cream until serving time – these are definitely last-minute additions.
When you’re ready to complete your pie, take it out of the fridge about 30 minutes before adding the final layers. This gives the toffee time to soften slightly. I often prep my whipped cream in advance too, keeping it in a sealed container until needed. This make-ahead strategy has saved many dinner parties!
Creative Garnishing Ideas
Let’s make your banoffee pie stand out with some eye-catching decorations! Beyond the classic whipped cream swirls, try grating dark chocolate over the top of your finished banoffee pie. I love adding caramel drizzles in a spider web pattern – it looks fancy but is surprisingly easy to do. Sometimes I’ll even add a few banana chips around the edge for extra crunch.
For special occasions, try making chocolate curls using a vegetable peeler on room-temperature chocolate. You can also dust the top with cocoa powder using a stencil for a professional touch. During the holidays, I’ll add a sprinkle of sea salt to my banoffee pie – it brings out all the caramel notes beautifully.
Ready to Make Your Own Banoffee Pie?
Kitchen Tools You’ll Need
Gather your 9-inch pie tin, mixing bowls, and food processor (or zip-top bag for crushing biscuits). A hand mixer helps with the whipped cream, and an offset spatula makes spreading layers easier. Don’t forget plastic wrap for storage! These basic tools will help you create a perfect banoffee pie every time.
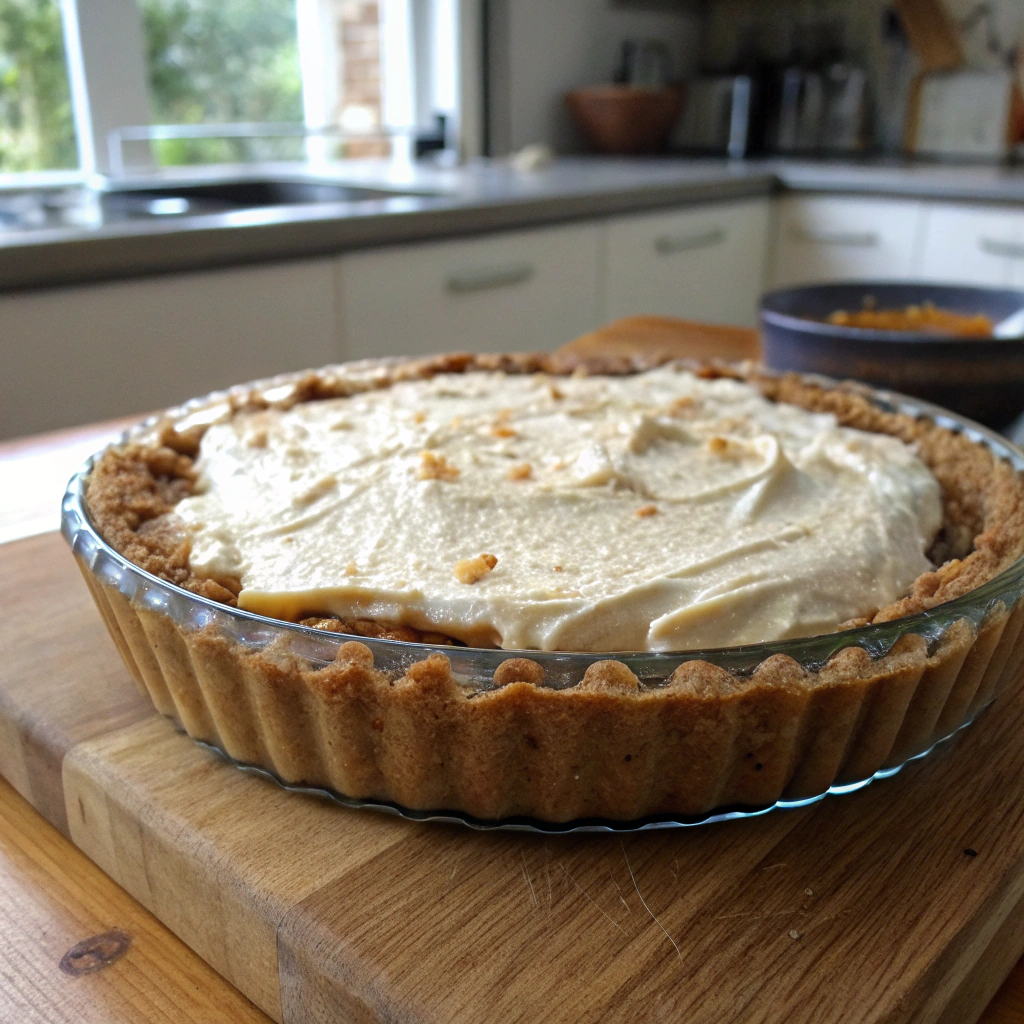
Banoffee Pie Recipe
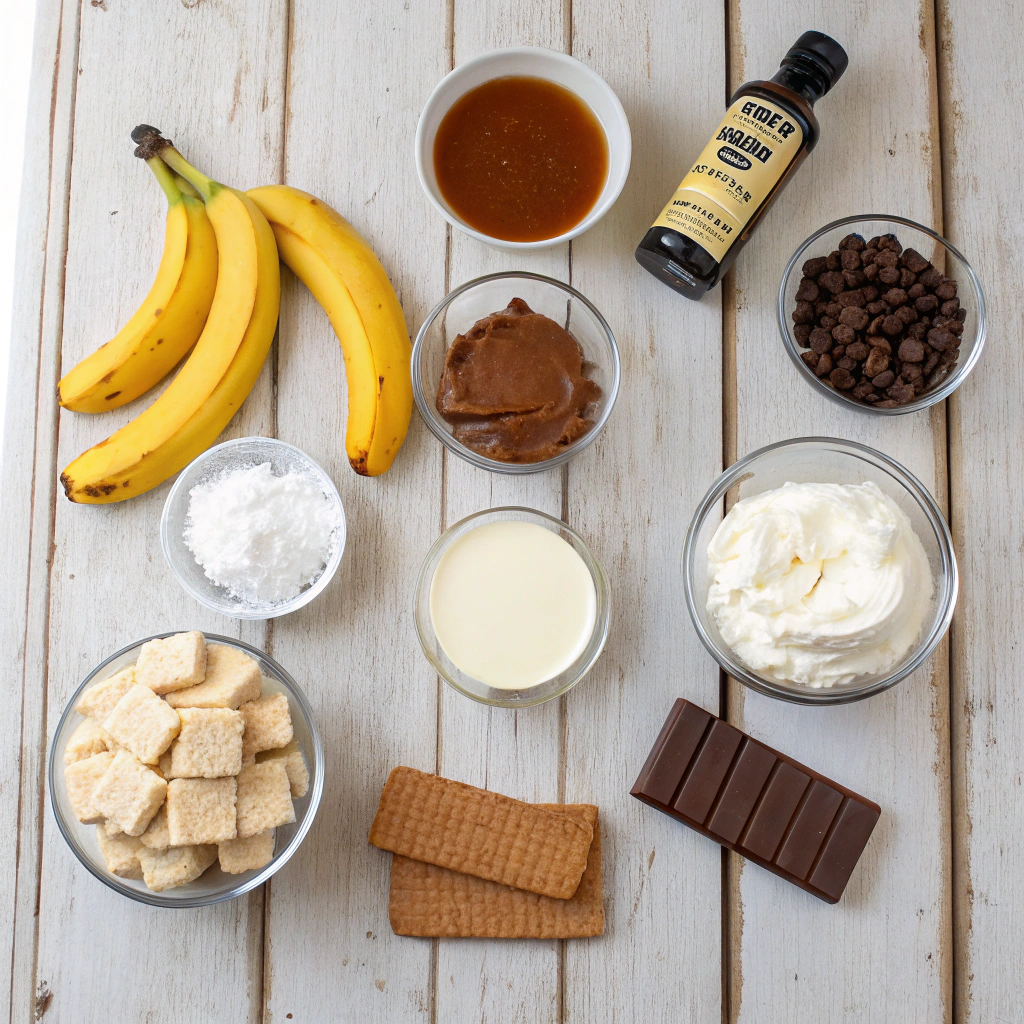
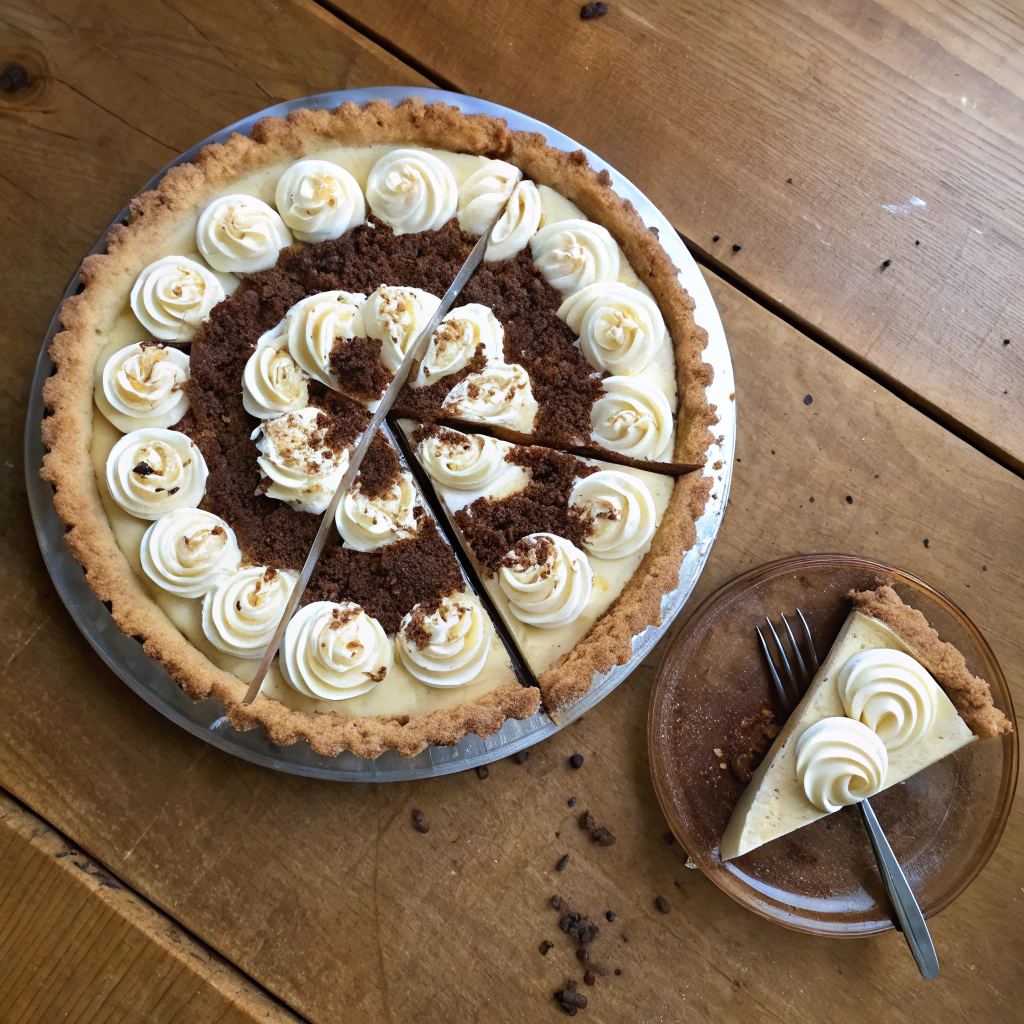
This no-bake dessert combines a crispy graham cracker base with silky dulce de leche, fresh bananas, and clouds of whipped cream. Perfect for special occasions or whenever you crave something indulgently sweet.
Ingredients
For the Crust:
For the Filling:
Instructions
Prepare the Crust
- Mix graham cracker crumbs, melted butter, and sugar until combined
- Press mixture firmly into a 9-inch pie dish using a measuring cup
- Refrigerate for 30 minutes until firmFor extra stability, bake at 350°F for 10 minutes
Create the Toffee Layer
- Spread dulce de leche evenly over chilled crust
- Smooth surface with offset spatula
- Refrigerate for 1 hour until setIf dulce de leche is too firm, microwave for 20 seconds
Add Banana Layer
- Arrange banana slices in overlapping circles
- Start from outside edge, work toward center
- Cover entire toffee surfaceBrush bananas with lemon juice to prevent browning
Top with Whipped Cream
- Beat heavy cream, powdered sugar, and vanilla until stiff peaks form
- Spread or pipe over banana layer
- Sprinkle with chocolate shavingsChill 2-3 hours before serving
Nutritional values
Servings: 8 ServingCalories:485kcalTotal Fat:25gSodium:185mgTotal Carbohydrate:65gDietary Fiber: 2gSugars: 48gProtein:6g
Note
Storage:
Keep refrigerated for up to 3 days.
Best served within 24 hours of assembly.
Substitutions:
Use digestive biscuits for crust, store-bought caramel, or coconut cream for dairy-free whipped topping.
Serving Suggestion:
Serve chilled but let stand 15 minutes before cutting for best texture.