You know that moment when you’re watching cooking shows, and the chef is chopping vegetables at lightning speed? Yeah, that used to make me so nervous! Learning proper knife skills changed everything for me in the kitchen. After countless hours of practice (and yes, a few Band-Aids), I’ve discovered that mastering basic knife skills isn’t just about looking professional – it’s about cooking safer and faster. Whether you’re dicing onions for your favorite chili or julienning carrots for a stir-fry, solid knife skills make cooking so much more enjoyable. Trust me, once you get comfortable with proper cutting techniques, you’ll wonder how you ever managed without them!
Understanding Your Kitchen Knife Collection
Different Types of Knives and Their Uses
Let me tell you about the day I tried to cut a crusty sourdough with a paring knife – total disaster!
Understanding which knife to use for each task is crucial for developing proper knife skills. A chef’s knife is your go-to for most chopping and dicing tasks, while a serrated bread knife is perfect for those tough-crusted loaves.
I keep a paring knife handy for detailed work like peeling apples or deveining shrimp. My santoku (a Japanese-style knife) is amazing for super-thin vegetable slices. And don’t forget the utility knife – it’s like the Swiss Army knife of the kitchen!
Each blade has its sweet spot, and knowing when to use each one will make your prep work so much smoother.
Anatomy of a Chef's Knife
Before we dive into fancy knife skills, let’s break down the parts of your most important tool – the chef’s knife.
The blade’s spine (that top edge) should be thick and sturdy, while the cutting edge needs to be razor-sharp. See that curved part near the handle? That’s the bolster, which helps balance the knife and protects your fingers.
The handle should feel like it was made for your hand – I learned this the hard way after a week with a poorly fitted knife! The tip is perfect for precision work, while the heel (the back part of the blade) gives you more power for tough ingredients.
Think of your knife like a car – knowing how each part works makes you a better driver!
How to Choose Your First Quality Knife Set
When I first started developing my knife skills, I went crazy buying every knife in sight – big mistake! Start with just three essential knives: a quality chef’s knife, a paring knife, and a serrated bread knife. Look for full-tang construction (meaning the metal runs through the whole handle) for better balance and durability. I recommend visiting a kitchen store to actually hold different knives – what works for your tall friend might feel awkward in your hands. Budget-wise, invest in the best chef’s knife you can afford; it’s better to have one great knife than a drawer full of mediocre ones. And here’s a pro tip: those massive knife block sets? Usually not worth it for home cooks.
Fundamental Knife Skills for Home Cooks
The Professional Knife Grip Technique
Learning proper knife skills starts with mastering the grip. Place your thumb and index finger on opposite sides of the blade near the handle – this “pinch grip” gives you the most control. Your remaining fingers should wrap comfortably around the handle. This grip might feel awkward at first, but it’s essential for kitchen safety and precision cutting. Practice this hold with a chef’s knife until it becomes second nature. Remember to keep your grip relaxed but firm, as a death grip will tire your hand quickly and reduce control. I learned this the hard way after hours of tense chopping left my hands cramping! The right grip transforms basic cutting into smooth, efficient movements.
Basic Cutting Motions Every Cook Should Know
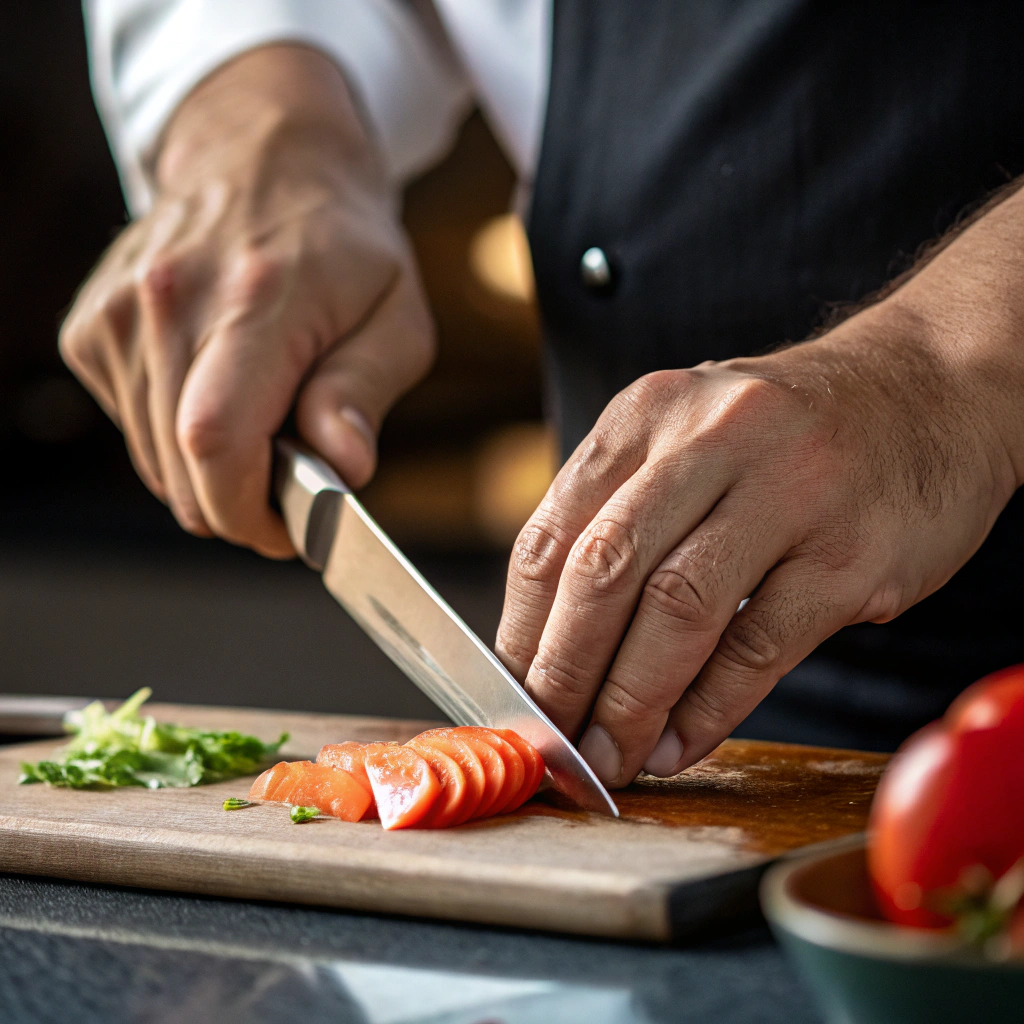
The foundation of good knife skills lies in understanding three basic motions: the straight down cut, the draw cut, and the push cut. For the straight down cut, simply lift the knife and press straight down – perfect for herbs and smaller items. The draw cut involves pulling the knife toward you while pressing down, ideal for slicing meats and softer vegetables. With the push cut, you’ll push the blade forward and down simultaneously, great for harder vegetables like carrots. I use these motions daily in my kitchen, often combining them depending on what I’m preparing. Practice each motion slowly at first, focusing on consistency rather than speed.
Mastering the Rocking Motion Method
The rocking motion is a game-changer for developing smooth knife skills. Start with the tip of your knife touching the cutting board, then rock the blade down and forward in one fluid motion. Keep the tip in contact with the board throughout the movement. This technique works wonders for herbs and garlic, and once you’re comfortable, you can pick up speed. I remember struggling with this motion until a chef friend showed me to think of the knife as a playground seesaw! Now it’s my go-to method for quick prep work. Remember to curl your guiding hand’s fingers inward to protect your knuckles while cutting.
Essential Cutting Techniques Made Simple
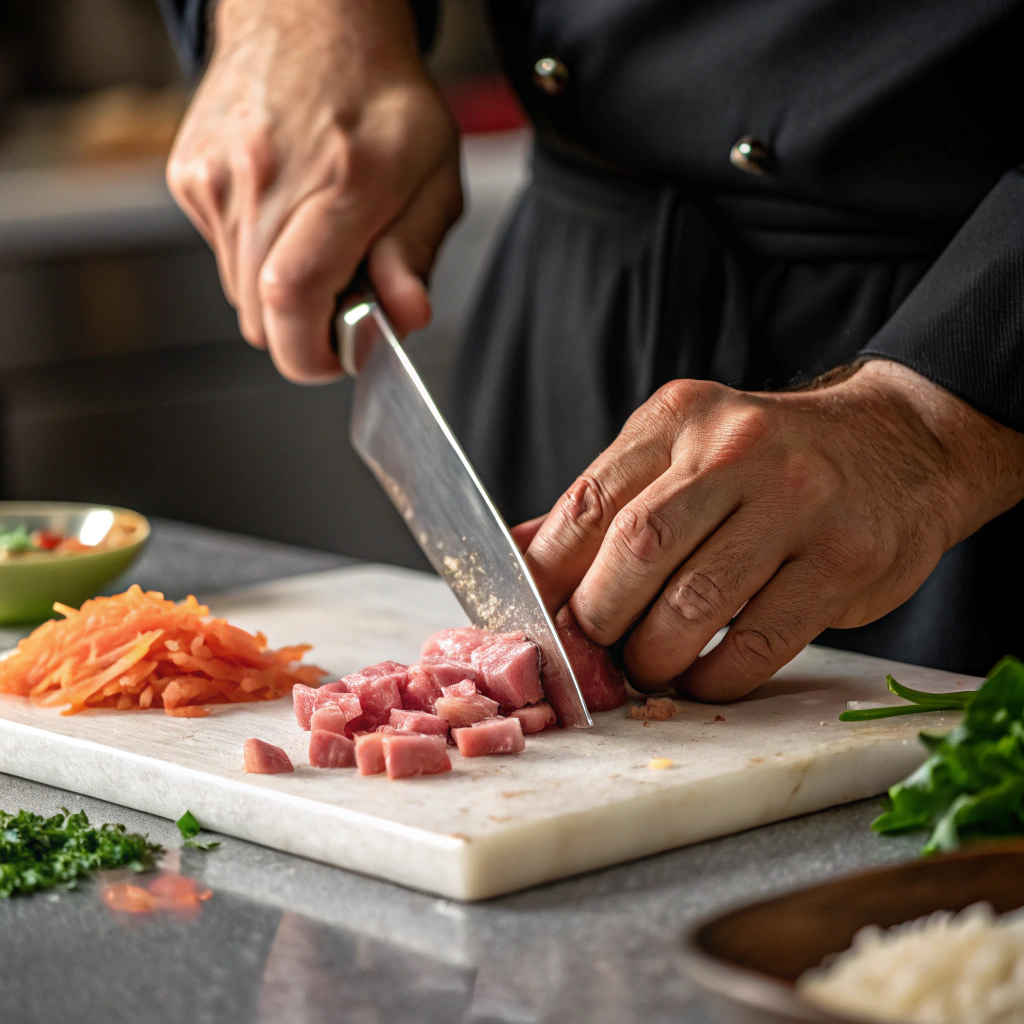
Dicing vs. Chopping: What's the Difference
When developing knife skills, understanding the distinction between dicing and chopping is crucial. Dicing requires precise, uniform cuts resulting in equally-sized cubes – essential for even cooking and presentation. Chopping, however, is more casual and focuses on breaking ingredients into smaller, less uniform pieces. I learned these differences while making French onion soup – diced onions cook more evenly and look more appealing than roughly chopped ones. Start by practicing your knife skills on sturdy vegetables like potatoes or carrots. Keep your movements deliberate and focused, remembering that speed comes naturally with practice.
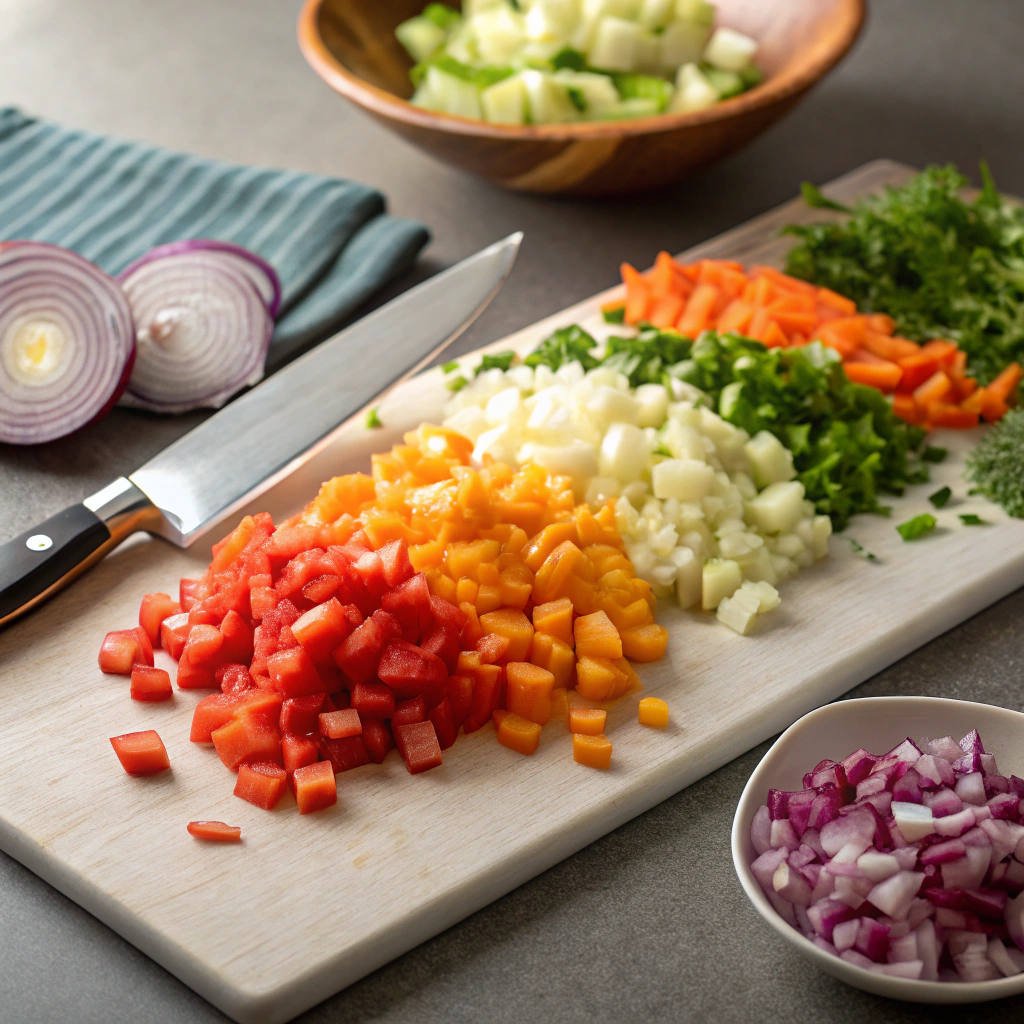
Julienne and Batonnet Cuts Explained
Mastering julienne cuts takes your knife skills to the next level. These elegant, matchstick-sized cuts measure about 1/8 inch wide and 2-3 inches long. The batonnet is similar but slightly larger, like a French fry. Start by squaring off your vegetable, then slice it into planks. Stack these planks and cut them into strips, keeping your knife skills precise and movements steady. I practice these cuts regularly with carrots and zucchini for stir-fries. Remember to maintain consistent thickness throughout – this is where those basic knife skills really come into play. Your cutting board position matters too – keep it stable and at a comfortable height.
Mincing Herbs Like a Pro
Refining your knife skills for herb mincing can elevate any dish. Start by removing leaves from tough stems and gathering them into a tight pile. Hold your knife parallel to the cutting board and use a rocking motion to cut through the herbs. After the initial chop, use your knife skills to gather the herbs back into a pile and repeat the process until they’re finely minced. I learned these techniques while working with fresh basil for pesto. Keep your knife sharp – dull blades bruise herbs instead of cleanly cutting them. For delicate herbs like cilantro, use a lighter touch to prevent crushing.
Safety First: Knife Skills for Accident Prevention
Proper Cutting Board Setup and Stance
Let’s talk about mastering those essential knife skills starting with your workspace setup. Place your cutting board on a non-slip mat to prevent any dangerous sliding while you’re chopping. Your stance matters too – stand with your feet shoulder-width apart, facing the board straight on. I learned proper knife skills the hard way after a few close calls in my early cooking days!
Position yourself so your forearm, wrist, and knife form a straight line. Keep your cutting board at belly-button height – this gives you the best control and prevents back strain. For delicate ingredients like tomatoes or fresh herbs, having a properly clean oven and workspace is essential for safe knife handling. If your counter’s too low, pop a dish towel under the board to raise it slightly.
The "Claw Grip" Safety Technique
The claw grip is a game-changer when it comes to knife skills and keeping all your fingers intact! Curl your fingertips under like a bear claw, using your knuckles to guide the blade while keeping fingertips safely tucked away. This technique takes some getting used to, but it’s worth practicing until it becomes second nature. I remember being so nervous about my knife skills when I first started cooking professionally. The claw grip helped me feel much more confident. Keep your thumb tucked behind your fingers, and let your knuckles act as a guide rail for the knife blade.
Common Knife Handling Mistakes to Avoid
Developing proper knife skills means learning from others’ mistakes. Never try to catch a falling knife – just step back and let it drop! Another rookie mistake is using a dull blade, which requires more force and increases accident risk. Keep your knife skills sharp by avoiding these common errors: chopping with a wet handle, reaching blindly into soapy water where knives might be lurking, or using the wrong knife for the job. I once tried to cut a watermelon with a paring knife (bad idea!) and learned my lesson. Always choose the right blade size for your ingredients.
Maintaining Your Knife Skills Edge
Knife Sharpening Basics at Home
Keeping your blades sharp is crucial for maintaining good knife skills in the kitchen. Start with a quality sharpening stone – I prefer a combination 1000/6000 grit for versatility. Soak your stone for about 15 minutes before use. Hold your knife at a consistent 20-degree angle against the stone, and use steady, even strokes from heel to tip. Your knife skills will only be as good as your blade’s edge! Practice this maintenance routine every few weeks, depending on how often you cook. Remember to finish with the finer grit side for a polished edge that’ll make your cutting smoother.
Daily Knife Care and Storage Tips
Proper knife skills include knowing how to care for your tools between uses. Always hand wash your knives immediately after use – never toss them in the dishwasher where they can get knocked around. I store my knives in a wooden block or on a magnetic strip to protect the edges. When practicing knife skills in the kitchen, wipe your blade clean between different ingredients to prevent flavor transfer. A quick wipe with a damp cloth followed by a dry one keeps your knife rust-free and ready for action. Never leave knives soaking in the sink – it’s dangerous and can damage the handle.
When to Replace Your Kitchen Knives
Even with perfect knife skills and maintenance, knives don’t last forever. Watch for signs like chips in the blade, persistent dullness despite sharpening, or loose handles. I recently retired my favorite chef’s knife after 8 years of daily use – it had developed a slight bend that affected my knife skills. Quality knives can last decades with proper care, but budget blades might need replacing every few years. If you’re finding your knife skills are suffering despite good technique, your knife might be past its prime. Consider investing in a new blade when sharpening no longer restores that satisfying edge.
Start Your Knife Skills Journey Today
Ready to improve your knife skills? Begin with simple daily practice sessions using fresh vegetables. Track your progress by taking photos of your cuts and noting areas where you’ve improved. Our community of home cooks shares tips and encouragement to help you develop confidence in the kitchen.