Oh my goodness, you guys – after years of trial and error (and yes, a few burnt disasters), I’ve finally cracked the code to grill steak just like those fancy steakhouses! Last weekend, I was showing my neighbor Tom how to grill steak on his new Weber, and he couldn’t believe the results we got.
The secret isn’t just in the cooking – it starts way before the meat hits those hot grates. I’ve tested every tip and trick out there, from fancy thermometers to the “hand test” for doneness. Trust me, once you nail these basics, you’ll be the go-to grill master in your neighborhood. Let’s dig into everything I’ve learned about getting that perfect crust while keeping the inside juicy and tender.
Choosing the Best Cuts for Grilling Steak
Prime vs Choice: Which Grade Makes the Best Grilled Steak
Y’all, let me tell you about the time I splurged on Prime beef for my dad’s birthday cookout. Was it worth the extra cash? You bet! When you grill steak at home, the grade really does make a difference. Prime beef has this gorgeous marbling that basically bastes your meat from the inside while it cooks.
But here’s the thing – Choice grade can still give you amazing results if you know what to look for. I usually save Prime for special occasions and stick to Choice for our regular weekend grilling. The key is finding a good butcher who’ll help you pick out the best pieces. Just last week, my local guy showed me how the marbling in some Choice cuts can rival Prime.
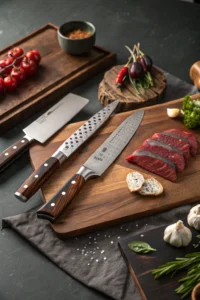
Top 5 Steak Cuts That Shine on the Grill
Listen up, because picking the right cut can make or break your cookout! When I first started to grill steak regularly, I stuck to ribeyes (my husband’s favorite), but there’s a whole world of amazing cuts out there. Ribeye’s still my go-to for that rich, beefy flavor, but man, you can’t beat a thick New York Strip for that perfect balance of tender and meaty. T-bones give you the best of both worlds with strip and tenderloin in one. Filet mignon’s super tender but needs careful timing. And don’t sleep on the flat iron – it’s budget-friendly and crazy flavorful. Just last month, I did a taste test with friends using all five cuts.
Thickness and Marbling: What to Look For
Here’s something I learned the hard way – thickness matters big time when you grill steak! After accidentally cremating some thin-cut sirloins (sorry, honey!), I now swear by steaks that are at least 1½ inches thick. They give you that perfect window to get a nice crust without overcooking the middle. And let’s talk about marbling – those little white flecks of fat that make magic happen on the grill. I always look for steaks with thin, web-like marbling spread throughout the meat, not just big chunks of fat on the edges. My rule of thumb? If it looks like a marble countertop, it’s gonna be good! Just remember, more marbling means faster cooking.
Essential Prep Steps Before You Grill Steak
Secrets for Better Grilled Steak
The key to a perfectly grilled steak starts well before it hits the heat. Take your meat out of the fridge at least 30-45 minutes before you plan to grill. This simple step helps your steak cook more evenly throughout. When you grill steak straight from the fridge, the cold center can lead to uneven cooking – think charred outside but still raw inside.
While the meat comes to room temp, pat it dry with paper towels to remove excess moisture. This helps develop that gorgeous brown crust we all love. I learned this the hard way after years of rushing the process! Just remember to never leave meat out longer than 2 hours for food safety reasons.
Dry Brining vs Wet Marinating
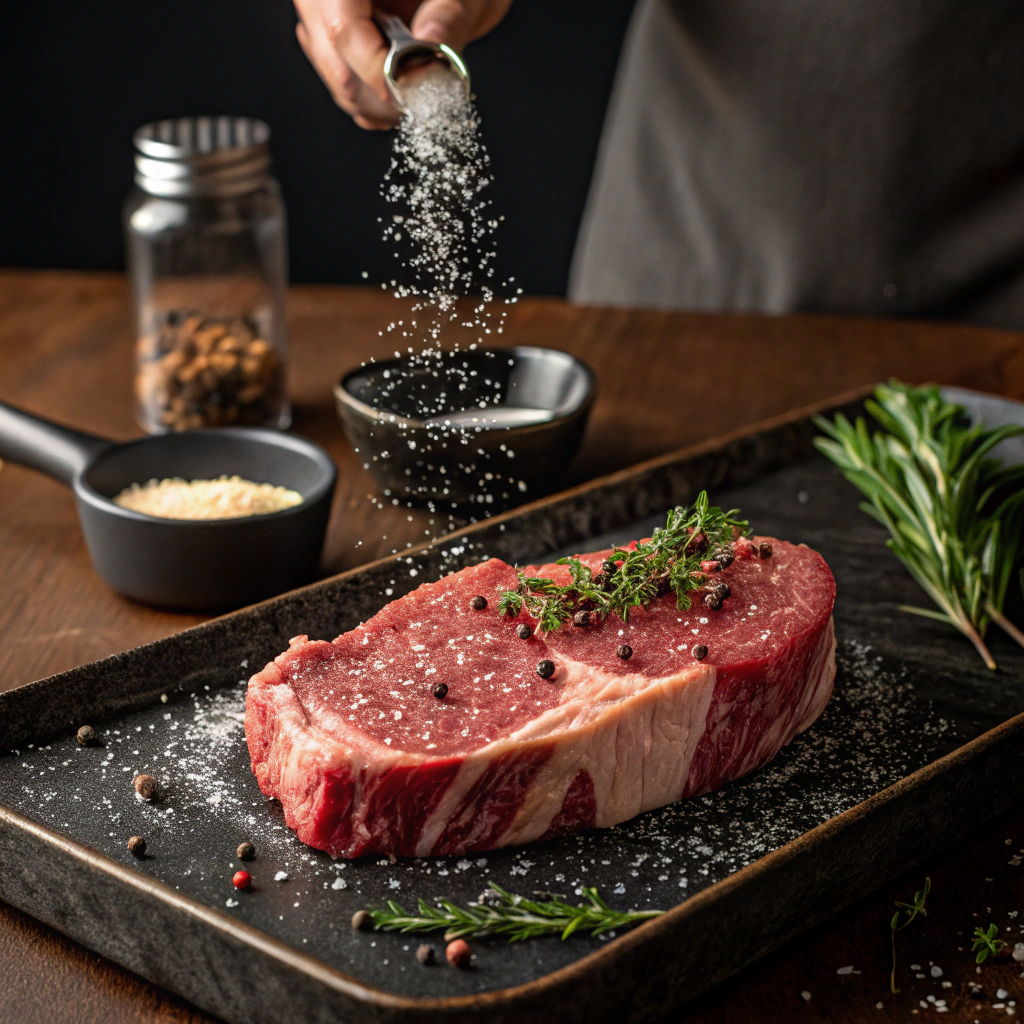
To grill steak with amazing flavor, you’ve got two main options: dry brining or wet marinating. Dry brining involves coating your steak with salt about 24 hours before cooking, letting it penetrate deep into the meat. The salt works its magic, breaking down tough muscle fibers and enhancing the steak’s natural flavors. Wet marinades can add great flavor too, but avoid anything too acidic that might make the meat mushy. When I grill steak for my family, I usually stick to dry brining – it’s simpler and lets the beef’s natural taste shine through. Just remember to brush off any excess salt before cooking.
Simple Seasonings That Let the Meat Shine
When you grill steak, less is often more with seasonings. Start with kosher salt and freshly ground black pepper – they’re all a good cut really needs. If you want to kick things up, try adding a light sprinkle of garlic powder or a few sprigs of fresh herbs like rosemary or thyme. I used to go overboard with complicated spice rubs until I realized they were masking the meat’s natural flavor. Pat your seasonings firmly into the meat about 15-20 minutes before grilling. This gives them time to stick but won’t draw out moisture like salting too early can.
Mastering Your Grill Setup
Direct vs Indirect Heat Zones
Setting up your grill for steak means creating different heat zones. When you grill steak properly, you’ll want a screaming hot area for searing and a cooler spot for finishing thicker cuts. Create a two-zone fire by piling your charcoal on one side, leaving the other empty. For gas grills, crank up half your burners and leave others low or off. This setup lets you grill steak with more control – sear it over high heat then move it away from direct flames to finish cooking. I always keep that cooler zone as a safety net for when things start cooking too fast.
Getting Your Grill to Steakhouse Temperatures
The secret to restaurant-quality results when you grill steak is getting your grill blazing hot. Most home cooks don’t heat their grills nearly enough. For that perfect crust, you want temperatures around 450-500°F minimum. Let your grill heat up for at least 15 minutes before cooking. On a charcoal grill, wait until the coals are covered with gray ash. Gas grill owners should crank all burners to high during preheating. My top tip for checking temperature: hold your hand 5 inches above the grate – if you can’t keep it there for more than 2-3 seconds, you’re ready to grill
Charcoal vs Gas for the Perfect Steak
While both can grill steak beautifully, each fuel type has its advantages. Charcoal grills typically reach higher temperatures and add that subtle smoky flavor that makes grilled meats special. Gas grills offer better temperature control and convenience when you want to grill steak quickly after work. I use both – charcoal for weekend cookouts and gas for weeknight dinners. The key is understanding your equipment’s strengths. Charcoal fans should use natural lump charcoal for the hottest, cleanest burn. Gas grillers might try adding wood chips in a smoker box for that authentic chargrilled taste.
How to Grill Steak Like a Pro
Timing Your Grilled Steak for Perfect Doneness
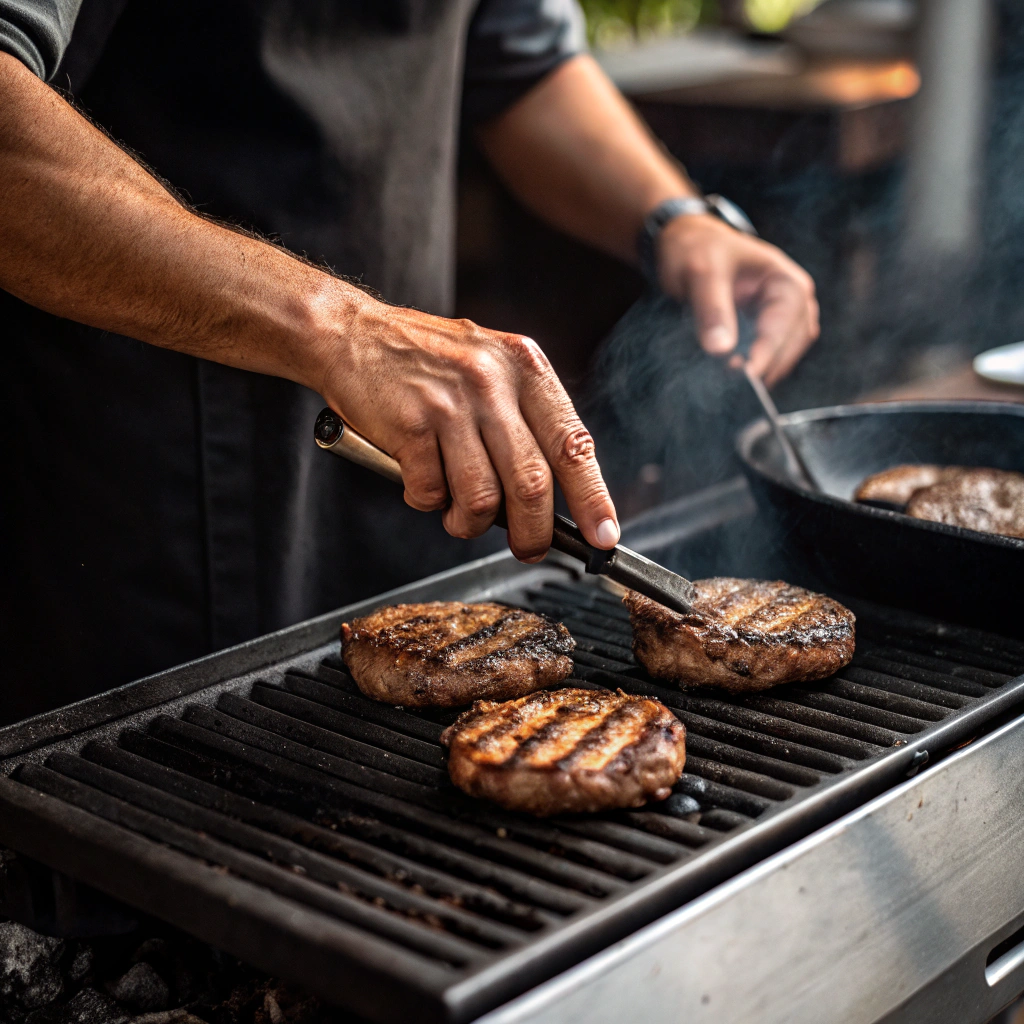
Learning to grill steak perfectly takes practice, but timing is your secret weapon. For a 1-inch thick steak, start by grilling it on high heat for 4-5 minutes per side for medium-rare. I’ve found that keeping a simple timer on my phone helps tremendously. When grilling steaks of different thicknesses, adjust your timing – add about 2 minutes per side for every additional half-inch.
Remember that bone-in cuts like ribeyes need extra time compared to filets. My family loves their steaks at different levels of doneness, so I’ll often grill multiple pieces simultaneously, removing them at different intervals. A good tip I learned from my dad: arrange your steaks clockwise on the grill in order of preferred doneness.
When to Flip and How Often
The age-old debate about flipping your steak on the grill continues, but here’s what years of backyard grilling has taught me. When grilling steak, I prefer the single-flip method for thicker cuts to develop a beautiful crust. Place your seasoned steak on the hot grates and resist the urge to move it around. Once you see moisture beading on the top surface and the bottom has nice grill marks (about 4-5 minutes), it’s time for that one crucial flip. For thinner steaks, you might want to flip more frequently to prevent overcooking. I’ve found that using long-handled tongs gives me the best control and keeps my hands safely away from the heat.
Testing Steak Doneness Without Cutting
Nobody wants to slice into a grilled steak only to find it’s not cooked to their liking. The touch test is my go-to method when grilling steaks for guests. Make a relaxed fist – the fleshy part below your thumb feels like rare steak. As you tighten your fist, that same spot progressively firms up, mimicking medium to well-done meat. An instant-read thermometer is even more reliable: 125°F for rare, 135°F for medium-rare, and 145°F for medium. Remember that your steak’s temperature will rise about 5 degrees while resting. I always pull my steaks off the grill slightly before they reach the target temperature to account for this carryover cooking.
Next-Level Grilled Steak Tips
Compound Butter for Grilled Steaks
Nothing elevates a perfectly grilled steak like a pat of flavorful compound butter melting over the top. Start with softened butter and mix in your favorite herbs and seasonings. My go-to combination when grilling steak includes minced garlic, fresh thyme, and a touch of sea salt. Form the butter into a log using plastic wrap and chill until firm. You can make these ahead and keep them frozen for up to three months. Just slice off what you need when your steaks come off the grill. I love watching the butter slowly melt, creating a luxurious sauce that mingles with the meat’s natural juices.
Smoking Wood Pairings for Grilled Steak
Adding wood smoke while you grill steak can create incredible depth of flavor. For beef, I prefer stronger hardwoods like hickory or oak, which stand up well to the meat’s robust taste. When grilling steaks, soak your wood chips for 30 minutes before adding them to the coals or smoker box. Cherry wood offers a milder, sweeter profile that works beautifully with leaner cuts. Mesquite provides an intense, earthy flavor but use it sparingly – a little goes a long way. I’ve learned through trial and error that you want just enough smoke to complement, not overpower, your perfectly grilled meat.
Resting Your Steak: The Final Touch
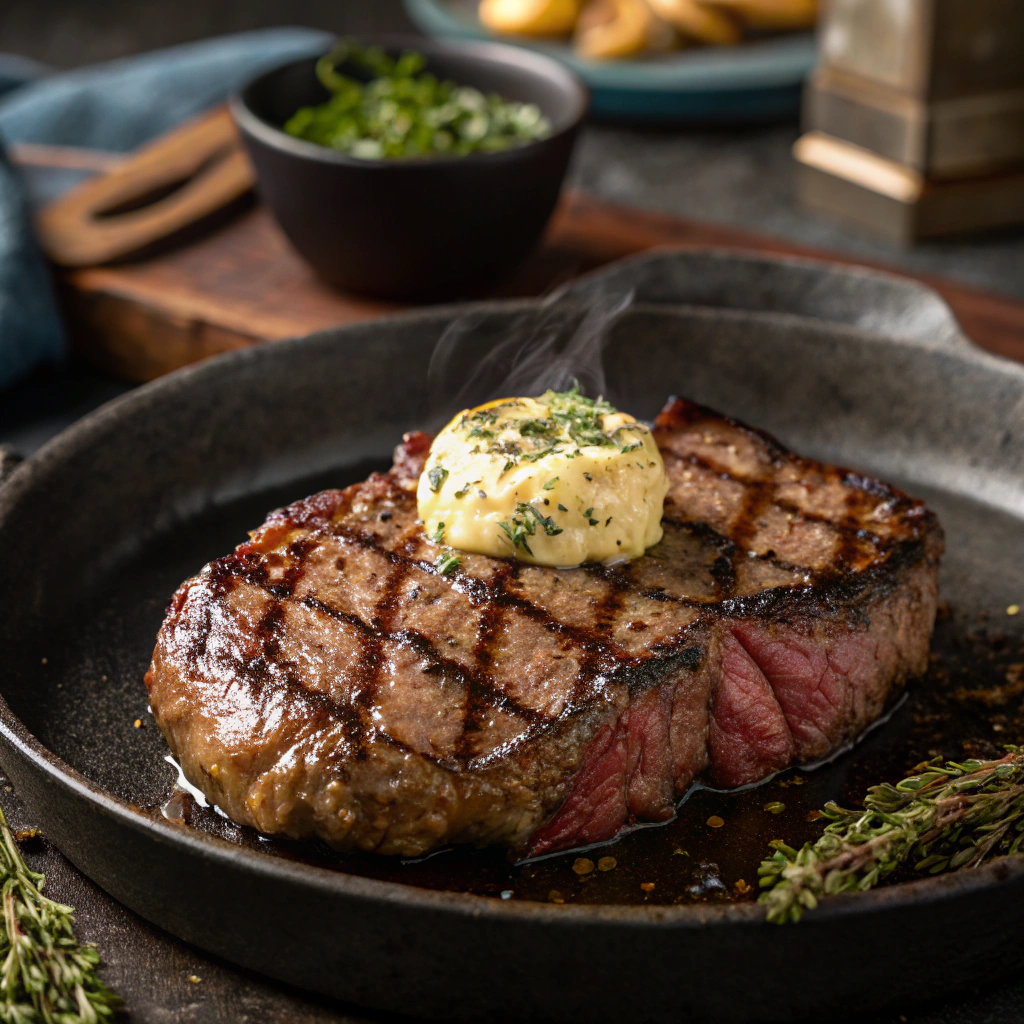
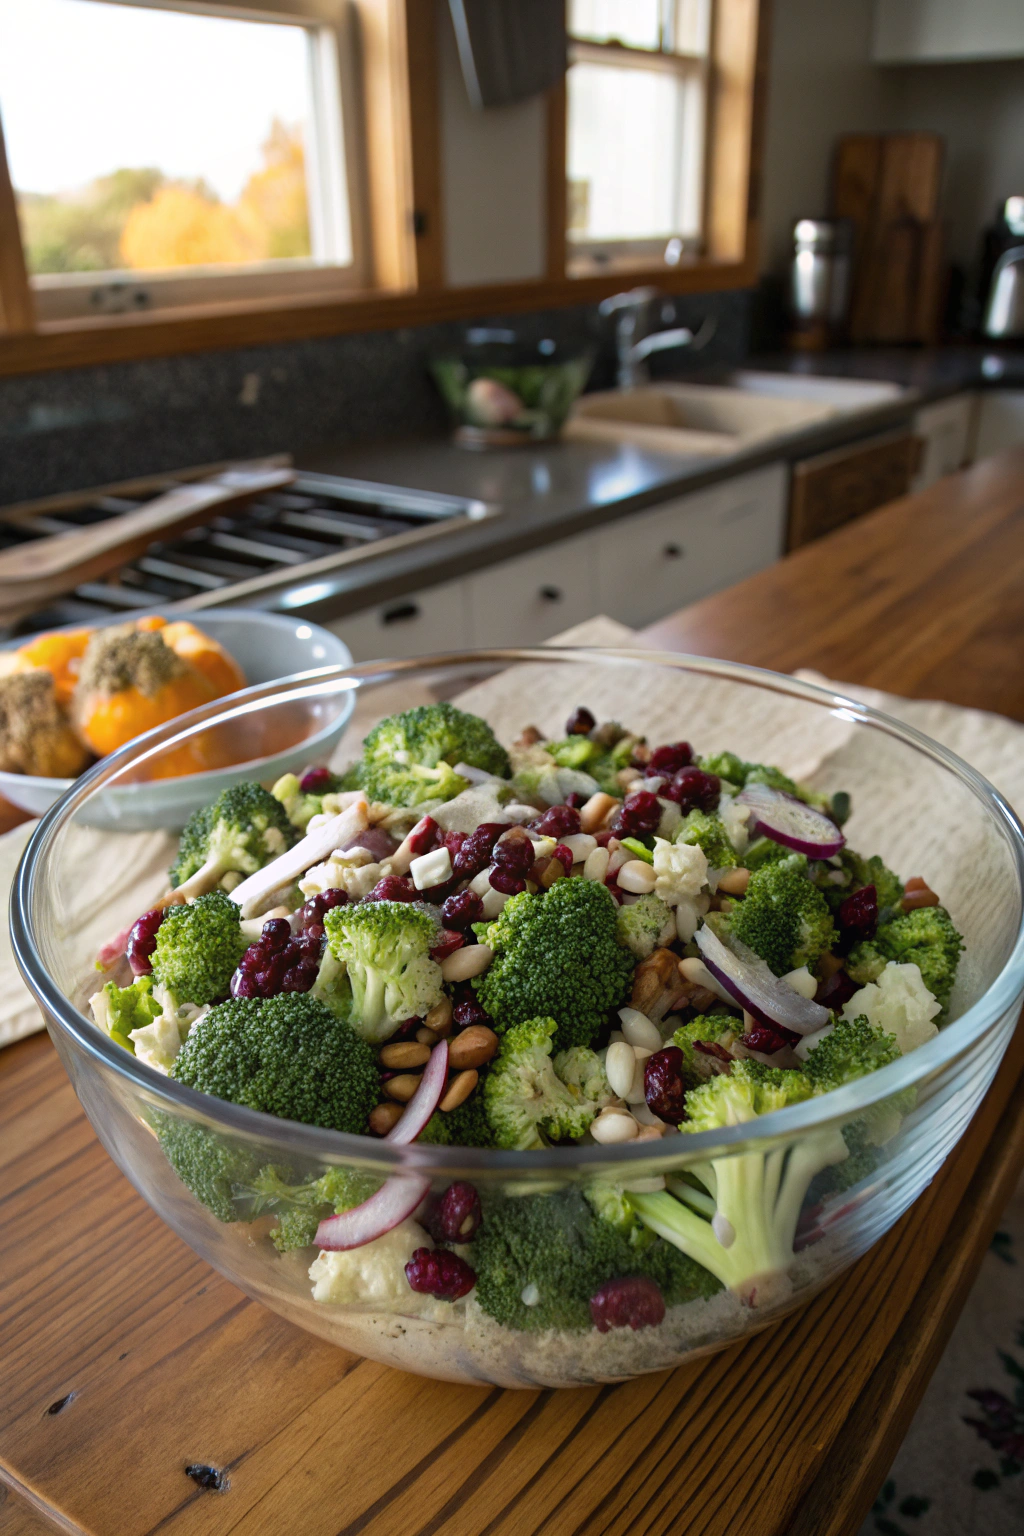
After grilling steak to perfection, resist the temptation to dig in immediately. Resting is crucial – it allows the juices to redistribute throughout the meat instead of spilling out on your plate. Place your grilled steaks on a warm platter and tent loosely with foil. For most cuts, I rest them for about 5-10 minutes, depending on thickness. During this time, I’ll often warm my serving plates or prepare any last-minute sides. The waiting might feel like torture, but trust me – it makes a huge difference in the final result. Your patience will be rewarded with an incredibly juicy, perfectly grilled steak. For a delicious side dish, try serving your steak with a fresh green bean salad that adds a crisp contrast.
Fire Up Your Grill Tonight
Ready to grill steak like a pro? Grab these essentials: your favorite cut of steak (I love ribeye), kosher salt, black pepper, and a reliable meat thermometer. Start simple – great beef needs minimal seasoning. Season your steak 30 minutes before grilling, heat your grill properly, and trust your thermometer. Share your results with #TalesRecipes – we love seeing your grilling success stories!