Y’all, let me tell you about my journey to master grilled chicken! After countless BBQ disasters (including that time I nearly set my eyebrows on fire), I’ve finally cracked the code. The secret to perfectly grilled chicken isn’t just about high heat or fancy equipment – it’s all about preparation and timing. Last weekend, I hosted a backyard cookout where even my picky nephew went back for seconds!
The key is starting with quality meat and knowing exactly how to grill chicken for that golden-brown exterior while keeping the inside super juicy. Trust me, once you nail these techniques, you’ll never serve another piece of dry, flavorless chicken again. I’m sharing all my hard-learned tricks, from marinade magic to foolproof timing tips.
Essential Grilled Chicken Marinades
30-Minute Quick Chicken Marinade
When life gets crazy busy (like that time I forgot about dinner until 4 PM!), this quick marinade is my go-to for grilled chicken perfection. Mix together 1/4 cup olive oil, 3 tablespoons lemon juice, 4 minced garlic cloves, and your favorite Italian herbs. The acid from the lemon starts working its magic right away, while the oil helps keep everything moist. I learned the hard way that you don’t want to marinate chicken longer than 30 minutes with citrus – it can make the texture weird and rubbery. Just enough time to fire up the grill and grab a cold drink! For extra zing, I sometimes add a splash of Worcestershire sauce or a pinch of red pepper flakes.
Overnight Flavor-Boosting Blends
My absolute favorite way to grill chicken starts the night before. Mix buttermilk (or yogurt if that’s what’s in the fridge), minced garlic, paprika, and a good shake of hot sauce. The dairy tenderizes the meat like nobody’s business! Last month, I prepped this marinade for a family reunion, and my brother-in-law wouldn’t stop asking for the recipe. The trick is to really massage the marinade into the chicken – get your hands in there! Just remember to pat the chicken dry before it hits the grill, or you’ll miss out on that gorgeous caramelization. And always, always keep a portion of marinade separate if you want to use it as a basting sauce.
No-Oil Mediterranean Marinades
Looking for a healthier way to grill chicken? I stumbled upon this gem while trying to cook lighter last spring. Mix fresh lemon juice, tons of herbs (oregano, rosemary, thyme), minced garlic, and a splash of white wine vinegar. The magic here is using zip-top bags – they help the marinade coat every inch of the chicken without needing loads of oil. My neighbor actually thought I was using a fancy restaurant recipe when she tried this! The herbs create an amazing crust when grilled, and the vinegar helps tenderize the meat naturally. Just watch the salt – I usually add it right before grilling instead of in the marinade.
Mastering Chicken Grill Temperature
Direct vs Indirect Grilling Methods
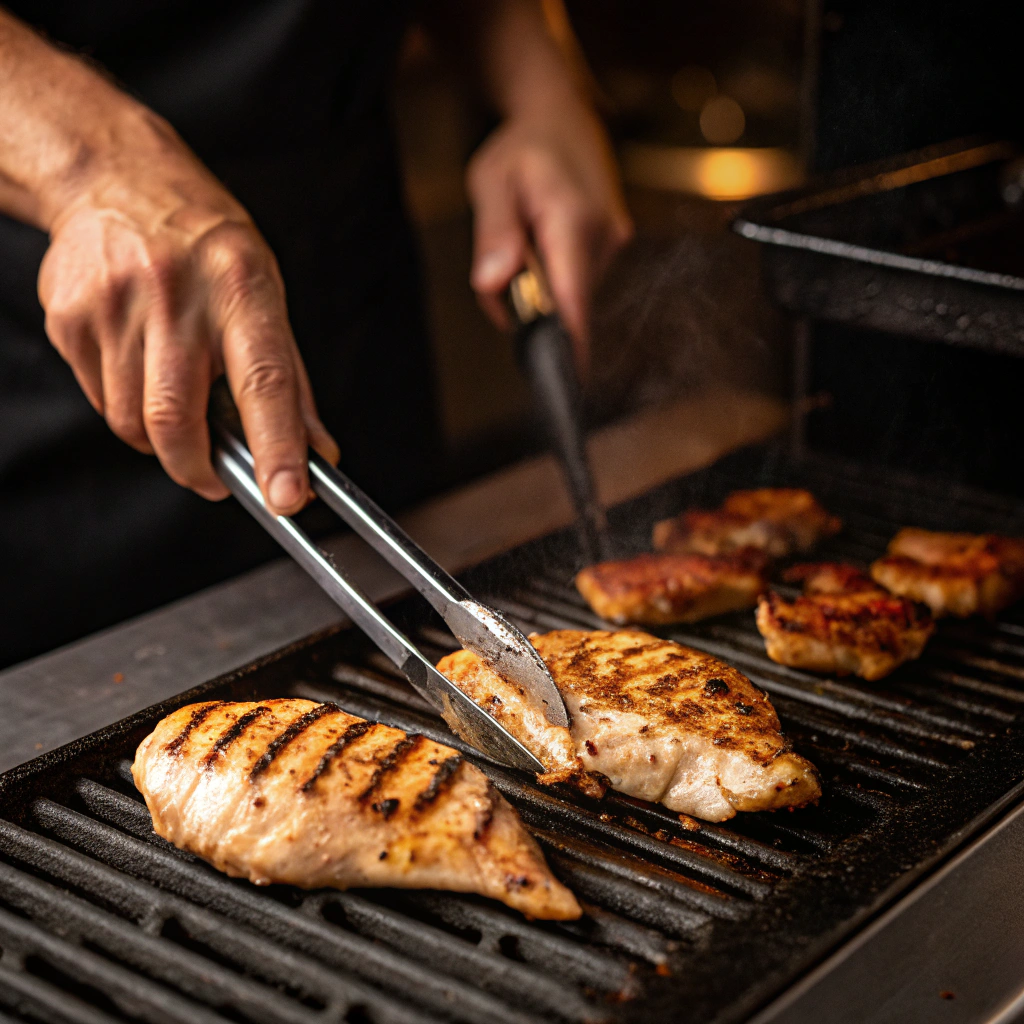
Getting that perfect grilled chicken starts with understanding heat zones. When you grill chicken directly over the flames, you’ll get those beautiful char marks and crispy skin we all love. I learned the hard way that direct heat works best for smaller pieces like wings and tenders. For larger cuts, start with direct heat to sear, then move to the cooler side of the grill. This two-zone setup has saved many of my backyard barbecues! Just remember to preheat your grill for at least 15 minutes before cooking. My secret tip? Keep a spray bottle of water handy to tame any flare-ups that might burn your chicken.
Perfect Timing for Grilled Chicken Parts
Every time I grill chicken, I stick to my tried-and-true timing chart. Boneless pieces typically need 6-8 minutes per side over medium-high heat. When grilling chicken thighs, give them a few extra minutes since dark meat takes longer to cook through. Wings are quick – about 15-20 minutes total, turning occasionally. The key is patience! Don’t flip too often, or you’ll lose those gorgeous grill marks. I always keep the lid closed between flips to maintain steady heat. Remember that bone-in pieces need lower heat and longer cooking times to prevent charring while the inside cooks.
Using a Meat Thermometer Like a Pro
Nothing beats a meat thermometer for perfect results when you grill chicken. Insert it into the thickest part, avoiding bones and fat pockets. For all chicken cuts, we’re aiming for 165°F (74°C). I check a few minutes before I think it’s done – you can always cook longer, but overcooked chicken is sadly irreversible! A good tip is to pull the chicken off at 160°F and let it rest for 5 minutes. The temperature will continue rising to reach that safe 165°F mark. Trust me, this method gives you juicy results every time.
Best Cuts for Grilling Chicken
Boneless Chicken Breast Grilling Guide
Let’s talk about the most popular cut to grill chicken – boneless breasts! Start by pounding them to even thickness, about ¾ inch. This helps them cook evenly and prevents dry spots. I always brine my breasts for 30 minutes in saltwater before grilling; it’s a game-changer for juiciness. When you grill chicken breasts, aim for medium-high heat and about 6 minutes per side. A quick tip: make a few shallow cuts on the surface to help marinades penetrate better. Watch for white edges appearing – that’s your signal to flip!
Dark Meat Grilling Secrets
Dark meat is my favorite to grill chicken with because it’s more forgiving. The higher fat content in thighs and legs means they stay juicy even if you cook them a bit longer. I love grilling chicken thighs with the skin on – it gets wonderfully crispy! Start skin-side down and give it time to render that fat. Boneless thighs need about 5-7 minutes per side, while bone-in pieces take 8-10 minutes. Here’s a pro tip: score the meat before marinating to help flavors sink in deeper.
Whole Chicken on the Grill
Grilling a whole chicken might seem daunting, but it’s actually pretty simple. Spatchcock (butterfly) the bird by removing the backbone – this helps it cook evenly when you grill chicken this way. I always rub some oil and seasonings under the skin for extra flavor. Use indirect heat and maintain a steady temperature around 350°F. A 4-pound chicken typically takes about an hour. For super crispy skin, start breast-side down, then flip halfway through. Don’t forget to let it rest for 10-15 minutes before carving!
Pro Tips for Juicy Grilled Chicken
Brining Basics for Better Results
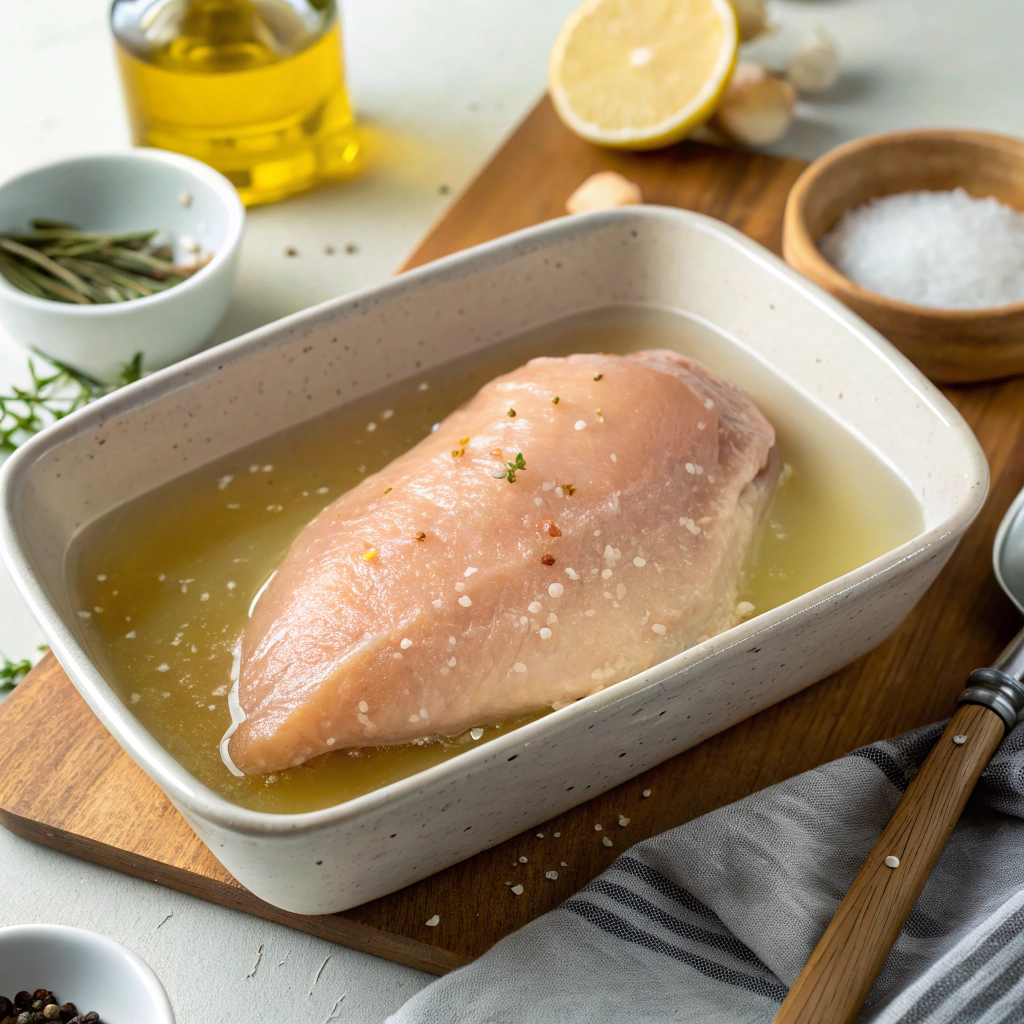
Want to know the secret to incredibly juicy grilled chicken? It all starts with brining! When I first learned to grill chicken properly, this step was a game-changer. Mix 4 cups of water with ¼ cup of salt and your favorite herbs. Submerge your chicken pieces for 2-4 hours before grilling – trust me, it’s worth the wait! The salt solution helps the meat retain moisture during cooking, making dry chicken a thing of the past. I love adding crushed garlic, peppercorns, and fresh rosemary to my brine for extra flavor.
For the best results, pat your chicken completely dry after brining. This helps achieve that beautiful golden-brown crust we all love. Remember to discard the brine solution – never reuse it or use it as a marinade!
Resting Time and Technique
Learning how to properly rest your grilled chicken is just as important as cooking it right. After pulling your chicken from the grill, let it rest on a clean cutting board for 5-10 minutes. During this time, the meat’s internal juices redistribute, ensuring every bite stays moist and flavorful. I learned this trick the hard way after countless times of cutting into chicken too soon and watching all those precious juices run onto my plate!
Cover the chicken loosely with foil while resting, but don’t wrap it tightly – you don’t want the steam to make your crispy skin soggy. This resting period is perfect for preparing your sides or getting your table set.
Avoiding Common Grilling Mistakes
Let’s talk about the mistakes I’ve made when grilling chicken (so you don’t have to!). First, never grill cold chicken straight from the fridge. Let it sit at room temperature for 15-20 minutes before it hits the grates. This helps the chicken cook more evenly throughout. Another crucial tip: stop moving your chicken around! When you first place your chicken on the grill, leave it alone until it naturally releases from the grates.
Always keep your grill lid closed as much as possible – it helps maintain steady heat and prevents flare-ups. And please, invest in a good meat thermometer! Guessing when your chicken is done is a recipe for disaster.
Grilled Chicken Flavor Variations
BBQ Grilled Chicken Glazes
Ready to take your grilled chicken to the next level? Let’s talk about BBQ glazes! My favorite trick is applying the glaze during the last 5-10 minutes of cooking. This prevents burning while still creating that sticky, caramelized coating we all love. Start with a basic BBQ sauce and customize it – I add a splash of apple cider vinegar for tang and a touch of honey for sweetness. When grilling chicken with glazes, keep a close eye on the heat level.
Remember to set aside some sauce for serving – never use the same brush or sauce that touched raw chicken. For an extra layer of flavor, try basting your chicken multiple times during those final minutes on the grill.
International Grilling Styles
Take your grilled chicken on a world tour! In Thailand, they marinate chicken in coconut milk, lemongrass, and chilies before grilling. The result is incredibly tender meat with complex flavors. Mediterranean-style grilled chicken uses lots of lemon, garlic, and oregano – it’s become a weekly favorite at my house. When trying these international styles, remember to adjust your grilling technique accordingly.
Japanese yakitori involves grilling small pieces of chicken on skewers over intense heat, while Indian tandoori-style chicken needs lower heat for those amazing spices to develop without burning. Each culture brings unique techniques to grilling chicken!
Dry Rub Combinations
Creating your own dry rubs is a fantastic way to experiment with grilled chicken flavors. My basic ratio is 3 parts paprika, 2 parts garlic powder, and 1 part each of black pepper and onion powder. From there, add brown sugar for sweetness, cayenne for heat, or dried herbs for an aromatic touch. Always apply your rub at least 30 minutes before grilling to let the flavors penetrate the meat.
Pat your chicken dry first – moisture is the enemy of a good crust! I store my homemade rubs in airtight containers and label them with the date. They usually stay fresh for about three months, though the flavors are best in the first few weeks.
Start Grilling Your Best Chicken Today
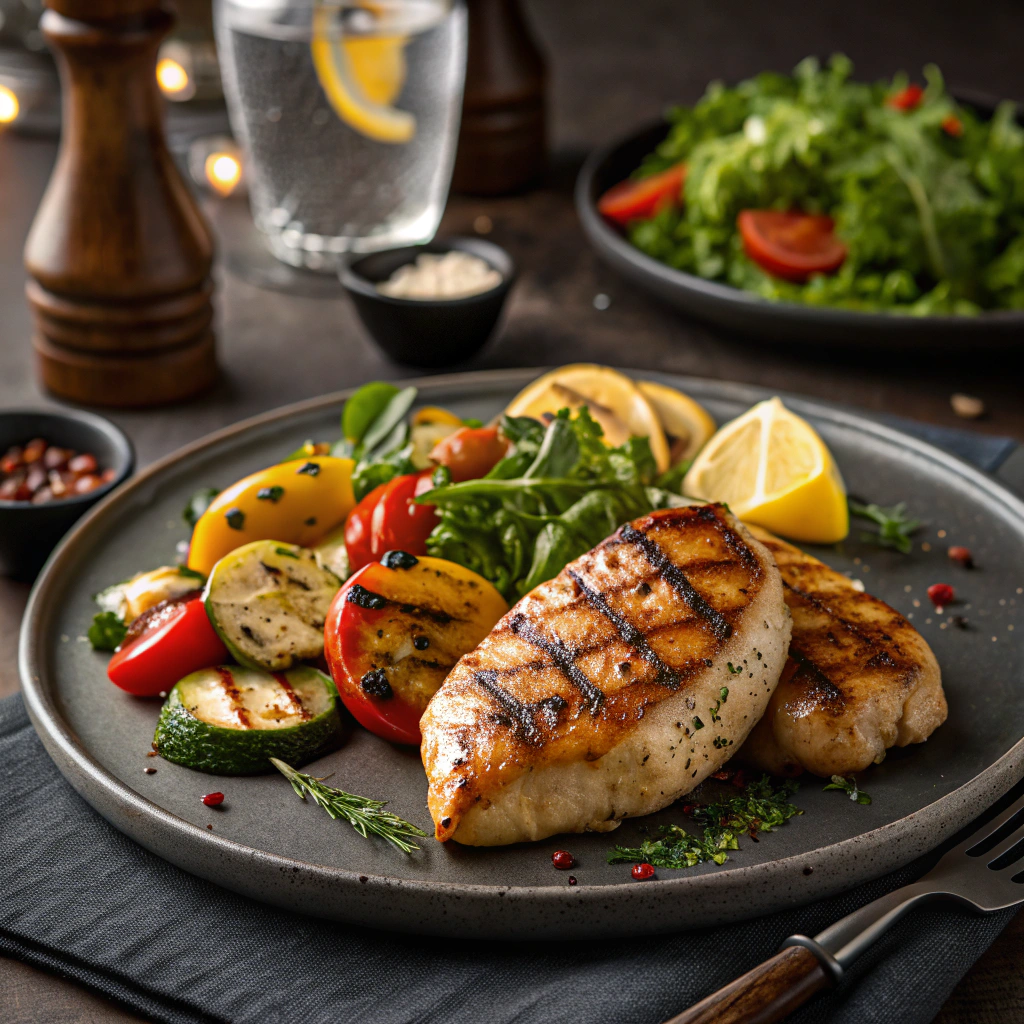
Ready to grill chicken like a pro? Start with quality meat, brine it for tenderness, and preheat your grill properly. Remember to oil those grates and maintain steady heat. Keep your seasonings simple at first – salt, pepper, and garlic powder work wonders. Don’t forget to let your chicken rest before serving.
Now it’s your turn to fire up that grill! Try these tips and let me know how your chicken turns out. Share your photos, ask questions, or tell us about your favorite marinades in the comments below. Remember, practice makes perfect, and every grill master started somewhere. Happy grilling, friends!