Oh my goodness, can we talk about frying disasters for a minute? Last Thanksgiving, I learned the hard way that not all frying oils are created equal. There I was, trying to fry up some chicken for my mother-in-law (talk about pressure!), when my oil started smoking like crazy. My kitchen smelled like burnt toast for days! After that epic fail, I spent weeks testing different oils and temperatures in my little kitchen. Now I’m sharing everything I’ve learned about choosing and using the right frying oil. Trust me, whether you’re making weekend French fries or attempting those state fair-worthy onion rings, picking the right frying oil makes all the difference between “meh” and “amazing!”
Choosing the Best Frying Oil for Your Kitchen
Popular Cooking Oils for Deep Frying
Let’s get real about which oils actually work in your home kitchen. In my experience, vegetable oil and canola oil are total workhorses – they’re my go-to for everyday frying. Peanut oil? That’s my splurge for special occasions, like when I’m making my famous crispy chicken. Just keep in mind that peanut oil’s a no-go if anyone has nut allergies!
I’ve found that corn oil works great too, and it’s usually cheaper than peanut oil. Funny story – I once tried olive oil for deep frying (big mistake!), and my wallet cried almost as much as my smoke detector. Remember, stick with frying oils that can handle the heat without breaking the bank.
Smoke Points: What They Mean for Your Cooking
Okay, here’s the deal with smoke points – they’re basically your oil’s breaking point. Think of it like your teenager’s patience with homework – push it too far, and things get smoky! Each oil has its own smoke point, and you’ll want to stay safely below it.
Refined oils like peanut (450°F), canola (400°F), and vegetable oil (400-450°F) can take the heat without throwing a fit. The first time I ignored smoke points, my attempt at tempura turned into a smoky mess that had my kids dramatically waving towels at the smoke detector. Learn from my mistakes, folks – when your frying oil starts smoking, it’s not just ruining your food, it’s actually breaking down into stuff you don’t want in your dinner.
Neutral vs. Flavored Frying Oils
When I first started frying, I figured oil was just oil – boy, was I wrong! Some oils are like that quiet friend who never interrupts (that’s your neutral oils like canola and vegetable), while others are more like your chatty aunt who has something to say about everything (looking at you, extra virgin olive oil!).
For most deep frying, you’ll want those neutral frying oils that let your food’s natural flavors shine through. I learned this the hard way when I used sesame oil to fry wontons – everything tasted like sesame! Save those flavored oils for finishing touches or specific cuisines where you want that distinct taste.
Essential Tips for Deep Frying Success
Getting Your Oil to the Right Temperature
Getting your oil temperature just right is like finding that sweet spot on your car’s steering wheel – it takes practice, but once you know it, you’re golden! I learned this the hard way after serving my family soggy chicken wings (they still tease me about it).
For most deep frying, you’ll want your frying oil between 350°F and 375°F. For crispy, restaurant-quality results, try making beef stir fry with properly heated oil. The easiest way to monitor this? Grab a good candy thermometer – they’re cheap and totally worth it. I clip mine to the side of my Dutch oven, making sure the tip doesn’t touch the bottom.
No thermometer? Drop a small piece of bread in the oil – if it turns golden brown in about 60 seconds, you’re ready to go.
Signs Your Oil is Ready for Cooking
Let’s talk about the telltale signs your frying oil is at the perfect temperature – without relying on fancy gadgets. Watch for that shimmery surface and tiny wisps of smoke rising from the pot.
Here’s my favorite trick: stick the end of a wooden spoon into the oil. If bubbles form around the handle and rise steadily (not frantically), you’re in business! If the oil’s too hot, those bubbles will rush up aggressively. Too cold? You’ll barely see any action. The oil should look like it’s gently dancing, not having a full-blown party. I learned these tricks from my grandmother, who never owned a thermometer but made the crispiest fried chicken. While you’re mastering oil temperatures, you might want to learn how to grill steak perfectly too – another essential cooking skill.
Common Deep Frying Mistakes to Avoid
Boy, have I made my share of deep-frying blunders! The biggest mistake? Overcrowding the pot – guilty as charged. When you add too much food at once, the oil temperature drops dramatically, leaving you with greasy, soggy results.
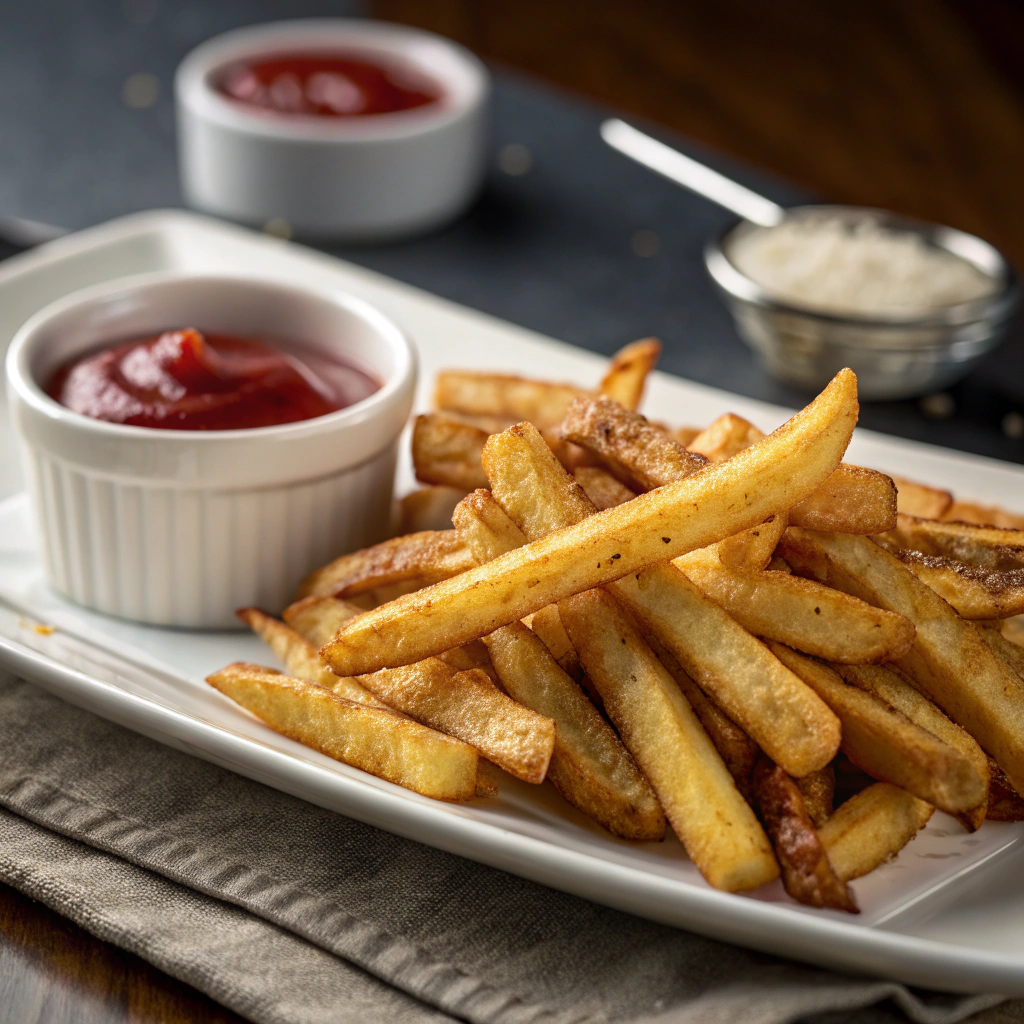
Another rookie move is using frying oil that’s too hot or cold. Too hot? Your food burns on the outside while staying raw inside. Too cold? Hello, oil-soaked disappointment! Always pat your food dry before frying – water and hot oil are not friends. And please, keep a fire extinguisher nearby (not water!) for safety. I keep mine right next to the stove after a close call with some overly enthusiastic French fries.
Maintaining Your Frying Oil Quality
Proper Storage Methods
Let’s talk about keeping your frying oil in tip-top shape – it’s easier than you might think! First, let the oil cool completely after cooking. I usually wait overnight, but at least give it 4-6 hours.
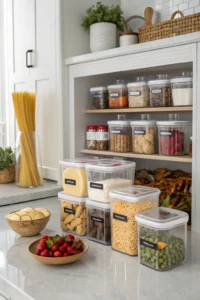
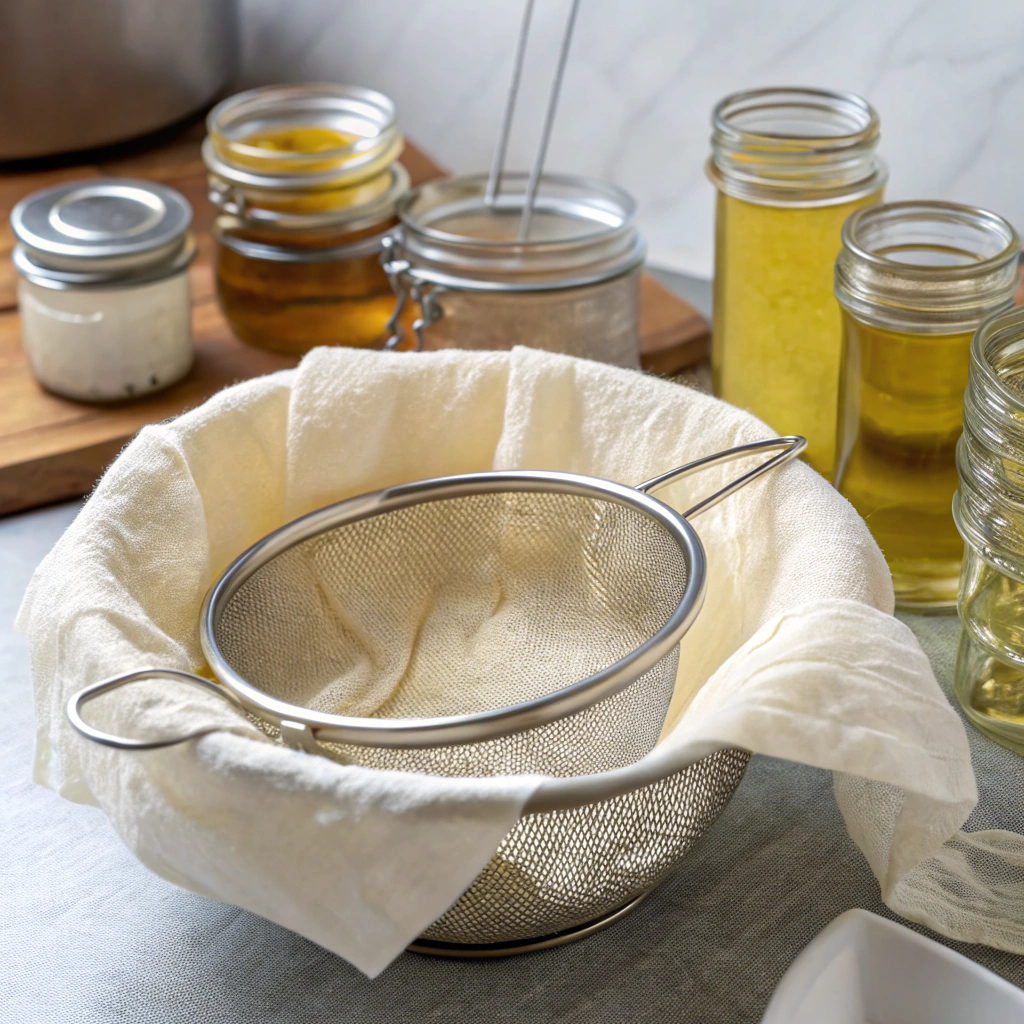
Pour it through a fine-mesh strainer lined with cheesecloth (or coffee filters in a pinch) into a clean, dry container. Dark glass or metal containers work best – light is oil’s enemy! Store it in a cool, dark spot like your pantry. I use mason jars with tight-fitting lids, labeling each with the date and what I fried in it. Properly stored frying oil can last 3-4 uses, sometimes more if you’re frying similar foods.
How to Filter Used Cooking Oil
Here’s my tried-and-true method for filtering used frying oil – it’ll save you money and help your food taste better! Start with completely cooled oil. Set up your straining station: a large bowl, fine-mesh strainer, and either cheesecloth or paper coffee filters. Layer them up for extra filtering power.
Pour the oil through slowly – patience is key here! Those tiny food particles you’re catching? They’re what make oil go bad faster. I keep a dedicated funnel just for this job. After straining, check the clarity – if it’s still cloudy, run it through again. Clean oil should look almost as clear as when it was new.
When to Replace Your Frying Oil
Time to play oil detective! Your nose knows – if the frying oil smells rancid, fishy, or just “off,” it’s time to say goodbye. Watch for changes in color too – if it’s getting dark or looking murky, that’s another red flag.
After about 3-4 uses, even well-maintained oil starts losing its mojo. Keep track of what you’re frying – fish oils break down faster than veggie oils. If your food starts tasting funny or the oil’s smoking at lower temps than usual, it’s retirement time. Don’t try to stretch it too far – bad oil can ruin good food and make you sick. I learned this lesson making donuts with old oil – trust me, not worth it!
Safe Handling of Hot Frying Oil
Kitchen Safety Equipment You'll Need
Before you start deep frying, let’s talk safety gear – it’s a must-have! Keep these items within arm’s reach: heat-resistant gloves (I learned this the hard way after a splash burn), a large metal lid to smother potential fires, a cooking thermometer, and an appropriate fire extinguisher (Class K is best for kitchen fires). Never use water on oil fires! I always keep baking soda nearby too, since it can help put out small grease fires.
A splatter screen is worth every penny – trust me, cleaning oil spots off your clothes isn’t fun. Long sleeves and closed-toe shoes might seem obvious, but I’ve seen plenty of home cooks forget these basics.
Emergency Response for Oil Spills
Here’s what to do if things go wrong (and sometimes they do – I’ve been there!). For small spills, cover the area with salt or baking soda to absorb the oil before cleaning. If frying oil starts smoking, carefully turn off the heat and let it cool down. Never move a pot of hot oil – that’s asking for trouble!
If flames appear, use your metal lid to smother them by sliding it on from the side. Keep kids and pets out of the kitchen during deep frying.
Remember my golden rule: stay calm and focused. Panic leads to accidents, and I’ve seen even experienced cooks make mistakes when rushed.
Cooling and Disposing of Used Cooking Oil
Let’s talk cleanup – it’s just as important as the cooking! Never pour hot frying oil down your drain (I made this mistake once and had a hefty plumber’s bill). Let the oil cool completely – I usually wait several hours or overnight.
Once it’s room temperature, strain it if you’re planning to reuse it, or pour it into a sealable container for disposal. Many grocery stores and recycling centers accept used cooking oil. Check your local options – mine takes it on the first Saturday of each month. For smaller amounts, you can seal it in a non-breakable container and throw it in the regular trash.
Smart Ways to Reuse Frying Oil
Filtering and Storage Techniques
Want to save money on oil? Smart filtering is key! After the oil cools completely, I use a fine-mesh strainer lined with cheesecloth or coffee filters to remove food particles. This two-step process catches even tiny bits that could make your oil go rancid faster. Pour the filtered oil into a clean, dry glass jar or its original container.
Store your filtered oil in a cool, dark place – I keep mine in the pantry away from the stove. Light and heat are oil’s enemies! Label the container with the date and what you fried in it. I’ve found that properly filtered and stored oil can be reused 3-4 times for most foods.
Best Foods for Recycled Frying Oil
Not all foods work well with reused oil, but many do! Stick to similar flavors – oil used for french fries works great for other potato dishes, while oil used for fish should stay dedicated to seafood. Neutral-flavored foods like chicken tenders, onion rings, and vegetable tempura are perfect for recycled oil.
Avoid using old oil for delicate items like doughnuts or pastries – they’ll pick up too many off-flavors. I keep separate oils for sweet and savory dishes. My tip: start with neutral foods and progress to stronger-flavored ones with each reuse.
Signs Your Oil Has Gone Bad
Time to play oil detective! Watch for these warning signs: dark color, foaming, smoking at lower temperatures than usual, or an off smell (if it reminds you of old paint, toss it!). Good oil should be clear and smell clean. I always do the smell test before reheating – your nose knows!
If you see wispy smoke when heating oil that used to be stable, that’s another red flag. Keep a cooking thermometer handy – if your oil starts smoking below its normal temperature, it’s time to say goodbye. When in doubt, throw it out!
Start Frying Like a Pro Today
Ready to start frying? Grab a heavy-bottom pot, thermometer, and spider strainer. Start with something simple like homemade french fries or chicken tenders. These basics help you learn oil temperature control and timing. Share photos of your crispy creations in the comments below! Got questions? I’m here to help. Remember, practice makes perfect, and even kitchen fails teach us something valuable. Happy frying!
