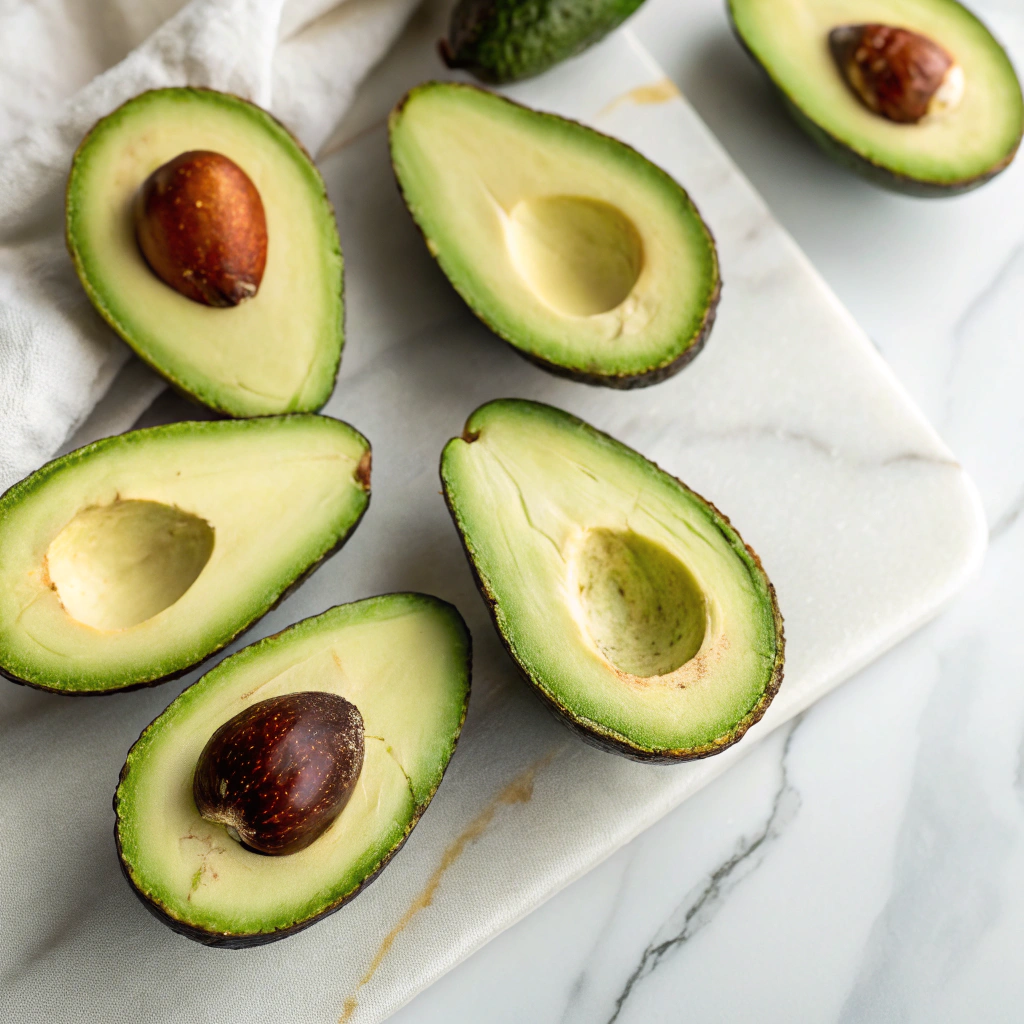
Ready to master the art of cutting avocados? As a morning ritual in my kitchen, I’ve perfected this simple technique that’ll transform your breakfast game. Nothing beats the satisfaction of slicing into a perfectly ripe avocado, revealing that buttery green flesh that’s just begging to top your toast!
I remember struggling with messy cuts and brown spots until I discovered these game-changing tricks. Whether you’re prepping avocado toast, breakfast bowls, or adding creamy slices to your morning eggs, proper cutting technique makes all the difference.
Let me walk you through my foolproof method that’ll have you handling avocados like a pro. Trust me, once you learn these simple steps, you’ll wonder why you ever did it any other way!
Understanding Avocado Cutting Basics
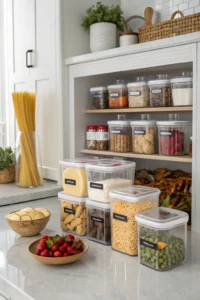
Essential Kitchen Tools for Cutting Avocado
Before you start cutting avocados, gather the right tools for safe and precise results. A sharp chef’s knife is your best friend – I keep mine dedicated just for my morning avocado ritual! You’ll also need a sturdy cutting board (wooden or plastic), a spoon for scooping, and a clean kitchen towel for grip. While fancy avocado slicers exist, I’ve found that basic tools work just as well.
Safety first! I always place a damp cloth under my cutting board to prevent slipping. For those tricky moments when the pit seems stuck, skip the dangerous “whack” method. Instead, use a spoon to gently work around it. Keep a lemon or lime handy too – a quick squeeze prevents browning if you’re prepping multiple avocados.
Identifying Ripe Avocados for Cutting
Before you cut avocado, knowing how to pick the perfect one makes all the difference. I’ve learned that color alone won’t tell the whole story. Gently press the avocado near the stem – it should yield slightly, like pressing a ripe peach. Too soft means it’s overripe; too firm means you’ll need to wait. I keep mine in a paper bag with a banana to speed up ripening when I’m in a hurry.
The stem test is my foolproof method. Pop off the little button at the top – if it’s green underneath, you’re good to go! A brown spot means you might find dark patches inside. Watch out for avocados that feel hollow when you give them a gentle shake – that’s a sign the pit has separated from the flesh. Trust me, nothing’s worse than cutting into an avocado that’s past its prime!
Safety Considerations and Precautions
When you cut avocado, safety should always come first. I’ve seen too many “avocado hand” injuries in my kitchen classes! Always place the avocado on a stable cutting board, never in your palm. I keep a clean kitchen towel underneath to prevent slipping. Those slick surfaces can be tricky! A sharp knife is actually safer than a dull one – it gives you better control and reduces the force needed to cut through.
Here’s my top safety tip: use the “claw grip” technique, tucking your fingertips under while holding the avocado. Watch out for that sneaky pit – I tap the knife gently into it, then twist to remove it safely. Never try to remove the pit with your fingers! For extra protection, especially when teaching kids, I sometimes use an avocado slicer tool. Remember to wash your hands and the avocado skin thoroughly before cutting to avoid transferring bacteria.
Step-by-Step Avocado Cutting Method
Washing and Preparing Your Avocado
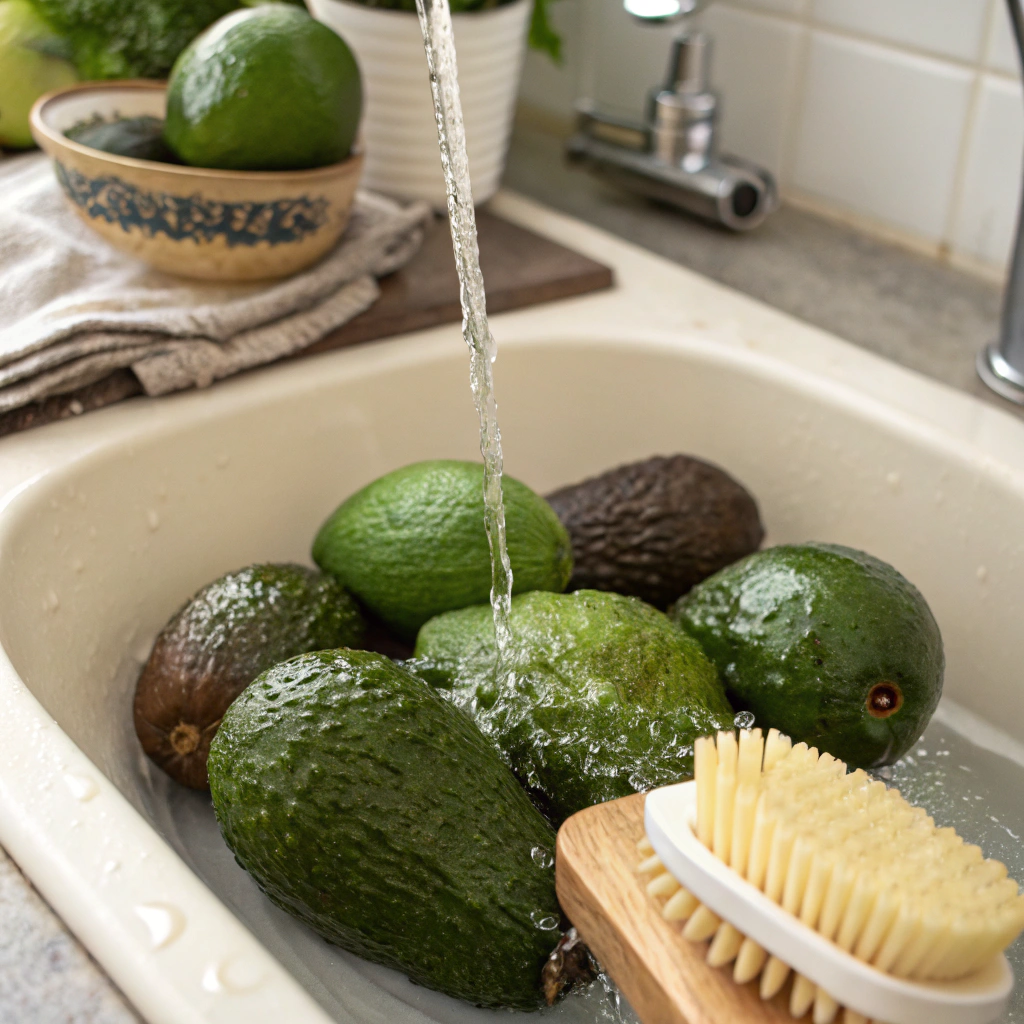
Before you cut avocado, proper preparation is essential for both safety and taste. Start by selecting a perfectly ripe avocado – it should yield slightly when gently pressed. Run it under cool water and scrub the skin with a produce brush to remove any dirt or bacteria. Pat it completely dry with a clean kitchen towel – wet avocados can be slippery!
I always tell my cooking students to check the stem end too. For the freshest results, try our perfect avocado toast variations that showcase 15 delicious ways to enjoy your expertly cut fruit. Let the avocado come to room temperature for about 15 minutes before cutting – this helps release its buttery flavors and makes the flesh easier to work with.
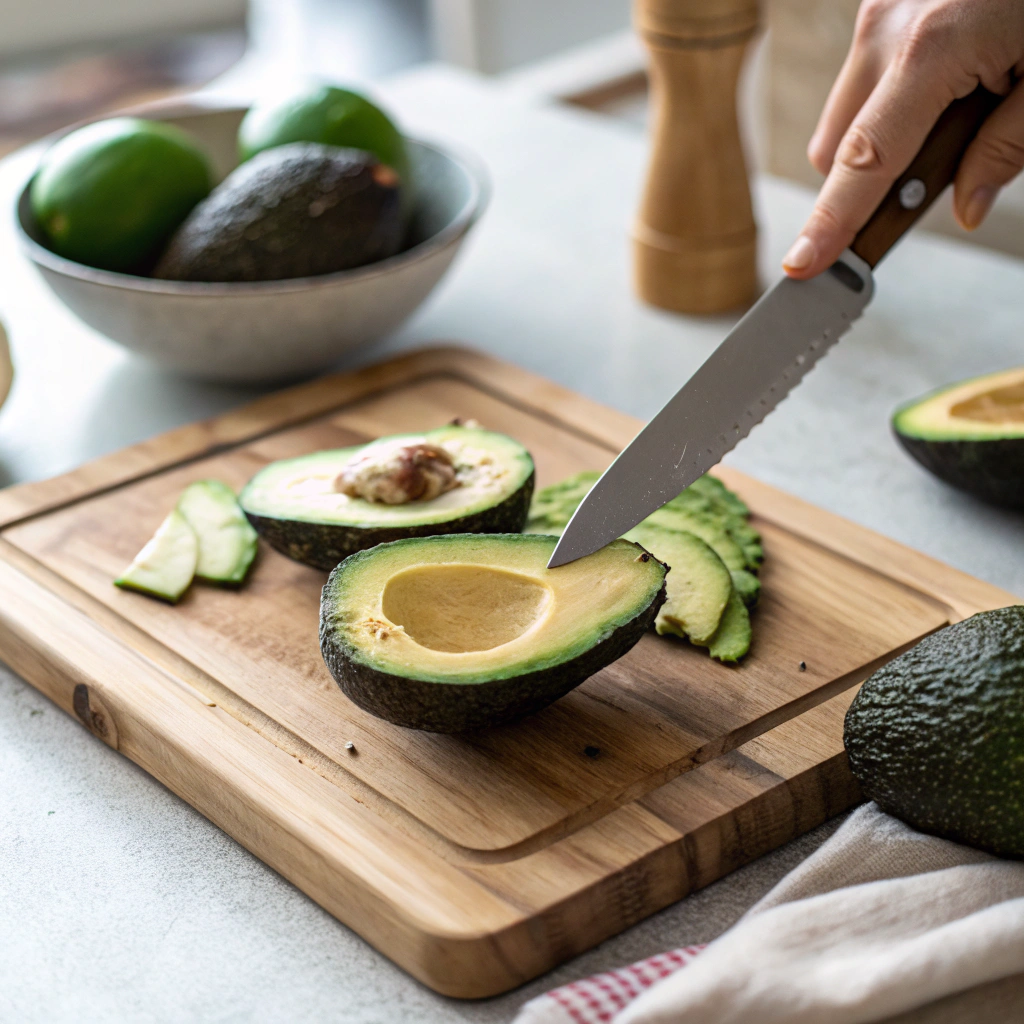
The Perfect Cut: Creating Beautiful Avocado Slices
Ready to cut avocado like a pro? Start by placing your clean, dry avocado on a sturdy cutting board. Grab a sharp chef’s knife – dull knives are more likely to slip! Hold the avocado gently but firmly in your non-dominant hand. Starting at the stem end, slice lengthwise around the pit, rotating the fruit as you go. You’ll feel the knife naturally follow the pit’s curve.
When you’ve gone all the way around, twist the halves apart with a gentle rotating motion. To remove the pit safely, tap your knife firmly into it (just enough to stick), then twist and lift – no need to whack it aggressively!
For picture-perfect slices, score the flesh in a crosshatch pattern while it’s still in the skin, then scoop out with a large spoon. This method gives you those Instagram-worthy slices that’ll make your breakfast tacos look absolutely stunning.
Creative Ways to Use Your Avocado
Once you’ve mastered the perfect cut, let’s explore some delicious ways to enjoy your avocado slices! For a protein-packed start to your day, try layering them over quinoa breakfast bowls with a poached egg and hot sauce. The creamy texture of perfectly sliced avocado adds luxurious richness to any breakfast dish. Fan the slices out in a beautiful pattern, or cube them for easier eating.
The buttery smoothness pairs wonderfully with crunchy toast points, crispy bacon, or roasted cherry tomatoes. Remember that oxidation happens quickly, so only cut what you’ll use immediately.
If you need to store cut avocado, brush the exposed flesh with lemon juice and wrap tightly in plastic wrap. This helps maintain that gorgeous green color and fresh taste for up to 24 hours in the fridge.
Professional Avocado Cutting Secrets
Grip Techniques for Maximum Control
Ready to master the art of perfectly cut avocado? Start by choosing a ripe avocado that yields slightly to gentle pressure. Hold the avocado firmly in your non-dominant hand, nestling it in your palm with your thumb and fingers providing steady support. Position your sharp knife in your dominant hand with a relaxed but confident grip – think of holding a pencil rather than wielding a sword.
The key is maintaining control while keeping your movements fluid and precise. Place your middle finger along the spine of the blade for enhanced stability. This grip technique prevents the avocado from slipping while cutting, which is essential for both safety and achieving those Instagram-worthy slices.
For Sweet Potato and Egg Skillet levels of breakfast perfection, practice this grip until it feels natural and comfortable.
The Perfect Cut: From Halves to Slices
Ready to transform your cut avocado into beautiful, even slices? Once you’ve mastered the grip, it’s time for the perfect cut. Start by slicing firmly through the middle, rotating the avocado as you go until you’ve made a complete circle. Give a gentle twist to separate the halves – you’ll hear that satisfying pop!
Remove the pit by carefully tapping your knife into it, then twist and lift. For those Instagram-worthy slices, use the tip of your knife to score the flesh in long, parallel lines while it’s still in the skin. Then, run your spoon along the inside of the skin to release those perfect slices.
For a protein-packed breakfast that pairs beautifully with your sliced avocado, try our Sweet Potato and Egg Skillet topped with these buttery avocado pieces.
Storage Solutions: Keeping Your Cut Avocado Fresh
Once you’ve mastered the perfect cut, storing your avocado properly is crucial for maintaining that fresh, green goodness. Here’s a game-changing tip: leave the pit in any unused half! The pit naturally helps prevent browning. For the best results, grab a lemon and give the exposed flesh a quick squeeze – the citric acid works wonders in keeping oxidation at bay.
Wrap your avocado tightly in plastic wrap, making sure it’s snug against the flesh to prevent air pockets. Pop it in an airtight container and store it in the fridge.
For a breakfast-ready solution, try pre-slicing your avocado and layering the pieces with a bit of olive oil in a container. This method keeps them fresh for your morning toast or Chorizo Breakfast Burrito – the rich avocado perfectly complements the spicy sausage flavors.
Solving Common Avocado Cutting Challenges
Dealing with Over-Ripe Avocados
When your avocado feels extra soft, don’t panic! Start by gently washing the fruit under cool water to firm up the flesh slightly. Place it on a stable cutting board and grip it carefully – the softer texture requires a lighter touch than usual. Using a sharp knife, make your cut around the middle, applying minimal pressure to avoid squishing.
For breakfast-ready slices that hold their shape, try the “spoon scoop” method: after halving, run a spoon between the flesh and skin in one smooth motion. This technique works brilliantly when preparing a Cozy Sweet Potato and Egg Skillet, where perfectly cut avocado adds creamy contrast to the crispy potatoes.
Remember to work quickly with over-ripe avocados – they’ll oxidize faster than their firmer counterparts.
Working with Under-Ripe Avocados
Need to cut an avocado that’s still a bit firm? No worries! Start by rolling the fruit gently on your countertop while applying light pressure – this helps break down some of the firm flesh without bruising. When you cut avocado that’s under-ripe, use a sharp serrated knife instead of a straight blade. The sawing motion helps prevent slipping on the harder surface.
Once halved, try the “hot water bath” trick: place the halves in warm (not hot) water for 2-3 minutes to slightly soften the flesh. Pat dry thoroughly before continuing. For stubborn pits, tap your knife into it with more force than usual, as under-ripe pits tend to cling tighter to the flesh.
Finally, score the flesh in a smaller grid pattern than usual – about 1/4 inch squares work best for firmer avocados. This creates more manageable pieces that hold their shape well.
Perfectly Ripe Avocado Cutting Tips
When you cut avocado that’s perfectly ripe, the process should feel like slicing through butter. Start with a ripe avocado that yields slightly when gently squeezed. Place it on a stable cutting board and hold it firmly with your non-dominant hand.
Using a sharp chef’s knife, make one clean cut lengthwise around the pit, rotating the avocado as you go. Gently twist the halves apart – they should separate easily if properly ripened.
For the safest pit removal, place the avocado half with the pit face-up on your cutting board and carefully tap the pit with your knife blade, then twist to release.
Score the flesh in a crosshatch pattern, being careful not to pierce the skin.
Finally, use a large spoon to scoop out the perfect cubes in one smooth motion. The flesh should easily release from the skin, leaving you with beautiful, ready-to-use avocado pieces.
Creative Avocado Cutting Presentations
Restaurant-Style Fan Arrangements
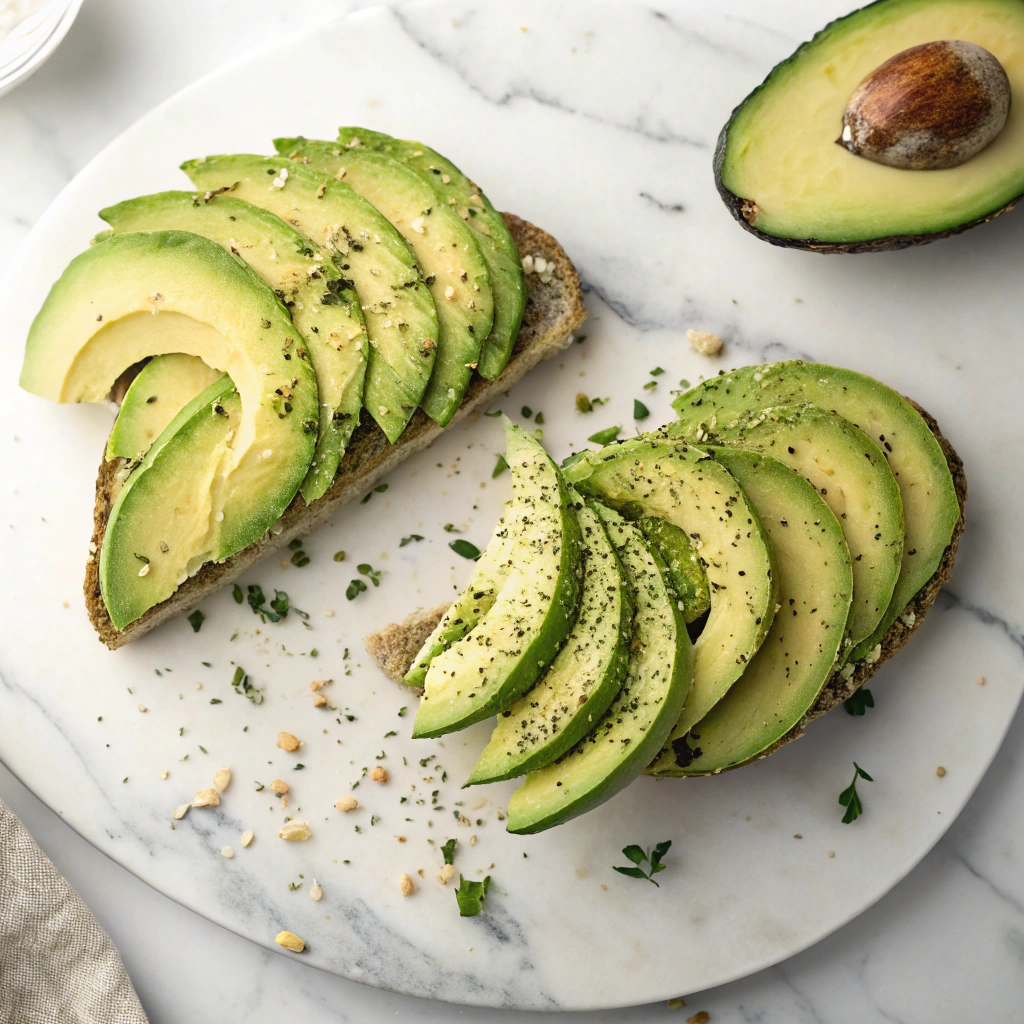
Transform your breakfast plate into a work of art with professional-style avocado fans. After you cut avocado following our basic guide, keep the halves intact and make thin, lengthwise slices while the flesh is still in the skin.
Gently press the back of the skin to fan out the slices in an elegant arc – perfect for topping toast or adding visual flair to your morning eggs. The key is maintaining consistent slice thickness, about 1/8 inch, to achieve that professional look.
For extra stability, leave the slices connected at the narrow end, creating a beautiful fanned effect when spread. This technique not only elevates presentation but also ensures each bite has the perfect amount of creamy avocado. The uniform slices also help control portions while making your breakfast plate Instagram-worthy.
Quick Avocado Garnishes for Breakfast
The humble cut avocado can transform into stunning breakfast garnishes with minimal effort. Try creating delicate rosettes by rolling thin slices into spirals – perfect for topping morning bagels or English muffins.
For a modern twist, cube your avocado into tiny, uniform dice and arrange them in geometric patterns on your breakfast plate. Another eye-catching technique is the crosshatch pattern: after halving and peeling, make shallow diagonal cuts in both directions without slicing through.
When gently pressed, the avocado creates an elegant diamond pattern that adds visual interest to any breakfast dish. These quick garnishing methods work especially well when paired with eggs, as the rich yellow yolks provide beautiful color contrast against the creamy green avocado. Remember to sprinkle with coarse sea salt and fresh cracked pepper just before serving to enhance both presentation and flavor.
Storage Tips for Cut Avocado
Keep your cut avocado fresh and prevent browning with these proven storage methods. First, brush the exposed flesh with lemon juice or olive oil to create a protective barrier against oxidation. For storage, wrap the avocado tightly in plastic wrap, ensuring no air pockets remain – the wrap should make direct contact with the green surface.
Place the wrapped avocado in an airtight container with the pit (it helps prevent browning). For meal prep, try dicing your avocado and storing the pieces in a container filled with cold water and a splash of lemon juice – they’ll stay fresh for up to two days.
When storing half an avocado, keep the pit in the unused portion for best results. Remember to check your stored avocado daily and use it within 2-3 days for optimal freshness. These methods work particularly well for breakfast prep, allowing you to enjoy perfectly green avocado whenever you need it.
Start Cutting Perfect Avocados Today
Ready to master your avocado game? Grab your sharpest knife and a ripe avocado – it’s time to practice these techniques! Remember, perfect cuts start with the right fruit and proper tools. Share your beautiful avocado creations with #TalesRecipes, and don’t forget to check out our complete breakfast collection for more inspiring ways to serve your perfectly cut avocado.