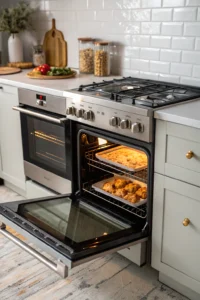
Oh my goodness, can we talk about oven messes? Last weekend, my apple pie bubbled over and created the most dramatic smoke show in my kitchen! That’s when I knew it was time to finally clean my oven – something I’d been putting off forever. After years of testing different methods (and making plenty of mistakes), I’ve figured out how to clean an oven without losing my mind.
Whether you’re dealing with baked-on lasagna or that mysterious crusty stuff from Thanksgiving, I’ve got you covered. Trust me, a clean oven isn’t just about looks – it actually helps your food taste better and cook more evenly. Plus, no more smoke alarms going off when you’re trying to bake cookies! Let me share my favorite tried-and-true methods that won’t have you scrubbing until next Tuesday.
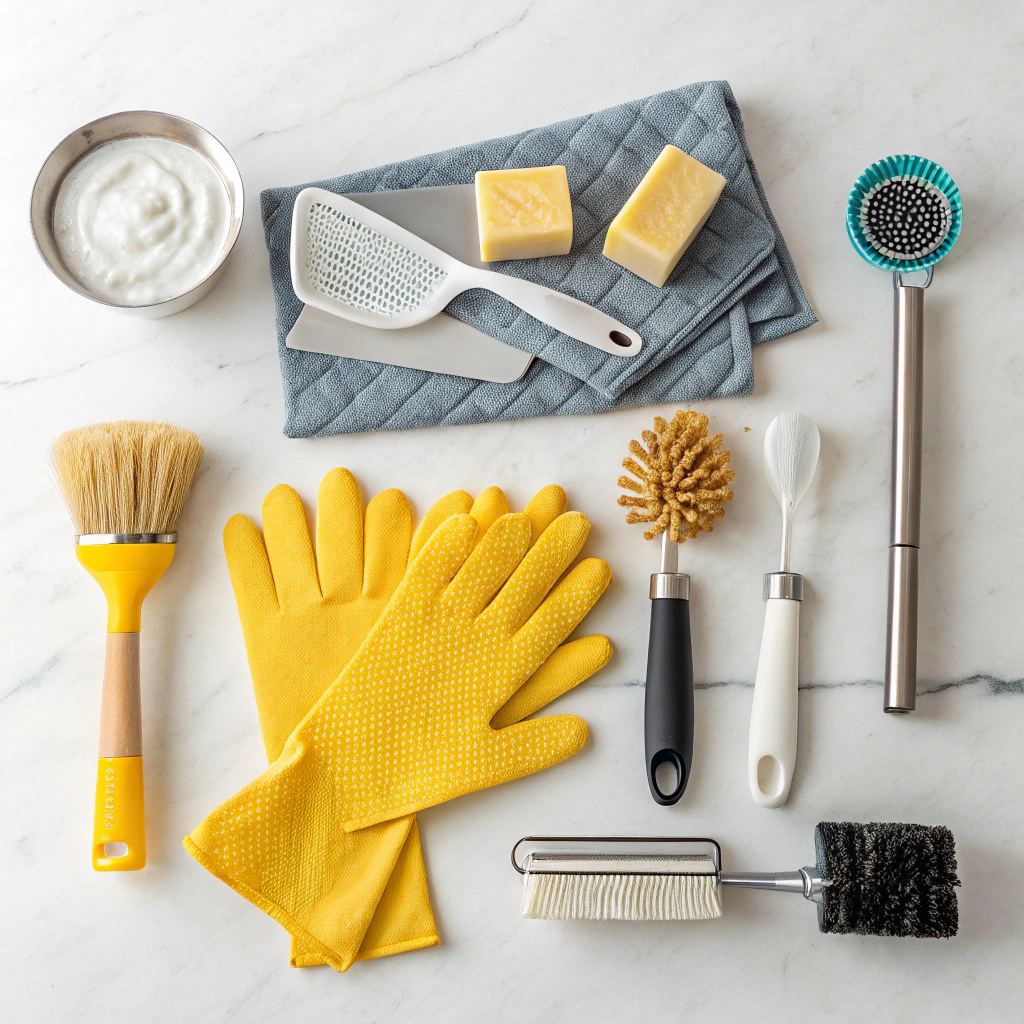
Essential Oven Cleaning Supplies
Natural vs Commercial Oven Cleaners
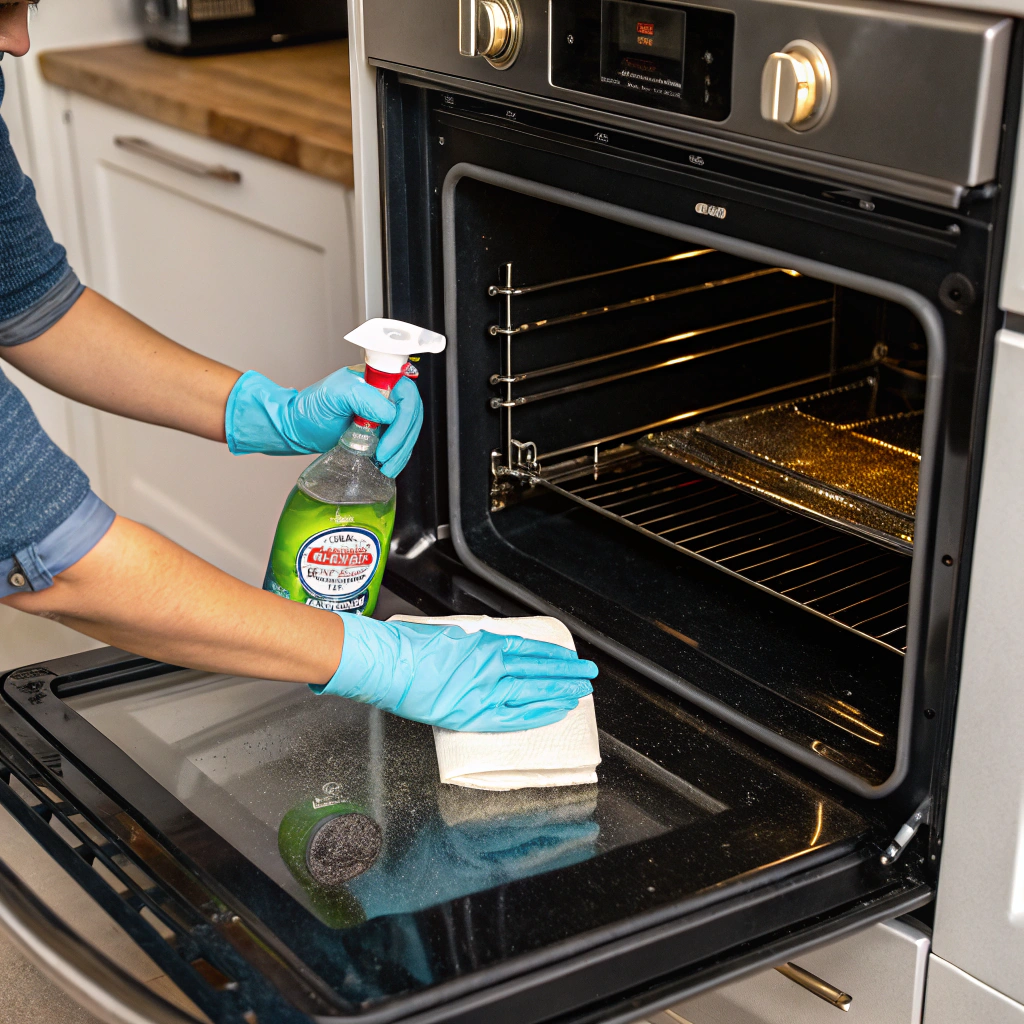
Listen up, because this decision can make or break your oven cleaning adventure! When it comes to getting your oven sparkling clean, you’ve basically got two paths: going au naturel or bringing in the big commercial guns. For tough, baked-on messes, you might want to check out my guide on how to clean your oven effectively with natural methods. I’ve tried both, and here’s the real deal – baking soda and vinegar can work wonders on light messes, especially if you clean your oven regularly. But for those tough, burnt-on disasters (like my infamous Christmas ham incident), sometimes you need something stronger. Commercial cleaners work faster, but they’re pretty intense with those fumes. I actually alternate between both methods depending on how bad things are. Just remember – whatever you choose, always test it on a small spot first!
Must-Have Tools for Deep Cleaning
Y’all, having the right tools makes cleaning your oven SO much easier! I learned this the hard way after ruining my favorite sweater with cleaner splatters. Start with a good pair of heavy-duty scrub brushes – I keep two separate ones just for oven cleaning. You’ll also need plenty of microfiber cloths (paper towels just don’t cut it), a sturdy scraper for those stubborn bits, and a spray bottle for your cleaning solution. Don’t forget about those rubber spatulas – they’re amazing for getting into corners! The real game-changer in my cleaning arsenal is a long-handled sponge mop that helps reach the back of the oven. Trust me, your arms will thank you later.
Safety Equipment You Shouldn't Skip
Before you dive into cleaning your oven, let’s talk safety – because nobody wants a chemical burn story to tell! I once skipped gloves and regretted it for days. Now I always gear up with thick rubber gloves (the longer, the better) before I clean my oven. Keep those windows wide open for ventilation – I learned this lesson during a particularly stuffy August cleaning session. Safety glasses are non-negotiable, especially when using commercial cleaners. And here’s something most people forget: wear old clothes or an apron that covers your arms. I also keep a box of baking soda handy to neutralize any cleaner spills. Better safe than sorry, right?
Quick Daily Oven Cleaning Habits
Wipe Spills While They're Fresh
Let’s be real – nobody wants to scrub baked-on messes! The secret to keeping your oven clean is catching spills right when they happen. I learned this the hard way after a bubbling lasagna disaster. Now I keep a damp cloth nearby while baking to quickly wipe up any drips. Just wait until the oven cools slightly – you want it warm but not hot. For sticky spills like fruit pies, sprinkle some salt on the spot while it’s fresh. While cleaning your oven, you might also want to learn how to clean your microwave using similar natural methods. The salt helps absorb the mess and makes cleanup way easier later. Remember to wear oven mitts and be careful around hot surfaces. A quick response to spills saves so much scrubbing time later!
Smart Ways to Prevent Oven Messes
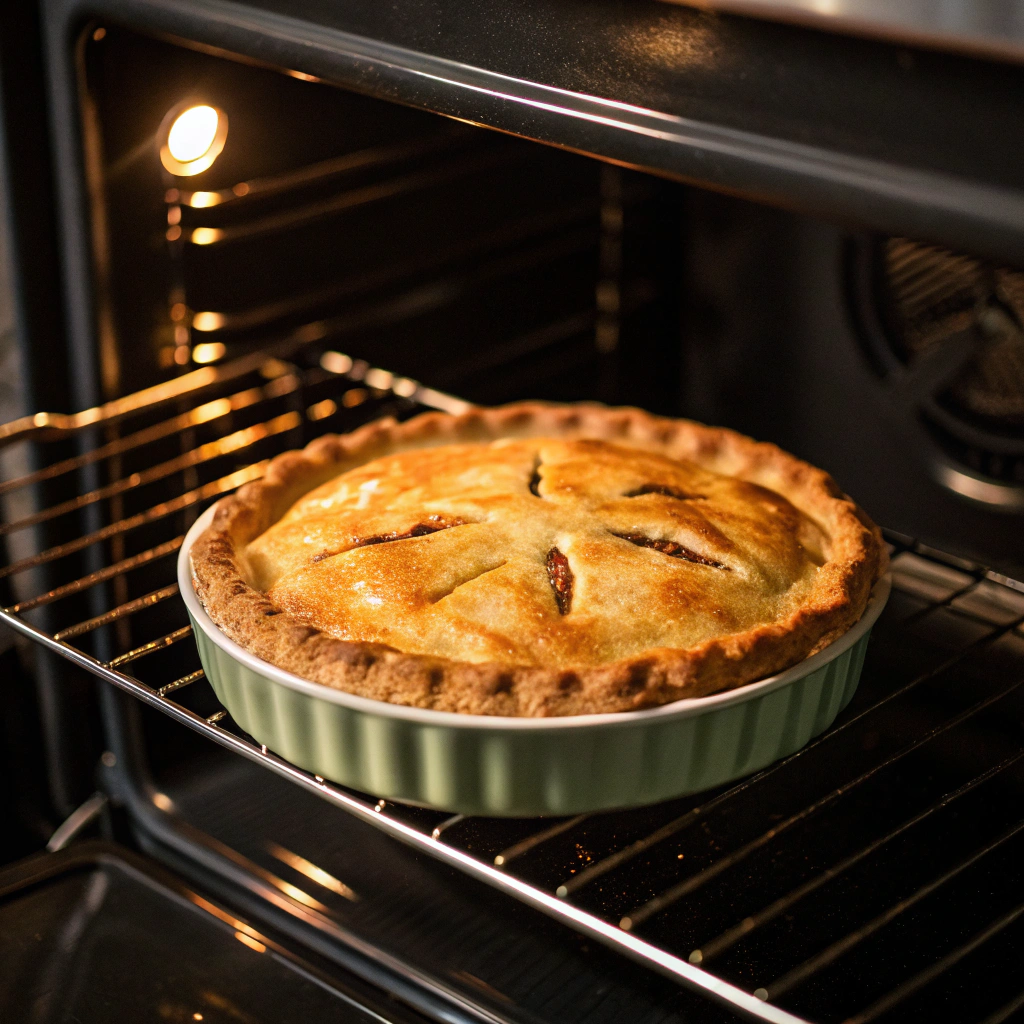
My favorite trick for a clean oven? Prevention! I always place a large baking sheet on the bottom rack to catch any overflow. For bubbly dishes like fruit pies or cheesy casseroles, I wrap the bottom rack in foil for easy cleanup. Another game-changer is using properly sized baking dishes – overfilled pans are asking for trouble! When roasting meaty dishes, I tent them with foil for the first part of cooking to prevent splatters. And here’s a pro tip: for extra drippy foods like bacon, use a broiler pan with a drip tray. These simple habits have saved me countless hours of scrubbing.
5-Minute Post-Cooking Maintenance Tips
Once your food is out, take a few minutes for quick maintenance. Let the oven cool until it’s warm but comfortable to touch. Wipe down the door glass and edges where grease tends to collect. Use a damp microfiber cloth for everyday cleaning – it’s gentle but effective. For the interior, a quick once-over with a slightly damp cloth removes any fresh spots before they bake on. Don’t forget the door seal! A clean seal means better oven performance. These quick steps make such a difference in keeping your oven looking fresh. Just five minutes after cooking saves hours of deep cleaning later.
Deep Clean Your Oven Like a Pro
Step-by-Step Oven Cleaning Guide
When it’s time to clean your oven thoroughly, start by removing all racks and accessories. Mix a paste of baking soda and water – this natural cleaner works wonders! Apply it generously to all interior surfaces except the heating elements. Let the paste sit overnight to break down stubborn grease. The next day, spritz with vinegar (watch it fizz!) and wipe everything clean with a damp cloth. For a seriously dirty oven, you might need to repeat the process. Always finish by running the empty oven at 350°F for 10 minutes to eliminate any cleaning residue.
Tackling Stubborn Grease and Grime
Those baked-on spots giving you trouble? Time to bring out the big guns! For a super clean oven, make a stronger paste using baking soda, salt, and dish soap. Apply it directly to tough spots and let it work its magic for several hours. Use a plastic scraper (never metal!) to gently lift off loosened grime. For really stubborn areas, steam helps – place a bowl of hot water in the oven for 20 minutes first. I’ve found that lemon juice works great on grease spots too. Remember to test any new cleaning method in a small area first.
Cleaning Oven Racks and Components
Don’t forget those grimy oven racks! Soak them in hot, soapy water with a splash of vinegar for an hour. For extra dirty racks, lay them in the bathtub with dryer sheets – trust me, it works! Scrub with a non-abrasive sponge to protect the finish. Pay special attention to the corners where grease builds up. Clean the door hinges and seals with a damp cloth and mild soap. For glass doors, a mixture of baking soda and water works great. These parts need regular attention to keep your oven working efficiently.
Natural Methods to Clean Your Oven
Baking Soda and Vinegar Magic
Let’s talk about my favorite way to clean an oven naturally – the baking soda and vinegar method! Start by removing the racks from your oven and setting them aside. Mix about 1/2 cup of baking soda with water until you get a spreadable paste. Using gloves, spread this paste all over the inside of your oven, avoiding the heating elements. The grease and grime in your oven will start breaking down as the paste sits overnight. The next morning, spray white vinegar over the dried paste and watch it foam up. Once the reaction settles, wipe everything clean with a damp cloth. This natural method works wonders on stubborn spots without harsh chemicals.
Steam Cleaning Secrets
Want to know my secret for an easy clean oven? Steam cleaning is a game-changer! Fill an oven-safe bowl with water and a few lemon slices, then place it on the bottom rack. Heat your oven to 250°F and let it work for about 30 minutes. The steam will soften all that baked-on mess, making it much easier to clean your oven later. After the oven cools down, wipe the surfaces with a damp microfiber cloth. I love using this method between deep cleanings to keep my oven fresh. For extra tough spots, add a splash of vinegar to your steam water.
Lemon Fresh Oven Deodorizing
Nothing beats the fresh scent of lemons when you clean your oven! This method is perfect for deodorizing and tackling light messes. Cut two lemons in half and squeeze their juice into a baking dish. Drop the squeezed halves in too, then fill the dish halfway with water. Place it in your oven at 350°F for about 30 minutes. The citrus oils help break down grease while leaving your kitchen smelling amazing. Once cooled, wipe down your oven’s interior with a damp cloth. I use this trick monthly to maintain a fresh-smelling oven between deep cleanings.
Self-Cleaning Oven Features
How to Use Self-Clean Safely
Before starting the self-clean cycle on your oven, there are some important steps to follow. First, remove all racks and pans – the intense heat can damage their finish. Open windows for ventilation since the process can create smoke as it burns off residue. To clean your oven safely, make sure to wipe up any loose debris first. The self-cleaning cycle typically takes 2-4 hours and locks automatically for safety. Never leave home while your oven is self-cleaning, and keep kids and pets away from the kitchen. The oven will get extremely hot during this process.
When Not to Use Self-Clean Mode
Sometimes it’s best to skip the self-clean feature when cleaning your oven. If you have heavy spills or lots of grease buildup, manual cleaning is safer. The intense heat during self-cleaning can actually bake on these messes, making them harder to remove. Never run self-clean right before a big cooking event – if something goes wrong, you’ll need repair time. Also, avoid using self-clean if your oven is near cabinets or in a poorly ventilated space. The extreme heat and smoke could damage your kitchen or create unsafe conditions.
Post Self-Clean Care Tips
After your oven completes its self-cleaning cycle, don’t rush to clean it right away. Let it cool completely before wiping down the ash residue with a damp cloth. This is a great time to clean your oven door’s gasket with mild soap and water. Check that the door still seals properly – the intense heat can sometimes affect the gasket. Once everything’s cool, put your cleaned racks back in place. I like to line the bottom with foil to catch future spills, but be careful not to block any vents. Regular maintenance helps prevent the need for frequent deep cleaning.
Keep Your Clean Oven Spotless
Ready to maintain that sparkle? Remember, a clean oven isn’t just about looks – it’s about better-tasting food and safer cooking. Try implementing my weekly wipe-down routine, and don’t forget to tackle spills right away. Share your own oven cleaning tips in the comments below, and let me know if you try these methods. Happy cooking in your spotless oven!”