Oh my goodness, let me tell you about my journey with learning to melt chocolate! After countless batches of seized-up chocolate and some truly memorable kitchen disasters (like that time I tried to melt chocolate in a plastic bowl – don’t ask!), I’ve finally mastered the art. Whether you’re dipping strawberries or prepping to make ganache, knowing how to melt chocolate properly is a total game-changer. Last weekend, while testing recipes for my daughter’s birthday cake, I discovered some super helpful tricks that I just have to share. Trust me, once you get these basics down, you’ll be tempering chocolate like a pro and whipping up the smoothest chocolate-covered treats ever.
Essential Tools for Melting Chocolate
Double Boiler vs Microwave Methods
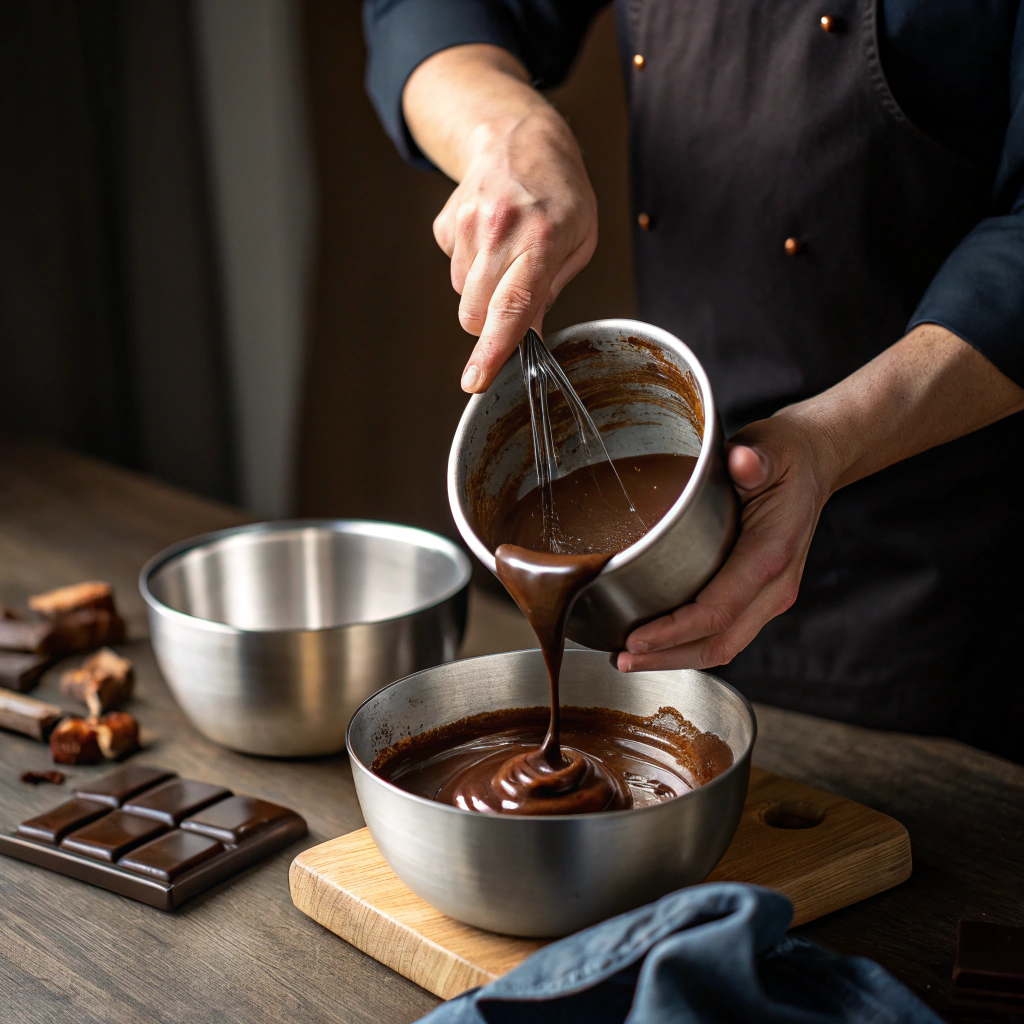
Let’s get real about the two main ways to melt chocolate – I’ve tried them both about a million times! The double boiler method is my go-to when I want to melt chocolate perfectly without any stress. For more advanced techniques, check out our Perfect Chocolate Melting Guide for expert tips and troubleshooting advice. Just fill a pot with an inch of water, pop a heat-safe bowl on top (make sure it doesn’t touch the water!), and let the steam do its magic. For quick jobs, though, the microwave totally works – I use it all the time for my midnight baking sessions. The trick is using 50% power and stirring every 30 seconds. Seriously, don’t skip the stirring part – I learned that the hard way when I ruined a whole bag of expensive chocolate chips!
Best Bowls and Equipment for Success
Y’all, choosing the right bowl to melt chocolate isn’t just being fancy – it’s super important! I learned this the hard way after ruining my favorite plastic mixing bowl (and the chocolate inside it). Glass and stainless steel bowls are your best friends here. I absolutely love my Pyrex bowls for melting chocolate because they distribute heat evenly and clean up like a dream. Make sure you grab some good silicone spatulas too – they’re amazing for scraping every last bit of melted chocolate out of the bowl. And here’s a pro tip I picked up from my pastry chef friend: keep a few different sized bowls handy for different batch sizes.
Temperature Control Tools Worth Having
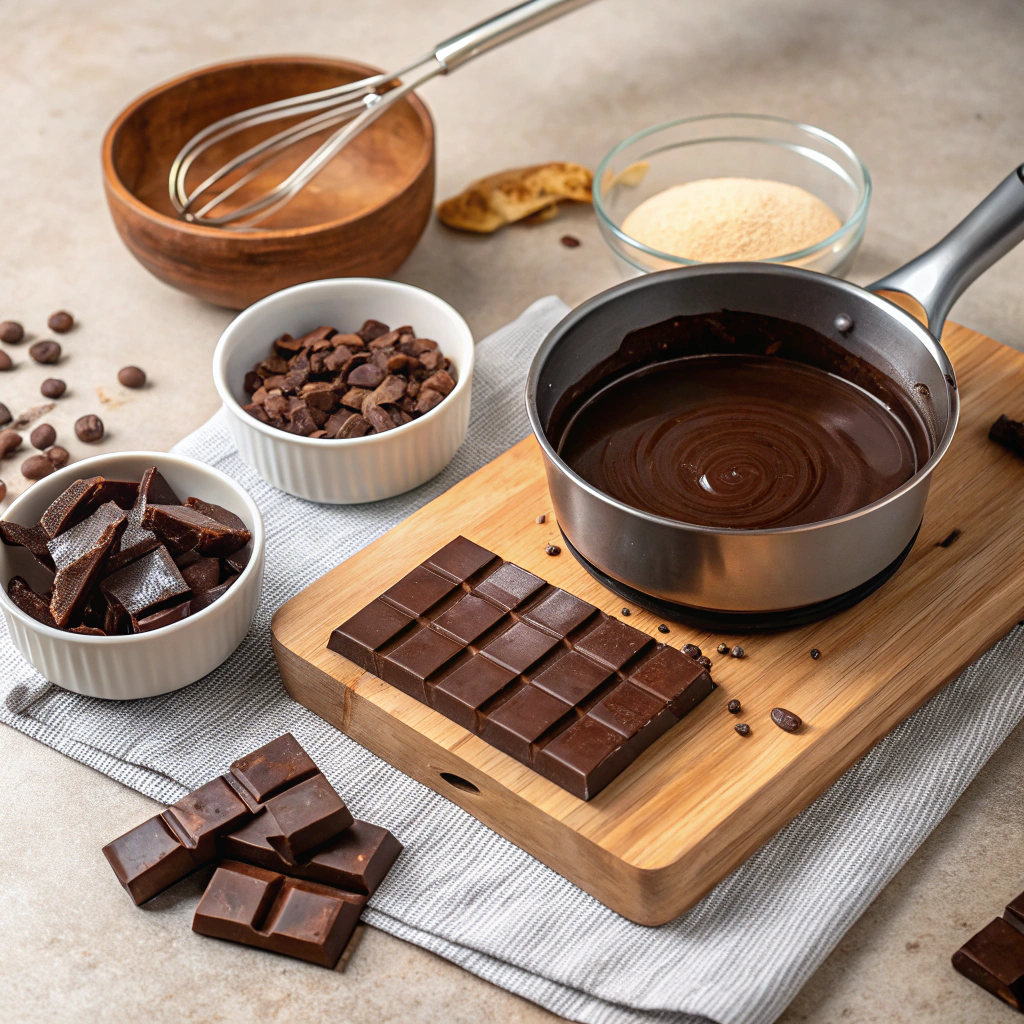
Okay, can we talk about how game-changing a good candy thermometer is when you’re trying to melt chocolate perfectly? After burning way too many batches (and maybe setting off the smoke alarm once… or twice), I finally invested in one, and wow – what a difference! You’ll want to keep your melting chocolate between 88-90°F for dark and slightly lower for milk chocolate. I also keep an infrared thermometer in my drawer now – it’s super handy for quick temperature checks without disturbing the melting process. Plus, having a heat-diffusing mat nearby helps prevent any sudden temperature changes that could make your chocolate seize up.
How to Melt Different Types of Chocolate
Dark Chocolate Melting Tips
The key to successfully melting dark chocolate starts with proper chopping. Break or cut your chocolate into uniform, small pieces about the size of almonds. I learned this trick from my pastry chef aunt – it helps the chocolate melt more evenly. When you’re ready to melt chocolate, use a double boiler setup by placing a heat-safe bowl over simmering water. Keep the bowl from touching the water directly. The steam gently warms the chocolate while preventing scorching. Stir occasionally with a rubber spatula as the pieces begin softening. Dark chocolate typically melts best between 110-120°F. Remove from heat when a few small pieces remain and stir until completely smooth.
Working with White and Milk Chocolate
When you melt chocolate varieties like white or milk chocolate, you’ll need extra attention to temperature control. These types have more milk solids and sugar, making them trickier to work with than dark chocolate. I always keep my double boiler at a lower temperature, around 110°F maximum. Chop your chocolate into very small, consistent pieces before starting. Stir frequently as you melt chocolate to prevent hot spots from forming. The microwave can work too – use 50% power in 20-second bursts, stirring between each interval. Remember that white chocolate especially can seize up quickly if overheated. Remove from heat while a few pieces remain unmelted.
Chocolate Chip Melting Secrets
Let me share my favorite trick for melting chocolate chips – adding a tiny splash of neutral oil like coconut or canola before you start. This helps create smoother melted chocolate that’s less likely to seize. When using a double boiler to melt chocolate chips, keep the water barely simmering. Too much steam can cause moisture droplets that ruin your chocolate. Stir gently but consistently as the chips begin to soften. The stabilizers in chocolate chips mean they hold their shape longer than bar chocolate when melting. Don’t worry if they seem slow to melt at first – patience prevents scorching. Remove from heat when about 80% melted and stir until smooth.
Common Chocolate Melting Mistakes
Preventing Chocolate from Seizing
Nothing ruins a chocolate melting session faster than seizing! This happens when even tiny water droplets get into your melted chocolate, making it grainy and unusable. Always use completely dry bowls and utensils when you melt chocolate. Check that no steam can condense into your bowl – I keep the water at a bare simmer and use a bowl larger than the pot. If you need to add liquid to melted chocolate, warm it first and combine it gradually. Some recipes call for adding a bit of vegetable oil when you melt chocolate, which can help prevent seizing. Keep stirring gently but consistently throughout the process.
Fixing Overheated Chocolate
If you’ve overheated your chocolate while melting, don’t panic! I’ve rescued many batches by acting quickly. First, immediately remove it from heat when you notice it getting too hot or starting to become grainy. To fix overheated chocolate, try stirring in a handful of chopped room temperature chocolate. This process, called “seeding,” helps stabilize the mixture. You can also melt chocolate again by adding a spoonful of warm vegetable oil or coconut oil, stirring until smooth. Sometimes placing the bowl in an ice bath briefly while stirring can help restore the texture. Just be careful not to get any water in the chocolate!
Water and Temperature Trouble Signs
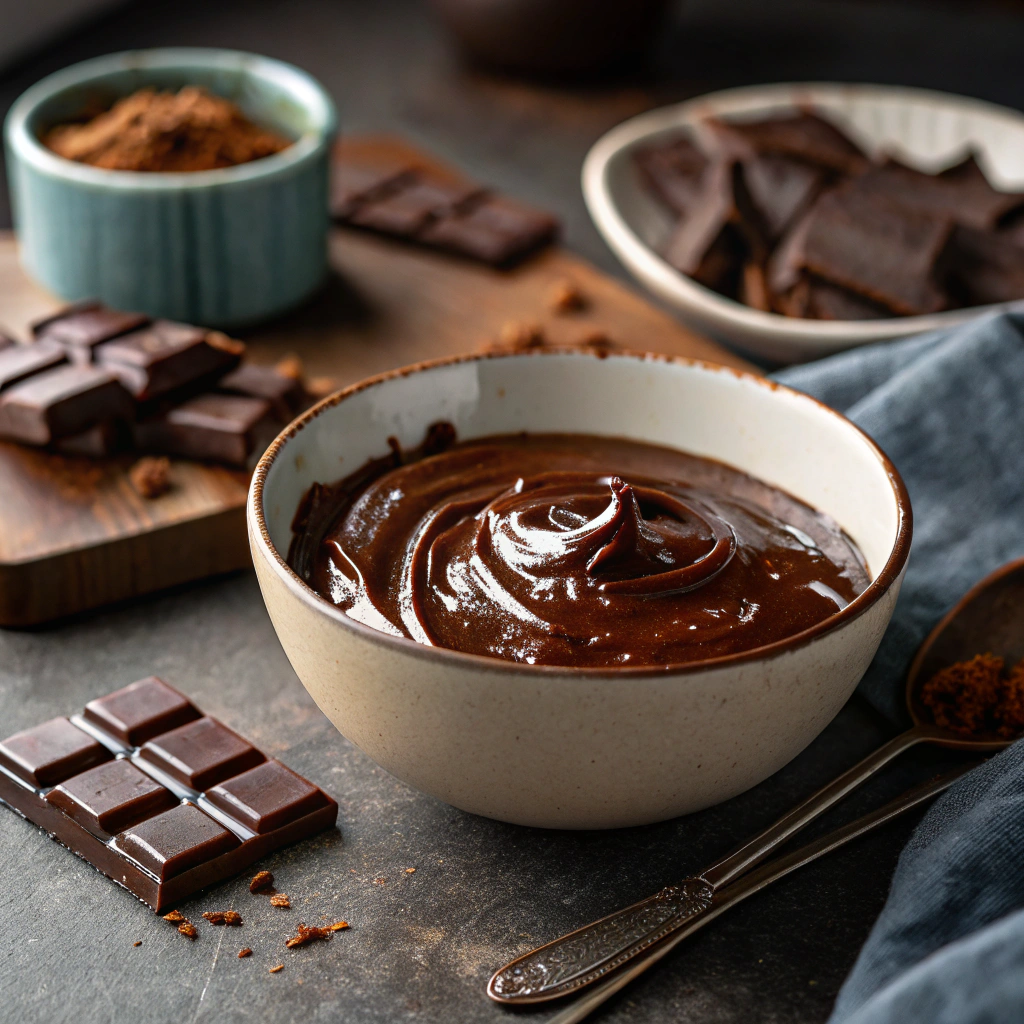
Watch carefully for these warning signs when you melt chocolate: grainy texture, dull appearance, or stiff consistency. These usually mean moisture contamination or temperature issues. Never let water droplets near your melting chocolate – even a tiny amount can ruin the batch. Keep the heat gentle and remove the bowl if you see steam rising too vigorously. When you melt chocolate properly, it should look glossy and flow smoothly off your spoon. If it starts looking thick or clumpy, reduce heat immediately. Temperature control is crucial – use a candy thermometer if you’re new to melting chocolate. Remember that different types have different melting points.
Creative Ways to Use Melted Chocolate
Dipping and Coating Techniques
Once you melt chocolate properly, a world of dipping possibilities opens up! Start with room-temperature fruits like strawberries or banana slices – they help the chocolate set quickly and evenly. I love using a deep, narrow container when I melt chocolate for dipping, as it gives better coverage with less waste. For the smoothest coating, tap your dipped items gently on the rim to remove excess chocolate. My favorite trick is keeping a sheet of parchment paper nearby for easy cleanup and preventing sticking. You’ll want to work efficiently since melted chocolate starts setting up pretty quickly. Try coating nuts, pretzels, or even potato chips for a sweet-salty treat that’ll disappear at parties!
Drizzling and Decorating Tips
After you melt chocolate for drizzling, transfer it to a piping bag or zip-top bag with a tiny corner snipped off. This gives you much better control than trying to drizzle with a spoon. I learned the hard way that chocolate that’s too hot will spread too thin, while chocolate that’s too cool won’t flow smoothly. The sweet spot is when melted chocolate runs off your spatula in a steady ribbon. Practice your drizzling technique on parchment paper first – you can always remelt those practice pieces! Create zigzags, swirls, or simple straight lines to dress up cookies, cakes, or bark. My kids love helping with this part, though it can get messy!
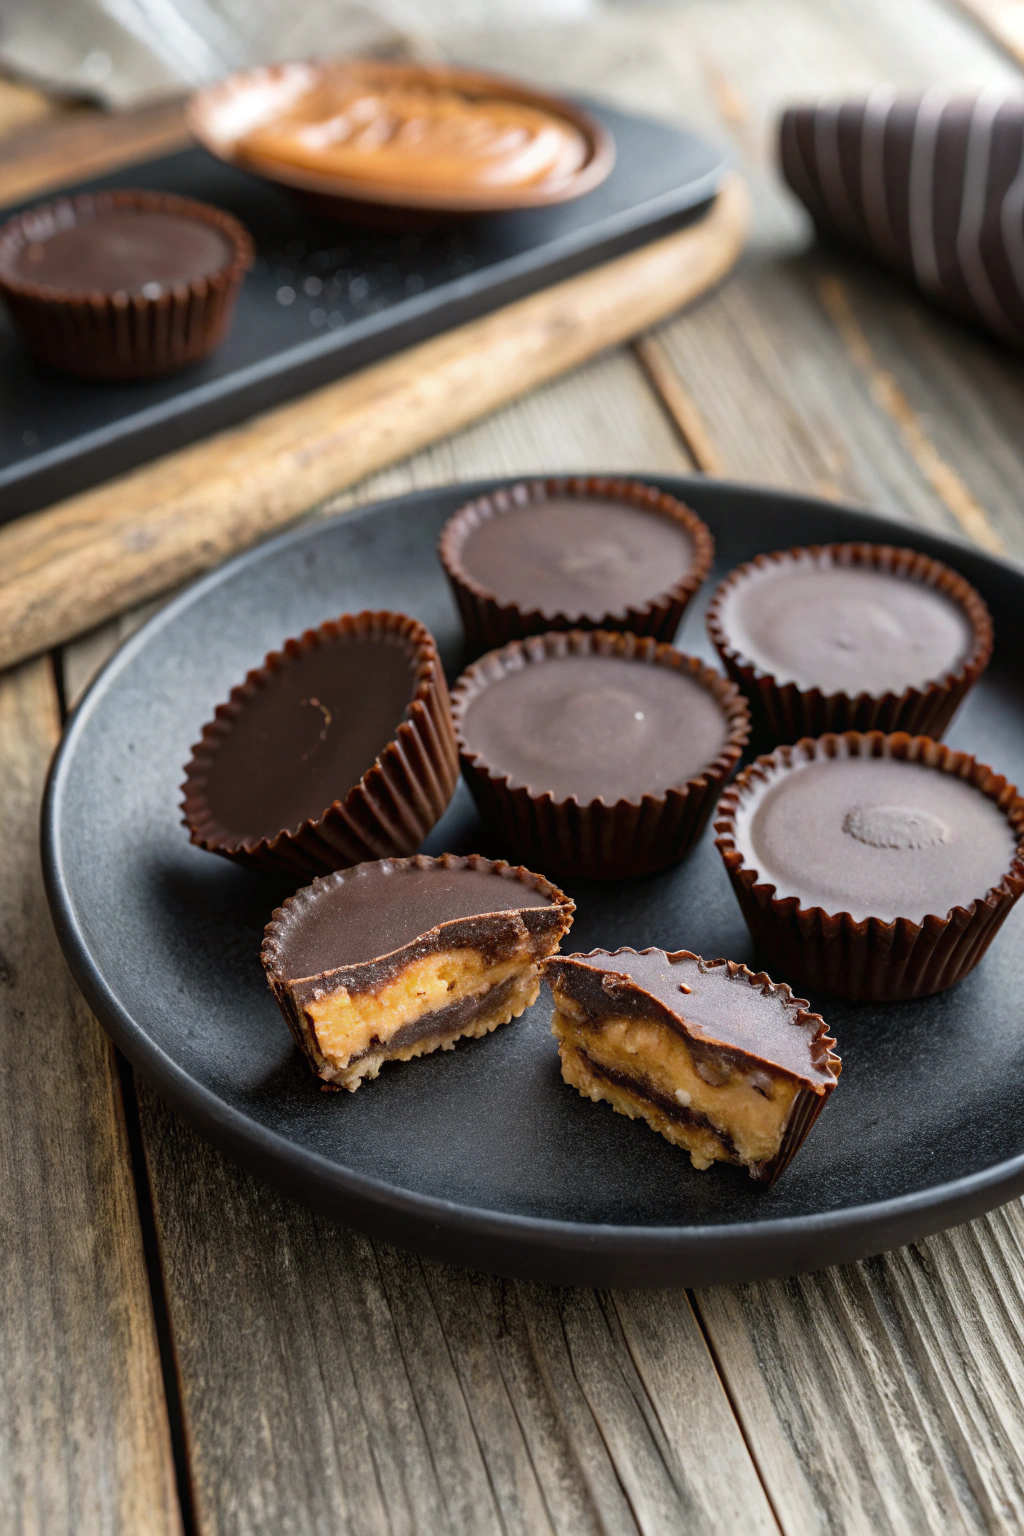
Making Chocolate Shells and Molds
Working with melted chocolate to create shells and molded treats takes some practice, but it’s totally worth it! Start with clean, dry molds – any moisture will make your chocolate seize up. Paint a thin layer of chocolate into your mold using a small brush, then let it set completely. Add a second layer for strength – this is especially important for larger molds. For hollow shapes, make sure your melted chocolate reaches all the corners. I keep my molds slightly tilted as the chocolate sets to get an even thickness. Pop your creations in the fridge for about 5 minutes, then gently flex the mold to release them.
Storing and Reheating Melted Chocolate
Best Storage Containers and Methods
When storing melted chocolate that you want to use later, choose airtight containers that won’t react with the chocolate. I prefer glass or high-quality plastic containers with tight-fitting lids. Let your chocolate cool slightly before storing to prevent condensation from forming. Never put warm containers directly in the fridge – this can cause sugar bloom. Instead, let them cool at room temperature first. I like to press plastic wrap directly onto the surface of the melted chocolate before sealing the container. This prevents that annoying skin from forming on top. Label your containers with the type of chocolate and date for easy reference.
How to Properly Reheat Chocolate
To reheat previously melted chocolate, take it slow and steady. I prefer using a double boiler method rather than the microwave, as it gives more control. If you do use the microwave, melt chocolate in 15-second bursts, stirring well between each interval. Watch the temperature carefully – overheated chocolate becomes grainy and unusable. For dark chocolate, aim for around 90°F when reheating. Milk and white chocolates need slightly lower temperatures. Always stir gently to distribute heat evenly. Remember that melted chocolate can be reheated several times if done properly.
Shelf Life and Quality Tips
Properly stored melted chocolate can last for several weeks, but the quality starts declining after the first few days. Keep track of how many times you’ve reheated your chocolate – each cycle affects the temper and texture. I mark my containers with little hash marks to track reheating sessions. Watch for signs that your melted chocolate is past its prime, like dull appearance or grainy texture. While you’re perfecting your chocolate skills, you might want to try making easy chocolate mousse recipe for a delicious treat. The type of chocolate matters too – dark chocolate generally keeps longer than milk or white varieties. If you notice any off smells or white spots forming, it’s best to start fresh with new chocolate.
Start Your Chocolate Melting Adventure
Share Your Chocolate Creations
Ready to melt chocolate like a pro? Start with simple chocolate-dipped strawberries or pretzels. Each time you practice, you’ll get better at controlling the temperature and consistency. Share photos of your creations in the comments below – we love seeing what you make!
Join Our Community
Ready to melt chocolate like a pro? Start with simple chocolate-dipped strawberries or pretzels. Each time you practice, you’ll get better at controlling the temperature and consistency. Share photos of your creations in the comments below – we love seeing what you make!
Get More Chocolate Tips Weekly
Ready to melt chocolate like a pro? Start with simple chocolate-dipped strawberries or pretzels. Each time you practice, you’ll get better at controlling the temperature and consistency. Share photos of your creations in the comments below – we love seeing what you make!