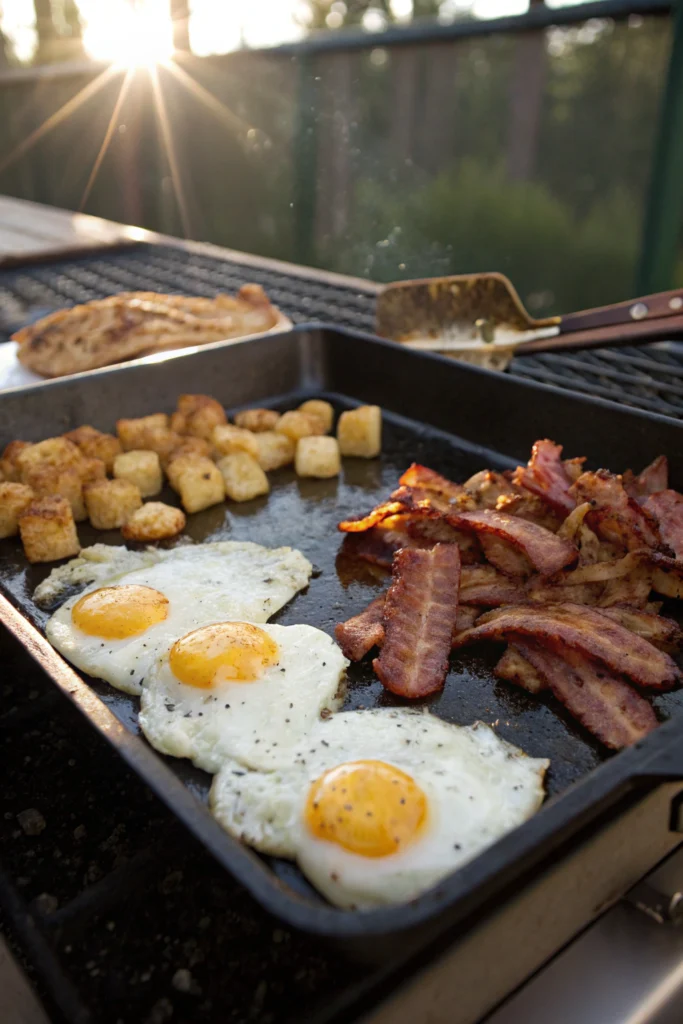
Y’all, let me tell you about my love affair with Blackstone breakfast cooking! Last weekend, I was flipping pancakes for my kids when I realized how far I’ve come since that first terrifying morning with my griddle. Making breakfast on a Blackstone has totally changed our weekend routine. The best part? You can cook everything at once – no more cold eggs while you’re waiting on bacon! I’ve learned tons of tricks for the perfect Blackstone breakfast spread, and I’m super excited to share them with you. Trust me, once you get the hang of it, you’ll never want to cook breakfast any other way. Let’s dive into everything you need to know!
Essential Blackstone Breakfast Equipment Setup
Must-Have Tools for Blackstone Breakfast Success
Listen up, friends – having the right tools makes cooking a Blackstone breakfast so much easier! First, grab yourself two good metal spatulas (I learned this the hard way after struggling with just one). You’ll need squeeze bottles for water and oil – trust me, they’re game-changers for cleaning and preventing sticking. When I’m prepping a big breakfast spread, I always keep my long-handled tongs handy for managing bacon. Don’t forget some heat-resistant gloves – that griddle gets crazy hot! And here’s a pro tip from my many Blackstone breakfast adventures: pick up a few dome covers to help melt cheese and keep those eggs cooking evenly.
Temperature Zone Management Tips
Here’s something they don’t tell you in the manual – mastering temperature zones is key to the perfect Blackstone breakfast! I keep my right side cranking at medium-high for bacon and hash browns, while the left stays at medium for eggs. The middle? That’s my sweet spot for pancakes! Remember to let your griddle heat up for at least 10-15 minutes before cooking. When I’m planning a big Blackstone breakfast feast, I’ll test the heat by sprinkling a few water droplets – they should dance and sizzle. And don’t forget about those corners – they’re perfect for keeping things warm without overcooking.
Seasoning Your Griddle for Perfect Results
Getting that perfect non-stick surface for your Blackstone breakfast starts with proper seasoning. I learned this lesson after a disastrous first attempt with sticky eggs everywhere! Start by cranking all burners to high and letting your griddle get smoking hot. Then, add a thin layer of high-smoke-point oil (I swear by grapeseed oil) and let it work its magic. Repeat this process 3-4 times, and you’ll have a surface that eggs practically slide across! Between breakfast sessions, I always give my griddle a quick re-season. This extra step makes every Blackstone breakfast experience so much better.
Best Blackstone Breakfast Recipes
Classic Diner-Style Breakfast Combos
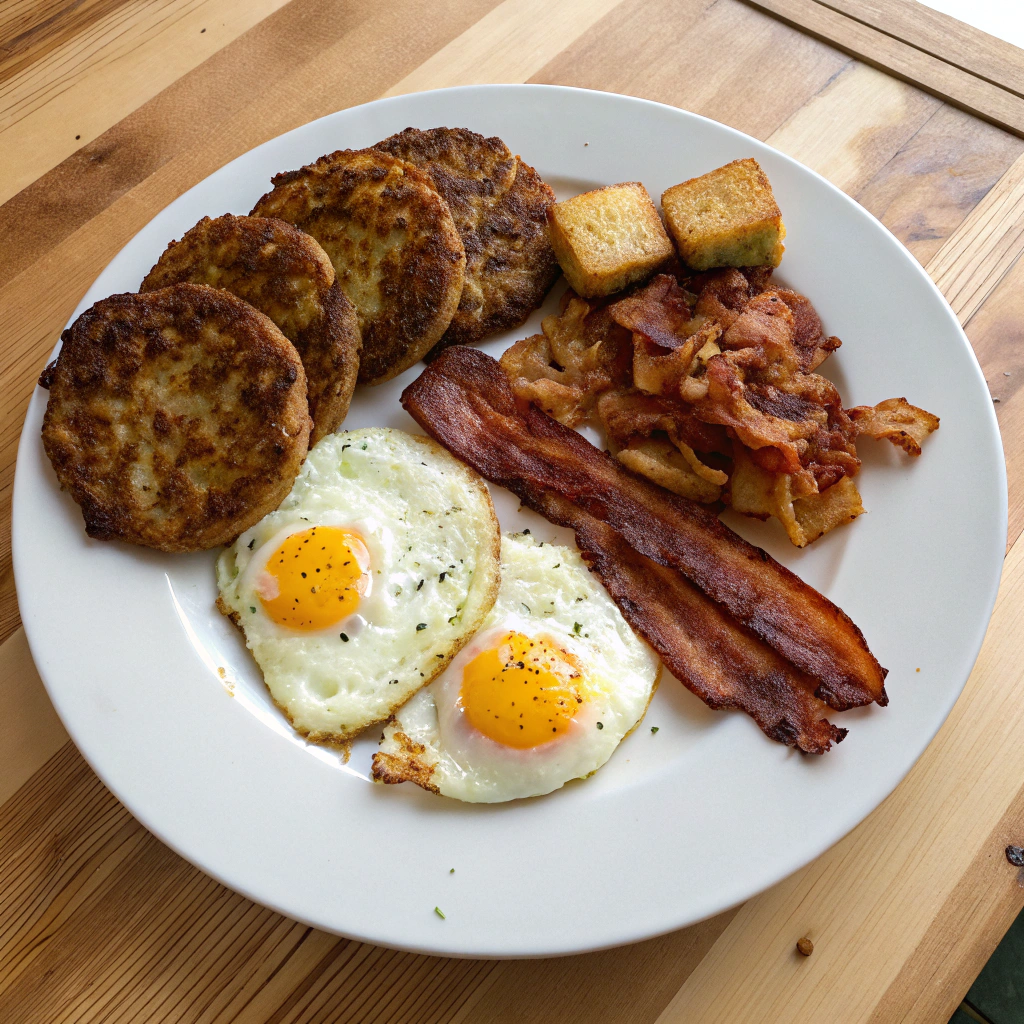
Your Blackstone griddle is perfect for creating those beloved diner-style breakfast platters we all crave. Start with crispy hash browns spread across one corner of your griddle, then add bacon strips along the back edge. The key is using different temperature zones – keep completed items warm on the lower-heat side while cooking eggs to order. My favorite combo includes golden-brown hash browns, perfectly crispy bacon, two eggs over easy, and buttery toast. Don’t forget those classic additions like grilled onions and peppers for extra flavor. For a healthy morning alternative, try a quinoa breakfast bowl packed with protein and fresh ingredients. I love how the Blackstone lets me cook everything simultaneously, just like a short-order cook!
Breakfast Sandwich Masterpieces
Nothing beats a hot breakfast sandwich straight off the Blackstone griddle. I start by toasting English muffins or bagels right on the flat top – they get this amazing crispy exterior while staying soft inside. Layer on fluffy scrambled eggs, melted cheese, and your choice of breakfast meat. Pro tip: create an egg ring using mason jar lids for perfectly round eggs that fit your sandwiches. My family’s favorite is the “Morning Glory” – sourdough bread, over-medium egg, bacon, cheddar cheese, and a thin slice of tomato. The Blackstone’s even heating makes every sandwich consistently delicious.
Sweet Griddle Favorites
Transform your Blackstone breakfast into a sweet treat with French toast and pancakes that’ll make your local diner jealous. The large cooking surface is perfect for making multiple servings at once. For French toast, I use thick-cut brioche bread soaked in a vanilla-cinnamon egg mixture. The griddle creates this amazing golden-brown crust while keeping the inside custardy. Pancakes come out perfectly on the Blackstone too – I love making silver dollar pancakes for the kids. Don’t forget to warm your maple syrup in a small metal container on the cooler side of the griddle!
Pro Tips for Blackstone Breakfast Timing
Multi-Item Cooking Order Guide
When planning your Blackstone breakfast feast, timing is everything. Start with items that take longest to cook – hash browns need about 15 minutes for that perfect crunch. Next, add your breakfast meats while the potatoes are crisping up. The Blackstone’s size lets you create temperature zones, making it easier to manage multiple items. Keep the right side hotter for cooking, while using the left side for warming. Bacon needs about 8-10 minutes to reach crispy perfection. This cooking order ensures everything finishes hot and fresh at the same time.
Perfect Egg Techniques on the Blackstone
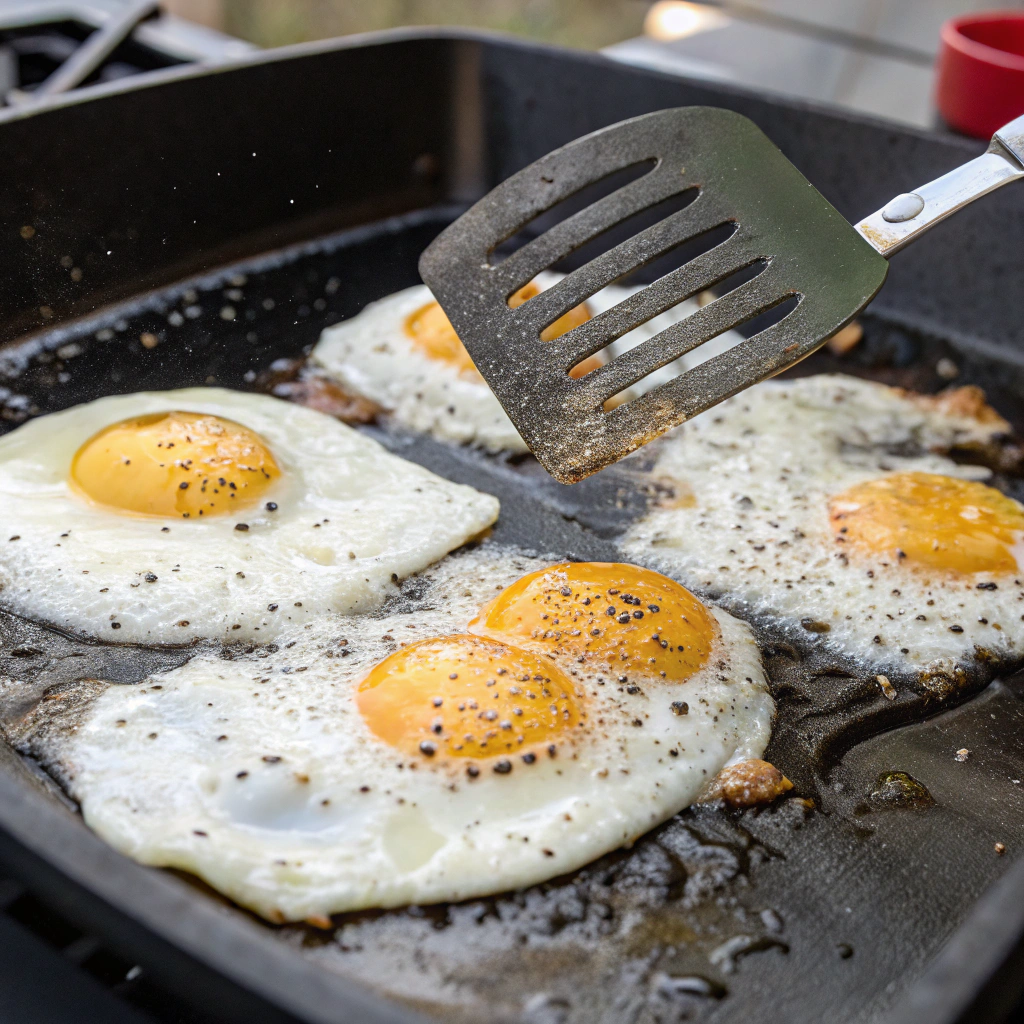
Mastering eggs on your Blackstone griddle takes practice, but the results are worth it. For sunny-side up eggs, I’ve found that medium heat works best – too hot and you’ll get crispy edges before the whites set. Create small wells in your cooking oil to keep eggs contained. When making scrambled eggs for a crowd, the Blackstone’s surface area is a game-changer. I can cook enough eggs for the whole family at once. Remember to use a light touch with your spatula to achieve those fluffy, restaurant-style results.
Keeping Everything Hot Until Serving
The key to a successful Blackstone breakfast is serving everything hot and fresh. Create a warming zone on the left side of your griddle set to low heat. As items finish cooking, move them to this area. For pancakes and French toast, I stack them slightly overlapped to retain moisture while staying warm. The Blackstone’s surface maintains consistent heat, perfect for keeping breakfast meats crispy. Use aluminum foil tents to cover sensitive items like eggs, preventing them from drying out while waiting for the rest of breakfast to finish.
Meal Prep Ideas for Blackstone Breakfast
Make-Ahead Ingredient Shortcuts
Planning your Blackstone breakfast ahead saves so much time during busy mornings! I love chopping veggies the night before – diced onions, peppers, and mushrooms stay fresh in airtight containers for several days. When morning comes, I can jump right into cooking an amazing breakfast on the griddle without prep work. For protein prep, I often cook bacon halfway on my Blackstone breakfast setup, then store it to finish quickly the next day. Pre-measuring pancake dry ingredients into mason jars is another game-changer. Just add wet ingredients in the morning, shake, and you’re ready to pour perfect pancakes onto your hot griddle surface.
Batch Cooking on Your Blackstone
The huge cooking surface of the Blackstone makes it perfect for batch cooking breakfast items. I’ve learned to make the most of weekend meal prep by cooking big batches of breakfast potatoes seasoned with my favorite spice blend. While those crisp up, I’ll do a full Blackstone breakfast spread with French toast and sausage patties on another section. Everything stays warm on the low-heat zones while I finish cooking. Portion out your cooked items into microwave-safe containers, and you’ll have grab-and-go breakfasts all week long. Don’t forget to let everything cool completely before storing.
Storage and Reheating Solutions
After mastering your Blackstone breakfast routine, proper storage becomes crucial. I use glass containers with snap-on lids for cooked proteins and potatoes – they stack nicely and reheat evenly. For pancakes and French toast, layer pieces with wax paper between them to prevent sticking. When it’s time to reheat, a quick 30 seconds in the microwave works for most items. To restore that fresh-off-the-griddle crispiness, I’ll sometimes give potatoes or meats a quick sear on the Blackstone while it’s heating up for that morning’s cooking. Always date your containers and use within 3-4 days. For extra inspiration, check out these amazing blackstone recipes that will take your griddle cooking to the next level.
Common Blackstone Breakfast Mistakes
Temperature Control Errors to Avoid
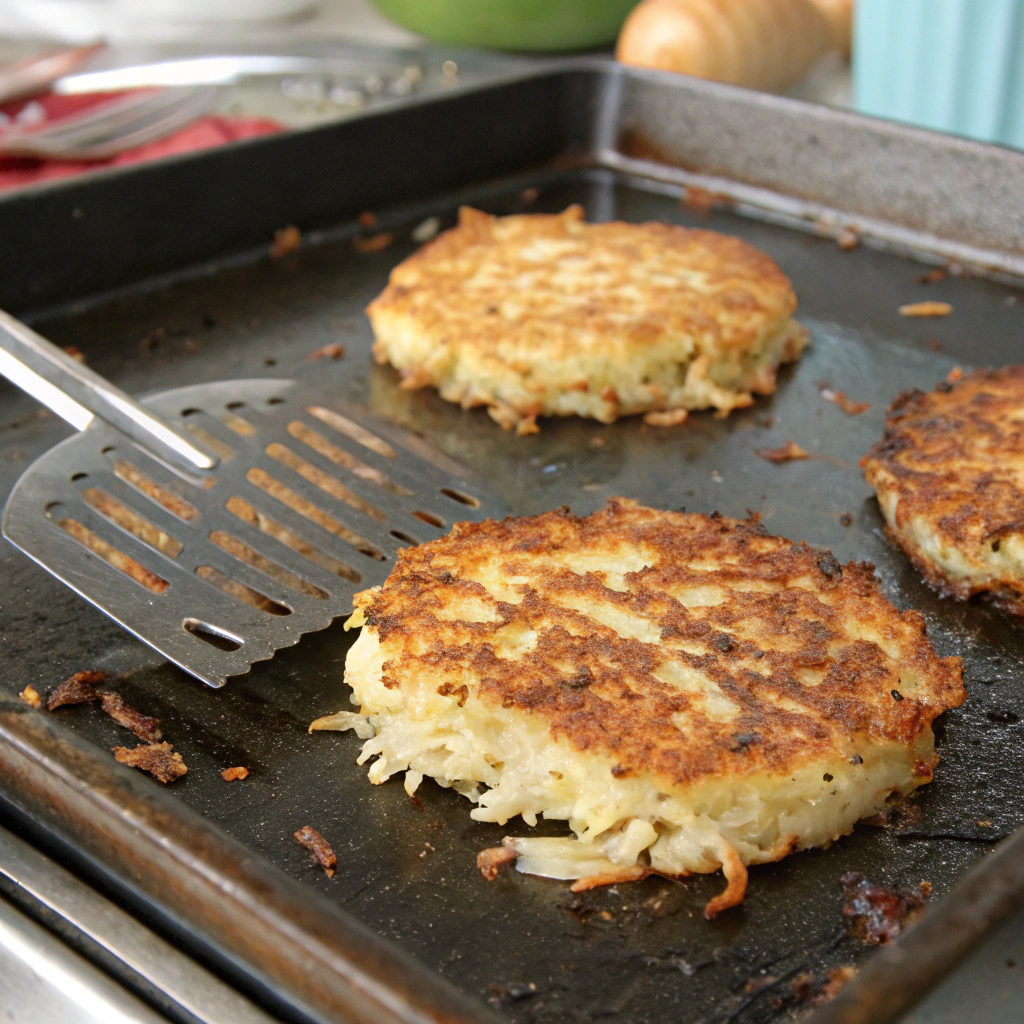
Getting the heat right is crucial for the perfect Blackstone breakfast experience. I learned the hard way that cranking the heat too high leads to burned pancakes and undercooked centers. Start with medium heat and let your griddle warm up for at least 10 minutes. Different zones need different temperatures – I keep one area at medium-high for eggs and hash browns, while another stays at medium-low for delicate items like French toast. Watch for hot spots on your cooking surface, especially when preparing a full breakfast spread. Test the heat by sprinkling a few drops of water – they should dance, not instantly evaporate.
Griddle Space Management Tips
Making a complete Blackstone breakfast requires smart space planning. Create dedicated zones for different foods – eggs and pancakes need their own areas to prevent flavor mixing. I always start with items that take longest to cook, like potatoes, positioning them at the back of the griddle. Quick-cooking foods like eggs go near the front for easy access. When cooking for a crowd, use a warming rack to keep finished items hot while completing the rest of your breakfast feast. Keep your spatulas and tools organized on the side shelves to maximize cooking space.
Cleaning and Maintenance Musts
Proper care of your griddle ensures perfect Blackstone breakfast results every time. Never use soap on the cooking surface – it ruins the seasoning you’ve worked so hard to build. Instead, scrape food debris while the surface is still warm, then wipe with paper towels. For stuck-on bits, I use a little water and the scraper while the griddle’s still hot. After cleaning, apply a thin layer of oil to maintain seasoning. This post-breakfast routine takes just minutes but makes a huge difference in preventing rust and keeping your cooking surface non-stick.
Start Your Blackstone Breakfast Journey Today
Join our growing community enthusiasts! We’re cooking up something special every morning, and we’d love to have you along for the ride. Share your griddle victories, swap recipes, and get weekly inspiration delivered straight to your inbox. From classic bacon and eggs to creative breakfast tacos, there’s always something new to try. Let’s make breakfast better together!
Blackstone Breakfast Guide
A hearty breakfast platter cooked entirely on your Blackstone griddle, featuring perfectly crispy hash browns, golden eggs, and smoky bacon. This all-in-one breakfast combines classic diner favorites with the convenience of outdoor cooking.
Ingredients
Instructions
Prepare the Potatoes
- Drain shredded potatoes and pat completely dry with paper towels
- Mix with salt, pepper, and garlic powderTip: Removing excess moisture is crucial for crispy results
Heat the Griddle
- Preheat Blackstone to medium-high (375°F) on right side, medium (350°F) on left
Apply thin layer of avocado oil across surface
Success indicator: Oil should shimmer but not smoke
Cook the Bacon
Place bacon strips on right side of griddle
- Cook 4-5 minutes per side until desired crispinessTip: Move to lower heat zone when done to keep warm
Start Hash Browns
- Spread potato mixture in thin layer on hot side
- Add 2 tablespoons butter in small pats
- Let cook undisturbed for 7-8 minutesSuccess indicator: Golden brown bottom crust
Cook the Eggs
- Add remaining butter to medium-heat zone
- Crack eggs into individual spaces
- Cook to preferred donenessTip: Cover with dome lid for over-easy eggs
Nutritional values
Servings: 4 ServingCalories:650kcalTotal Fat:45gSodium:890mgTotal Carbohydrate:22gDietary Fiber: 2gSugars: 1gProtein:28g
Note
Substitutions:
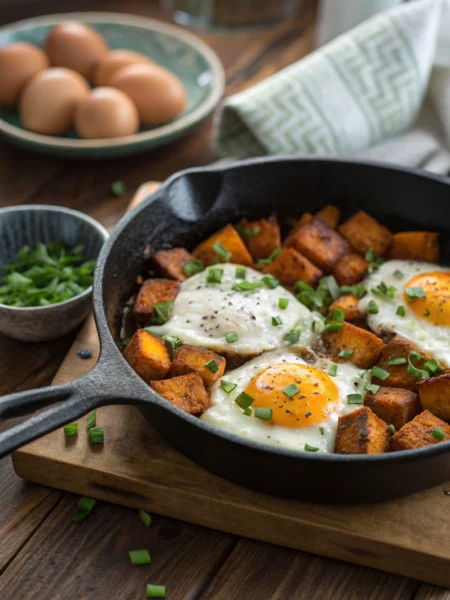
Sweet potatoes can replace russet potatoes
Turkey bacon for regular bacon
Egg whites for whole eggs
Coconut oil for avocado oil
Serving Suggestions:
Serve with toasted sourdough bread and fresh fruit. Add hot sauce or hollandaise sauce if desired.
Storage Instructions:
Store leftovers separately in airtight containers for up to 3 days. Reheat hash browns on griddle for best results.


