Have you ever started a baking project only to find your butter is rock-hard from the fridge? We’ve all been there! Learning how to soften butter properly is a game-changing kitchen skill that can make or break your baking success.
As someone who’s faced this butter dilemma countless times in my home kitchen, I’ve mastered several foolproof methods to bring butter to that perfect, spreadable consistency. Whether you’re whipping up chocolate chip cookies on a cozy Sunday afternoon or preparing pie crust for tomorrow’s dinner party, having perfectly softened butter at the ready is essential.
I’ll share my tried-and-true techniques that work every time, from quick countertop methods to clever microwave tricks. Say goodbye to the frustration of waiting hours for butter to soften naturally!
Understanding Butter Softening Science
Room Temperature vs Cold Butter Properties
The science behind how to soften butter properly lies in its unique molecular structure. When butter is cold, its fat crystals remain tightly packed, making it hard and unworkable. As these crystals warm up, they begin to loosen their rigid formation, creating that perfect spreadable texture we need for baking.
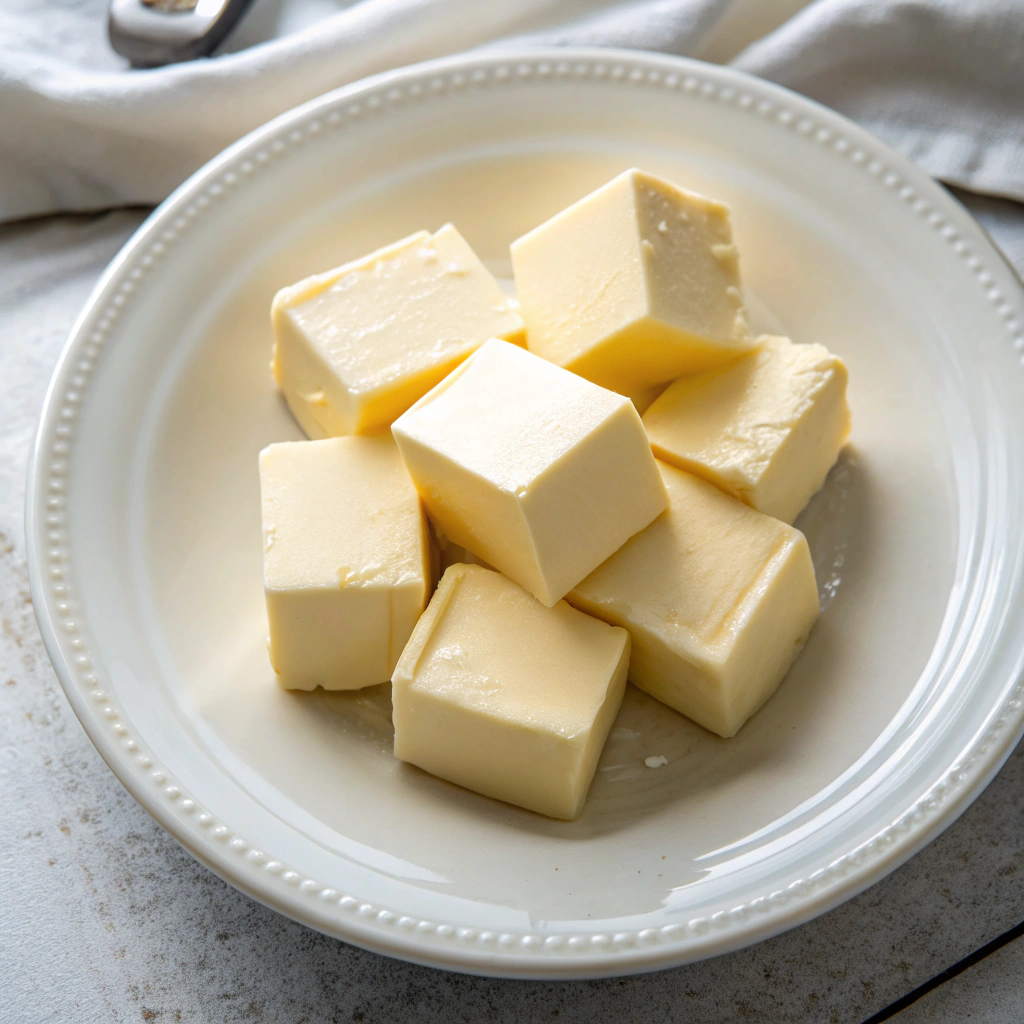
The ideal temperature for softened butter falls between 65-67°F, where it’s pliable enough to cream but still cool to touch. You’ll know your butter has reached the sweet spot when it gives slightly under gentle pressure but doesn’t lose its shape completely.
Think of it like memory foam – it should bounce back slowly when pressed. This temperature range allows the butter to trap air effectively during creaming, which is crucial for light, fluffy baked goods. For most recipes, you’ll want your butter just soft enough to leave a slight indentation when pressed with your finger.
Chemical Structure Changes During Softening
When you soften butter, fascinating chemical changes occur at the molecular level. The milk proteins and water molecules begin to separate from the fat globules, creating tiny pockets of air. Think of it like a microscopic dance where these components gracefully drift apart.
As the butter warms, its emulsion structure becomes more flexible, though it shouldn’t completely break down. You’ll notice this process happening when the color shifts from bright yellow to a slightly lighter shade. The milk solids, which make up about 2% of your butter, play a crucial role in this transformation.
They act like tiny anchors, helping maintain the butter’s structure even as it softens. This delicate balance explains why properly softened butter feels smooth rather than greasy. For the best results, remember that these changes should happen gradually – rushing the process can disrupt this intricate molecular ballet.
Impact on Baking Results
Properly softened butter makes or breaks your baking success. When you cream softened butter with sugar, those tiny air pockets created during softening expand, leading to lighter, fluffier cakes and cookies. Too cold, and your mixer will struggle, leaving unmixed chunks that create dense spots.
Too warm, and you’ll lose the crucial air-trapping ability. Picture making chocolate chip cookies – with perfectly softened butter, they spread just right and develop those crispy edges everyone loves. In muffins and quick breads, it blends seamlessly with other ingredients, creating that tender, moist crumb we all crave.
I learned this lesson the hard way after rushing my pound cake prep last Thanksgiving! A good test is pressing your finger into the butter – it should leave a clean indent without feeling greasy or sliding around. Your patience in getting this step right will reward you with consistently amazing baked goods.
5 Fastest Methods to Soften Butter
Preparation and Safety Guidelines

Before diving into the quickening techniques, let’s establish some ground rules for safely softening butter. Start with a clean, dry workspace and make sure your butter is fresh from the fridge. Never microwave butter in its foil wrapper – this is a fire hazard!
Room temperature should be between 65-70°F for optimal results. Cut your cold butter into even-sized pieces first – this ensures uniform softening. Keep raw ingredients separate and use food-safe containers for warming.
While quick methods are tempting, avoid overheating as this can compromise your recipe’s success. Our proven butter softening techniques work best when you maintain food safety standards. Remember to check the butter’s temperature with a clean finger – it should feel cool but leave an indent when pressed. Following these guidelines prevents both safety issues and baking mishaps.
Innovative Ways to Soften Butter
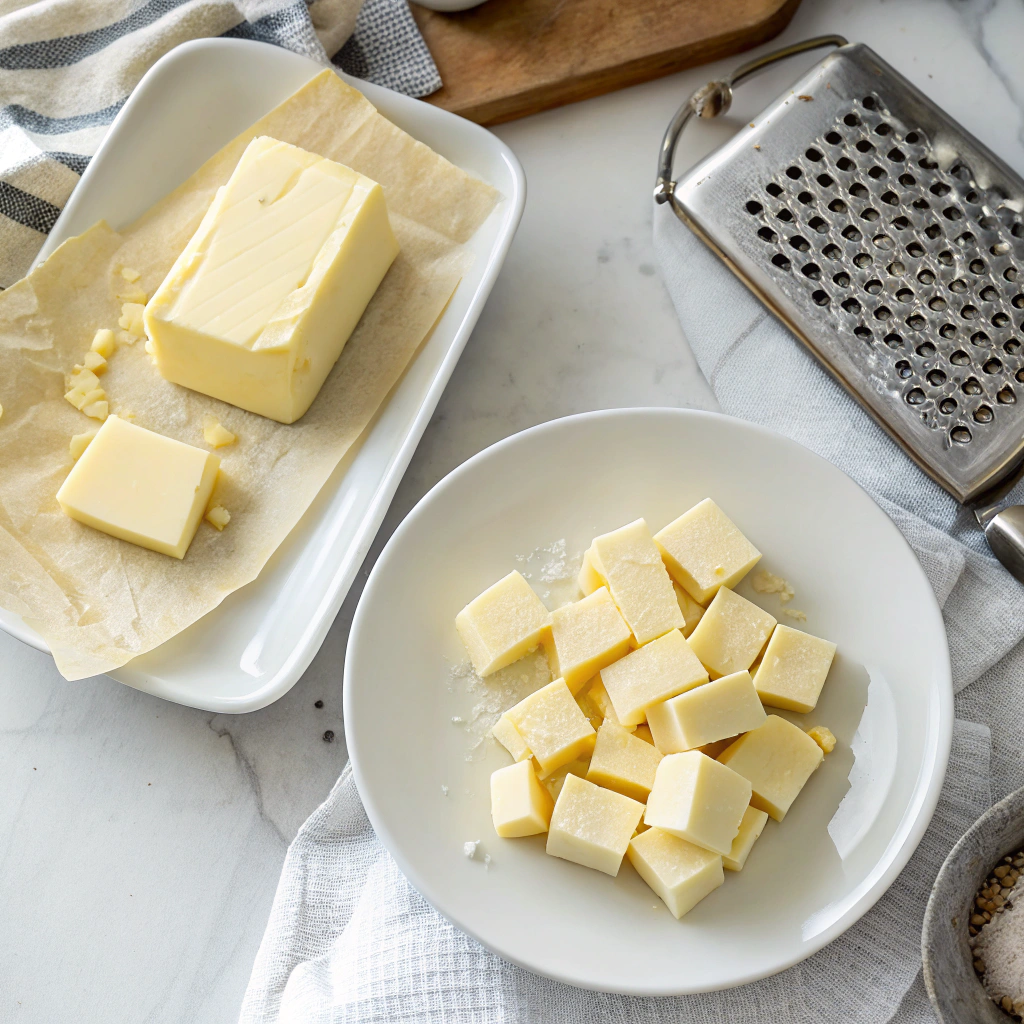
Ready to explore some creative butter-softening solutions? Let’s start with the grating method – simply use a box grater to shred cold butter into fine pieces that soften in minutes.
For the rolling pin technique, place your cold butter between two sheets of parchment paper and flatten it into a thin sheet. The increased surface area helps it reach room temperature faster. Try the warm glass method by heating a drinking glass with hot water, drying it completely, then placing it over your stick of butter. The residual warmth gently softens the butter underneath.
For small amounts, you can also use the friction method – place butter between your palms and rub them together until it warms up. Just remember to wash your hands thoroughly first! These quick tricks help achieve the perfect spreadable consistency without compromising texture or quality.
Microwave Method for Quick Results
Want a super-quick way to soften butter? The microwave method can work wonders when done right. Place your wrapped stick of butter on a microwave-safe plate and heat in 5-second bursts at 30% power. Rotate the stick between bursts to ensure even softening.
Watch carefully – you want it just soft enough to press gently, not melted! For a 1/2 cup stick, you’ll typically need 20-30 seconds total. Test by gently pressing with your finger – it should leave a slight indentation without completely giving way.
This method works best when you need softened butter quickly for recipes like cookie dough or cake batter. Just remember that microwaving can create hot spots, so let the butter rest for 1-2 minutes after heating to allow the temperature to distribute evenly throughout.
Professional Baker's Softening Secrets
Ideal Temperature Ranges
Getting butter to the perfect softness starts with understanding temperature. Professional bakers aim for 65-67°F (18-19°C) – this sweet spot gives you butter that’s pliable but not greasy. At this range, you can easily create an indentation with your finger, but the butter still holds its shape. Too cold (below 60°F), and your butter won’t cream properly with sugar.
Too warm (above 70°F), and you’ll lose the crucial air-trapping ability needed for fluffy baked goods. For most recipes, take your butter out 30-45 minutes before baking, depending on room temperature.
A quick test: press your finger into the butter – it should yield easily but still feel cool to the touch. Think of it like perfectly softened butter for making classic brioche french toast – spreadable but not melty.
Quick Emergency Softening Methods
When you need softened butter in a hurry, there are several foolproof methods to try. Cut your cold butter into small cubes – this increases surface area for faster softening. Place these cubes on a warm (not hot) plate for 5-7 minutes.
Another handy trick is to grate frozen butter using the large holes of a box grater. The thin shreds will soften in just 2-3 minutes at room temperature. For ultra-quick results, place your butter between two sheets of parchment paper and gently roll it with a rolling pin.
This creates a thin layer that softens rapidly while maintaining the butter’s structure. Just avoid the microwave – it tends to melt rather than soften butter, which can ruin your recipe’s texture. Remember that even quick-softened butter should still feel cool to the touch for optimal baking results.
Room Temperature Methods for Perfect Results
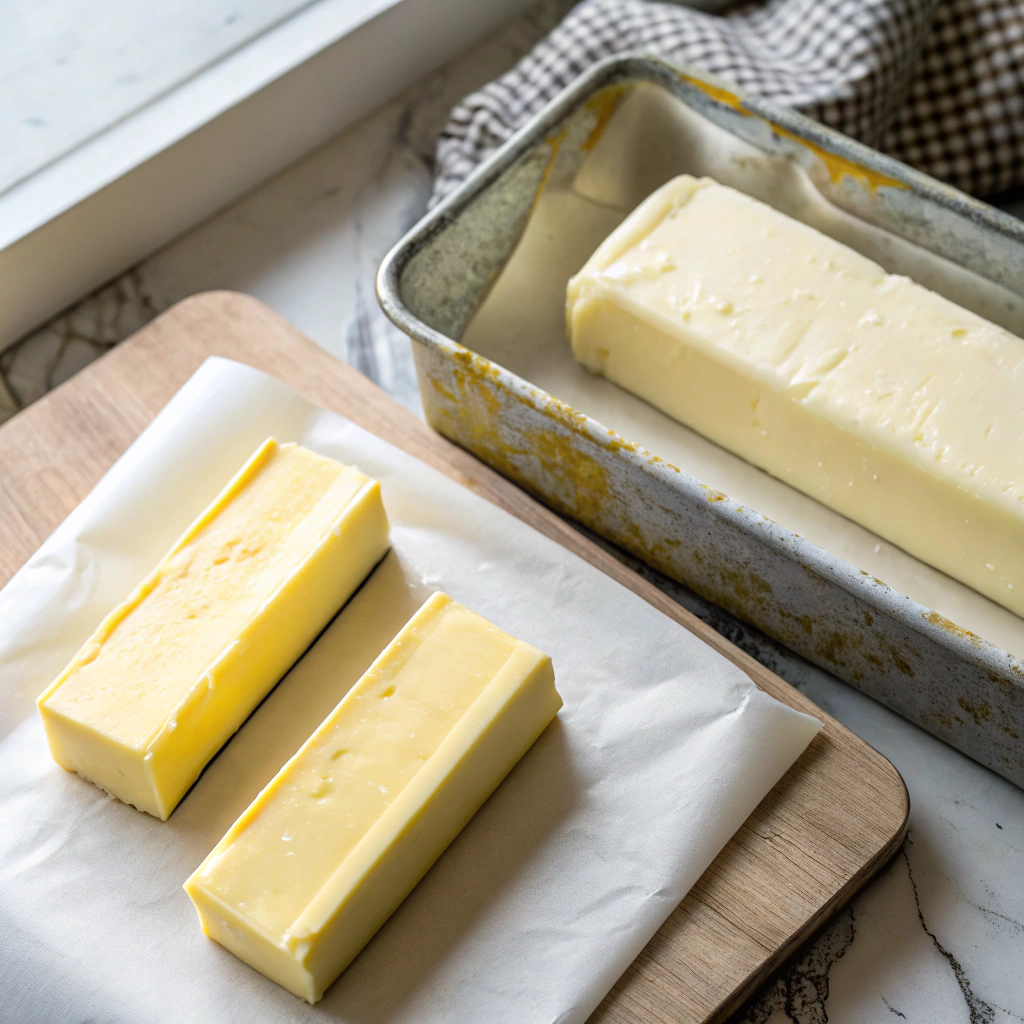
For consistently softened butter, leave a stick out at room temperature for 30-60 minutes before baking. The ideal softness should allow your finger to make a slight indentation while the butter still feels cool – around 65-67°F.
Place your butter on a plate away from direct heat sources like ovens or sunny windows. Cut larger sticks into tablespoon-sized portions to speed up the process naturally. If your kitchen runs warm, choose a cooler spot like a pantry.
Remember that salted butter softens slightly faster than unsalted due to its salt content. The texture should be spreadable but still hold its shape – if it’s getting too soft or starting to melt, pop it in the fridge for 5 minutes to firm up slightly. This method yields the most reliable results for baking, especially for delicate recipes like cookies and cakes.
Common Butter Softening Mistakes
Over-Softening Warning Signs
Knowing when butter has become too soft is crucial for baking success. Watch for telltale signs like a greasy, oily appearance or butter that’s lost its cool-to-touch feeling. If your stick feels mushy or looks glossy, it’s likely over-softened.
The butter should hold its shape while being just pliable – if it’s starting to collapse or develop a melted sheen, it’s gone too far. Another key indicator is when butter begins separating, with liquid pooling around the edges.
The ideal texture should allow for gentle spreading without becoming runny. If you notice any of these warning signs, pop the butter back in the fridge for 5-10 minutes to firm it up slightly. Remember that properly softened butter should maintain its structure while being just malleable enough to cream smoothly.
Quick Butter Softening Methods
When you need softened butter fast, several reliable techniques can help. Cut your cold butter into small cubes – this increases surface area for quicker softening. The microwave method works too, but use 5-second bursts and rotate the stick between each burst to prevent melting.
Another handy trick is grating cold butter using the large holes of a box grater, which creates perfect ribbons that soften in minutes. For emergencies, place the butter between two sheets of parchment paper and gently roll it with a rolling pin – this warms and softens while maintaining the right consistency.
You can also use the glass method: heat a drinking glass with hot water, empty it, then place it over your stick of butter for about 5 minutes. Just remember to keep checking the texture to avoid over-softening.
Room Temperature Butter Storage
Want perfect room temperature butter for baking? The countertop method is your friend – but with a catch. Use a butter dish with a tight-fitting lid and keep it in a cool spot away from direct sunlight. The ideal spot maintains a steady 65-70°F temperature.
For longer storage, only put out what you’ll use within 1-2 days. A butter bell or French butter keeper works wonderfully too – it uses water to create an airtight seal while keeping butter at the perfect spreading consistency.
If your kitchen runs warm, stick to storing just a small portion out at a time. The rest should stay safely refrigerated until needed. Remember that salted butter keeps better at room temperature than unsalted due to salt’s natural preservative properties
Creative Butter Softening Applications
Traditional Baking Projects
Need soft butter fast for your baking project? Skip the microwave – it can create hot spots that ruin your recipes. Instead, try the quick cube method. Cut your cold butter into tiny 1/4-inch cubes and spread them in a single layer on a plate. In just 15 minutes at room temperature, they’ll be perfectly softened and ready to cream. This works especially well when making our Perfect Lemon Pound Cake where proper butter consistency is crucial.
For larger amounts, use the grater trick – shred cold butter on the large holes of a box grater. The increased surface area helps it soften in about 10 minutes. Remember to keep the butter wrapper for easy cleanup and measuring – those markings are super handy!
Just make sure your kitchen isn’t too warm, or you’ll end up with melted butter instead of that ideal, spreadable texture.
Alternative Butter Softening Methods
For those special baking moments when time is tight, try these clever butter softening tricks. Place your stick of butter between two pieces of parchment paper and gently roll it with a rolling pin – this creates a thin, even layer that softens in just 5 minutes. Another nifty method is the warm glass technique: heat a drinking glass with hot water, dry it completely, then place it over your stick of butter. The residual warmth creates the perfect environment for softening without melting.
If you’re working with frozen butter, use a cheese plane to shave off ultra-thin slices that soften almost instantly. For precise temperature control, use an instant-read thermometer – perfectly softened butter should register between 65-67°F.
Just remember to keep your butter wrapped while softening to prevent any unwanted flavors from sneaking in.
Microwave Method for Quick Butter Softening
Need to soften butter in a hurry? The microwave method can be your secret weapon when used correctly. Place your unwrapped stick of butter on a microwave-safe plate and heat in 5-second intervals at 30% power, rotating the stick between bursts. Watch carefully – you want the butter to yield slightly when pressed but still hold its shape.
For even better control, cut your stick into tablespoon-sized pieces before microwaving. This creates more surface area and allows for more uniform softening. A perfectly softened stick should reach room temperature (around 65°F) but never show signs of melting.
Remember that different microwaves vary in power, so your first attempt might need adjusting. If you notice any liquid butter forming, stop immediately and let the stick rest for a minute before checking again.
Start Softening Your Butter Today
Ready to perfect your butter softening technique? Remember these tips next time you’re baking, and you’ll never struggle with rock-hard or melted butter again. Pin this guide for quick reference, and share your success stories in the comments below. Happy baking!